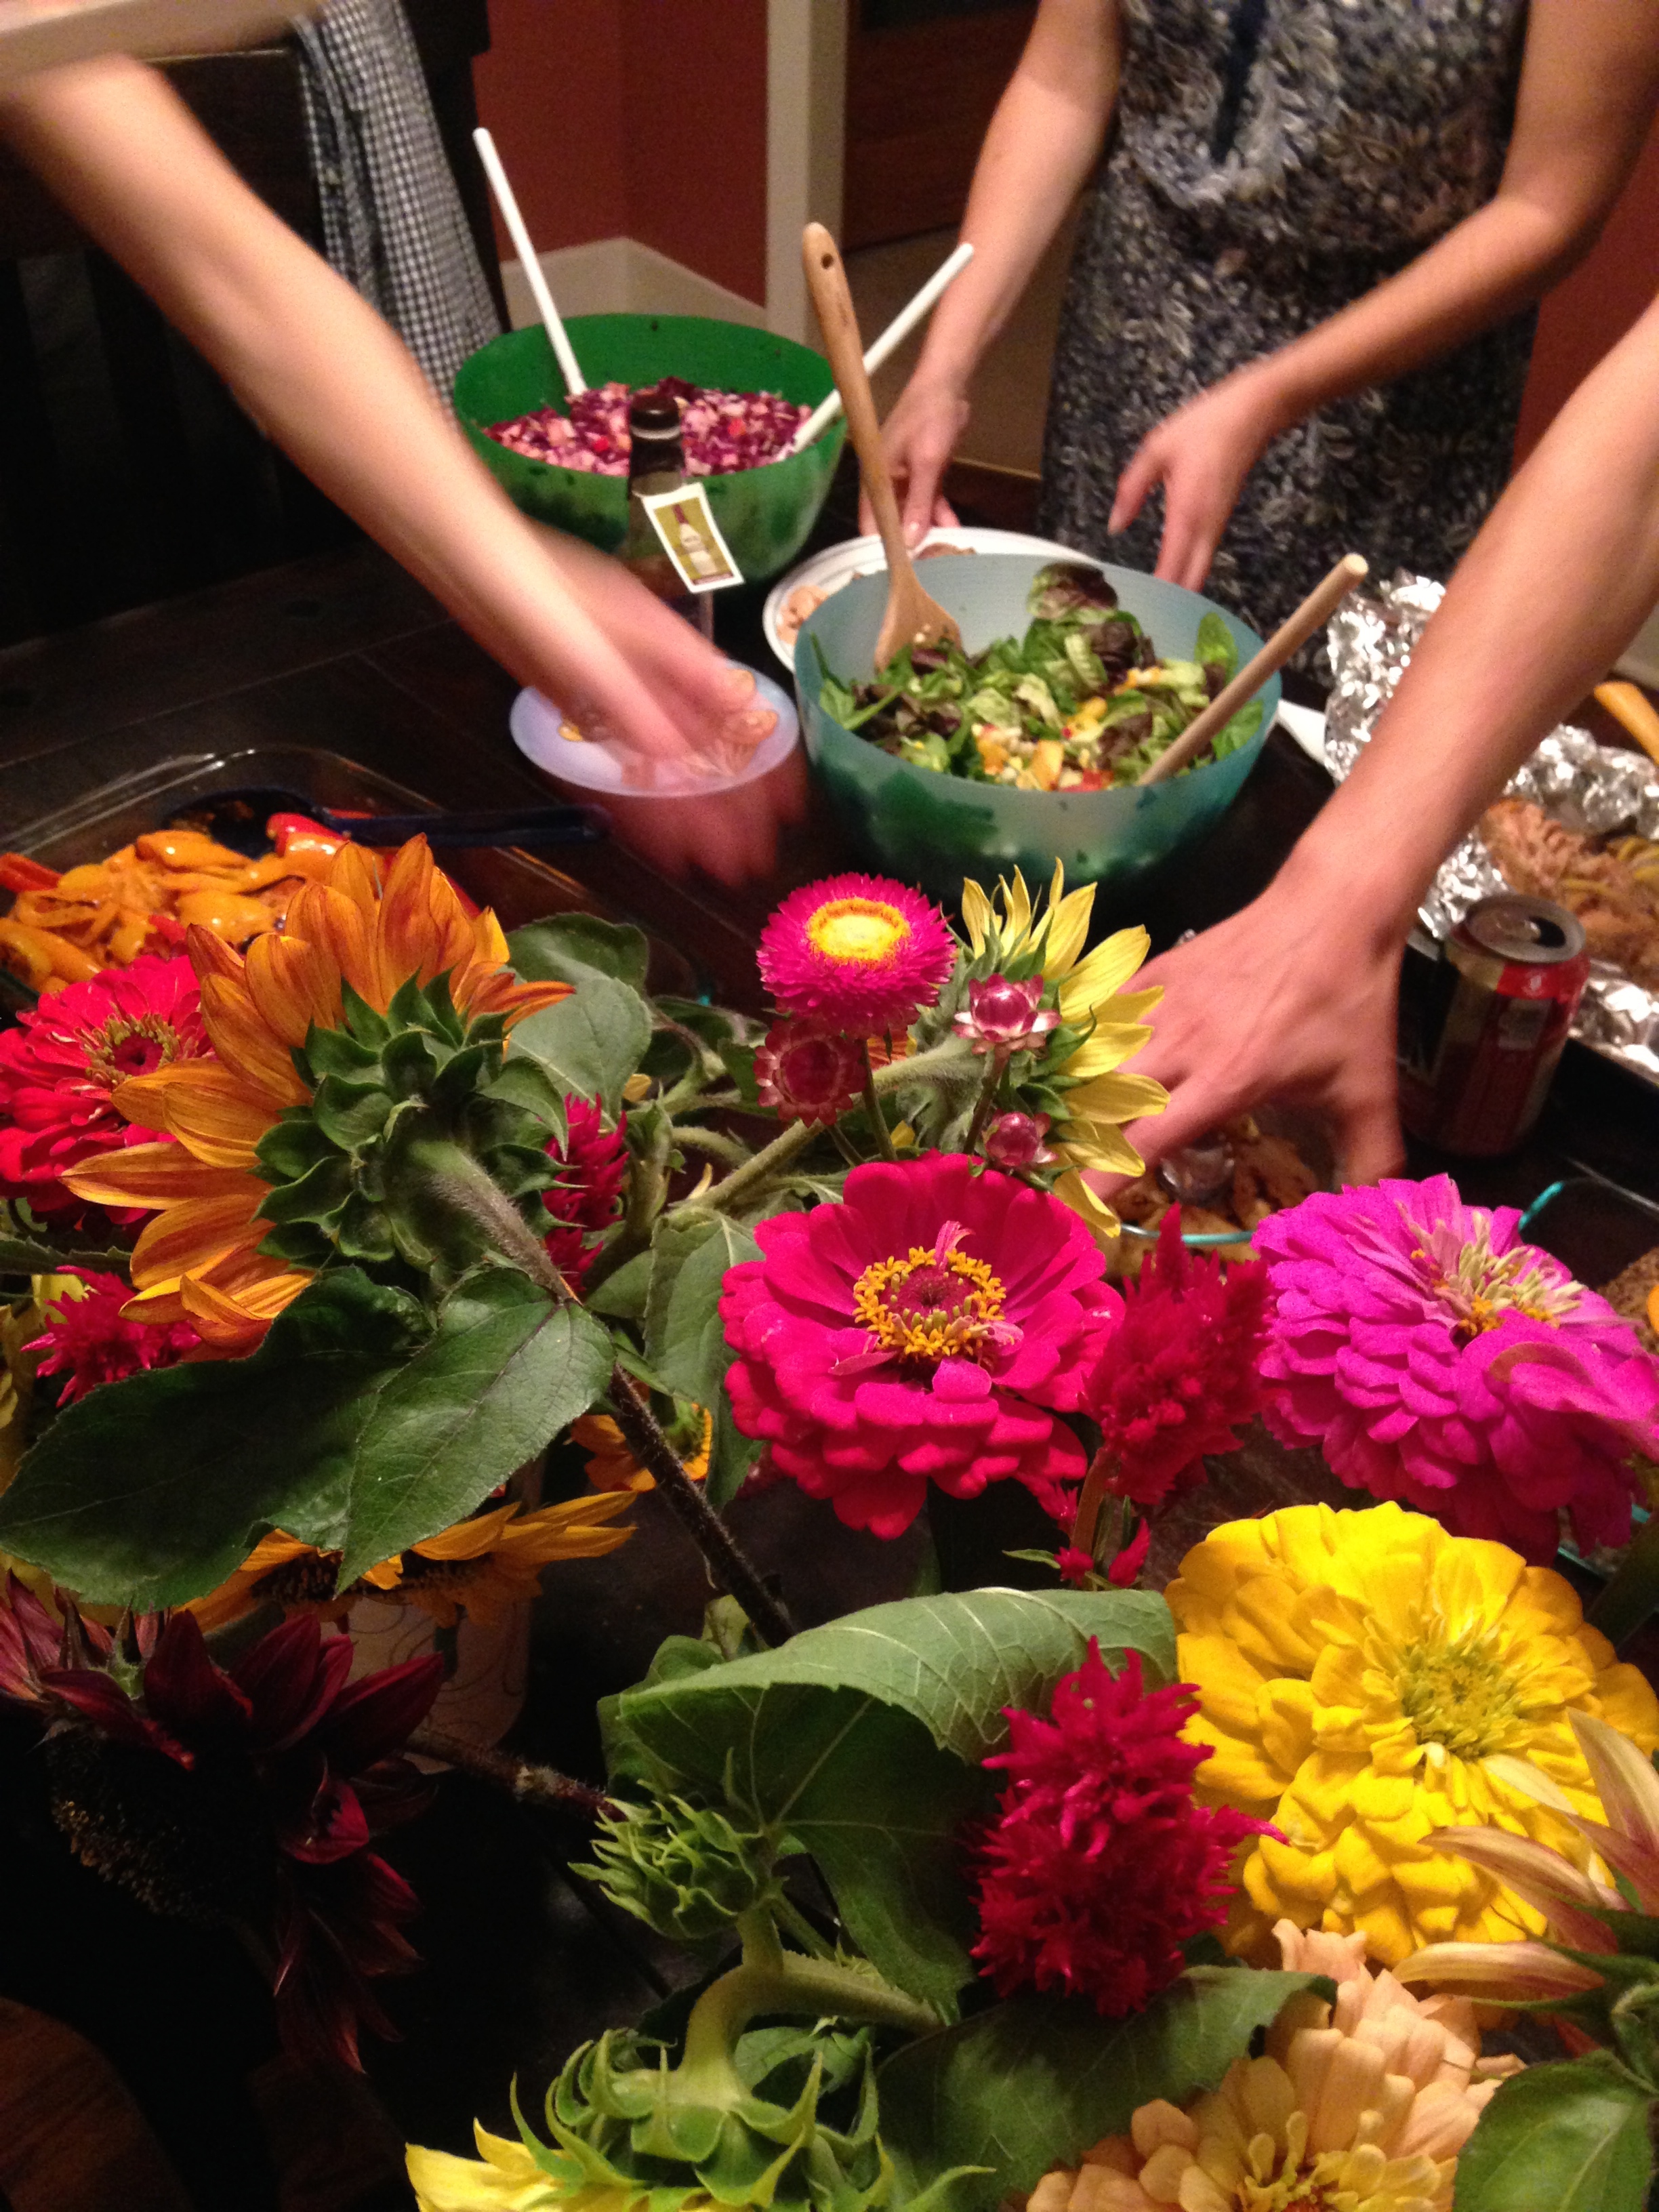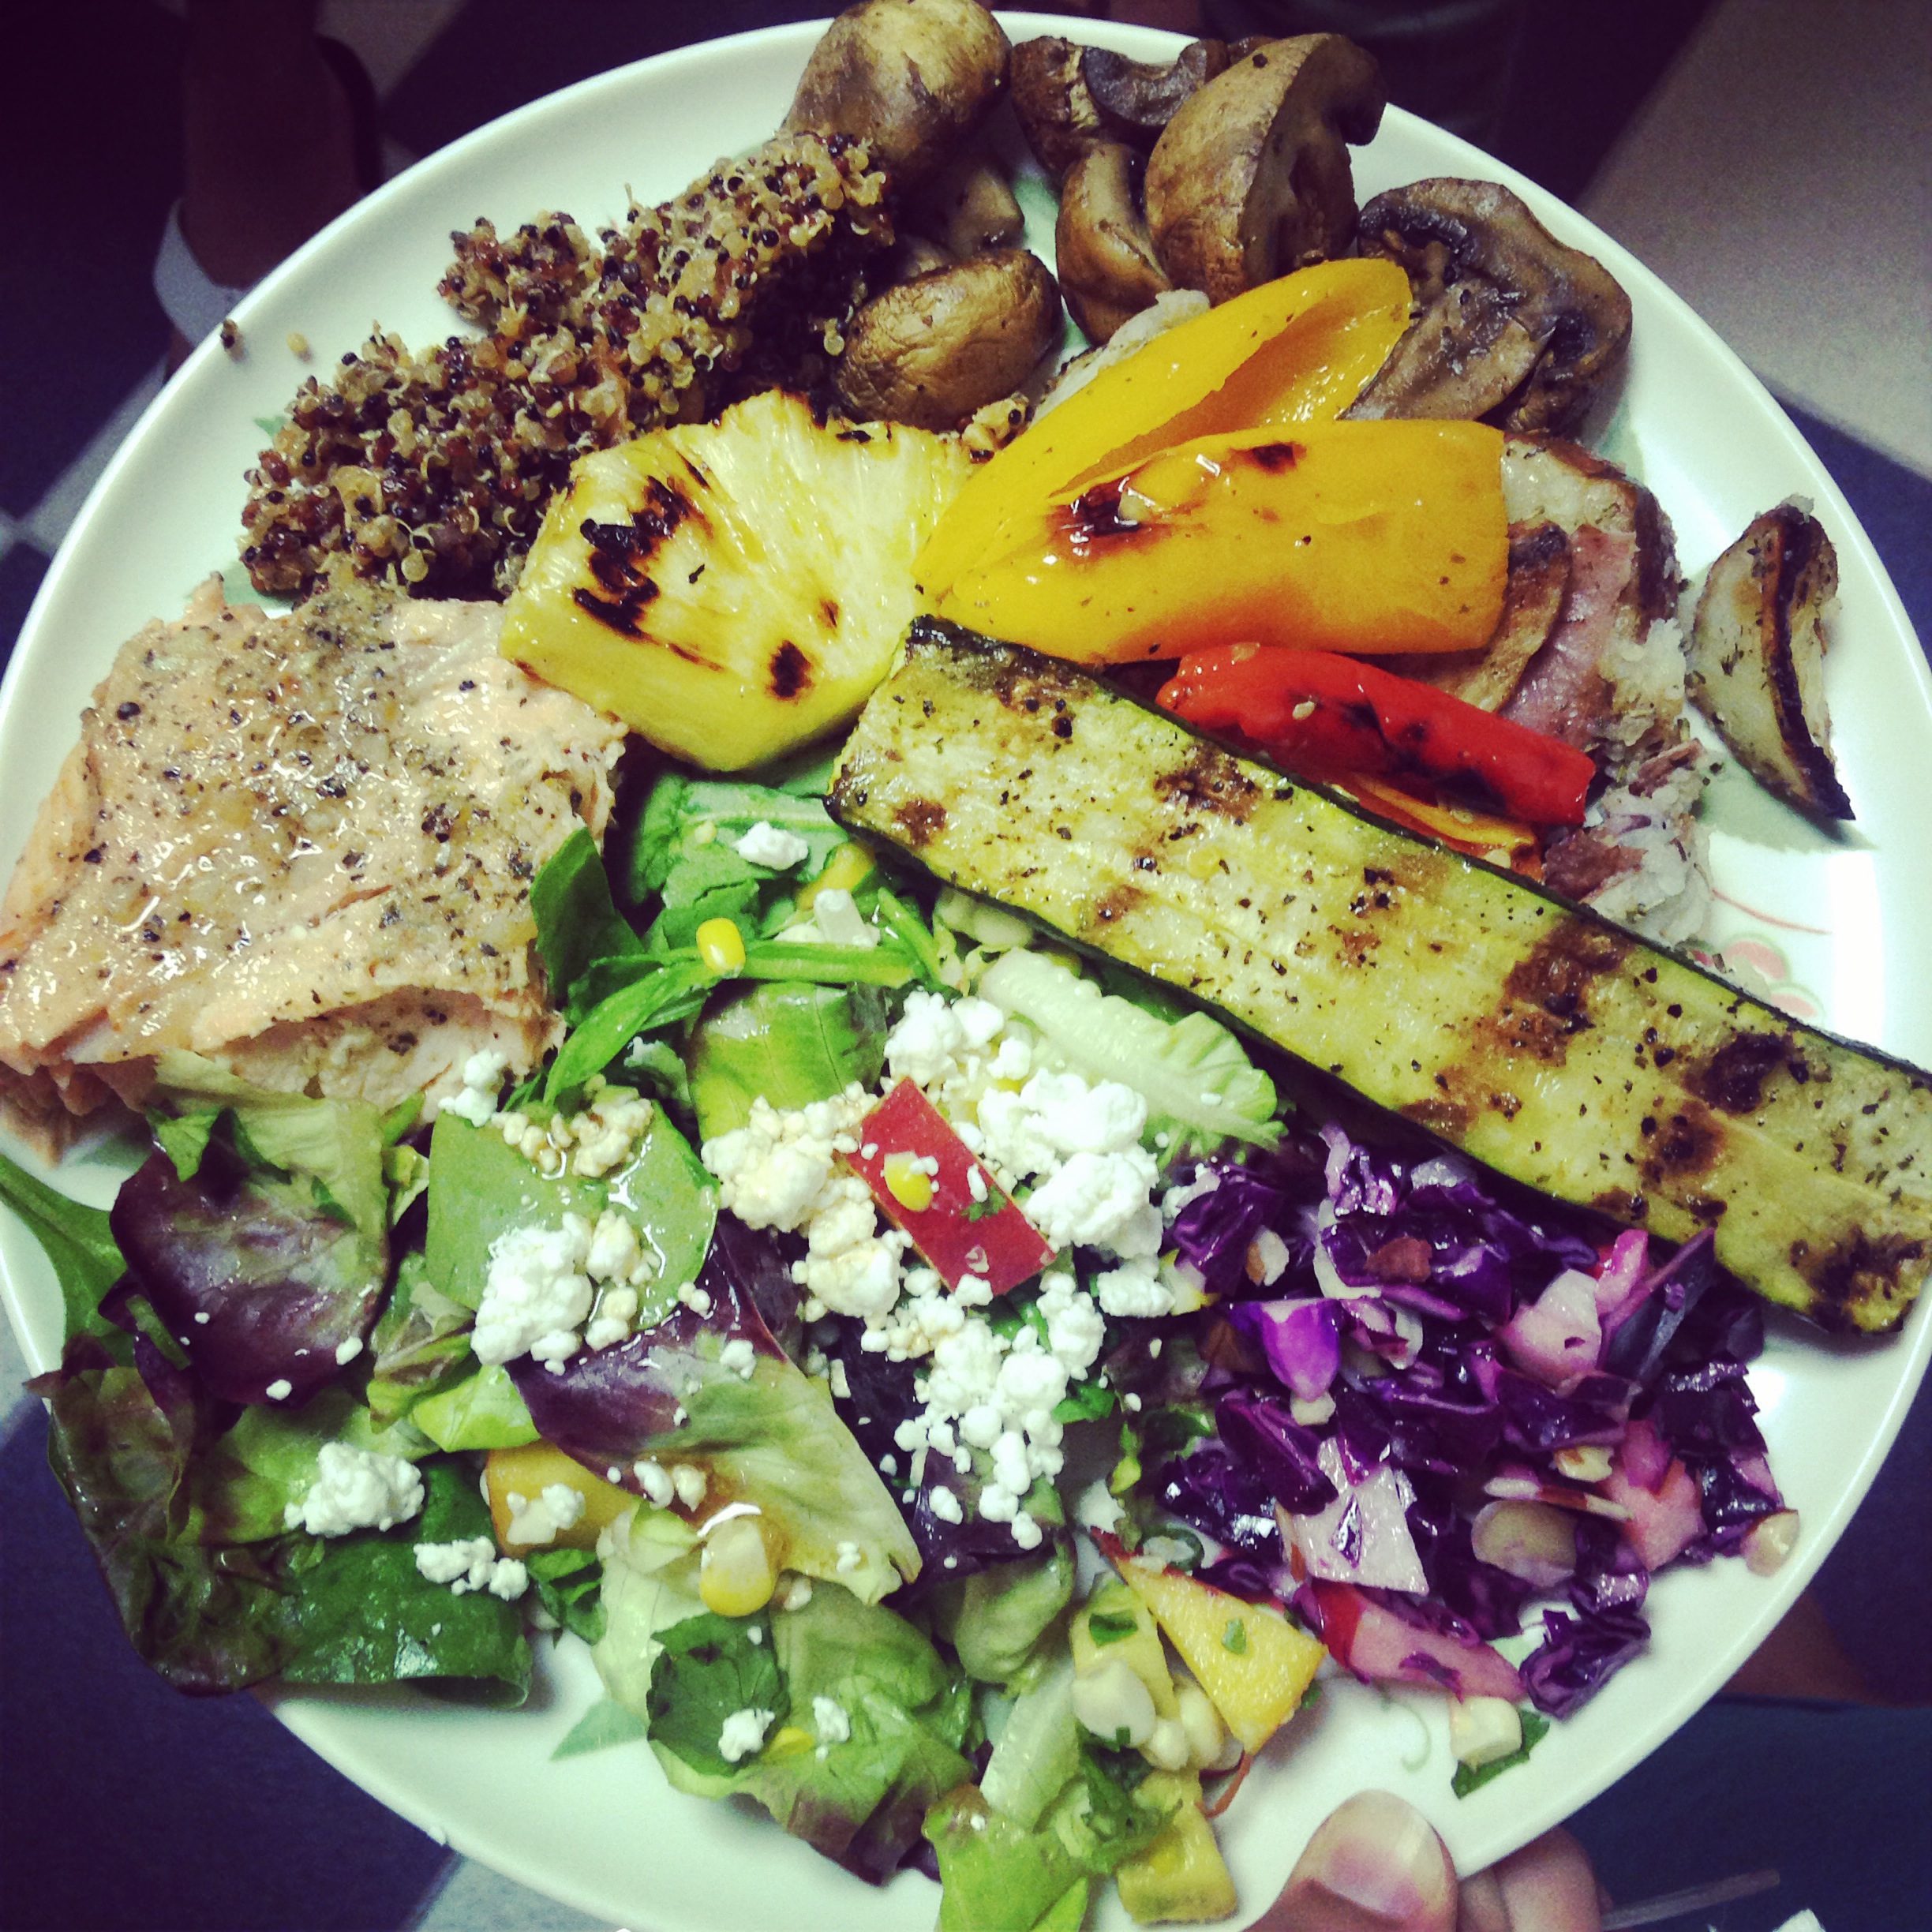
Hello salad season, so glad you are back with us. My garden is literally exploding with lettuce and kale at the moment, so I’m trying my best to find creative ways to incorporate more greens into every meal. I love salads in pretty much every shape, and form, but this time of year when its still a little cool in the evenings, I find myself craving dishes that are a little more hardy. Something warm and robust, while still being healthy and simple. Insert, the perfect dish: white beans and tuna over greens. It’s ridiculously simple, you probably have all the ingredients already hiding in your pantry, it takes roughly 10 minutes to prep and assemble, and it’s super healthy.
I’ve been challenging myself to eat healthier, and I’m also attempting to be a bit more economical by packing my lunch every day. I joined #the100dayproject with the intention of creating and packing beautiful and healthy lunches every day for 100 days. They aren’t always beautiful, and sometimes creativity succumbs to the likes of PB&J, but for the most part, I’m having a good time with it, and have made some really delicious packed lunches. One thing that I love about this white bean and tuna dish, is that if I make it as a “dinner for one” I always have left-overs to take for lunch during the week, and this is pretty much the perfect meal to power you through a work day. It has protein and fiber to keep you full, nutrient rich greens, and a little air of “it’s more than just a salad, it’s a meal.”

white beans and tuna over greens
What you need:
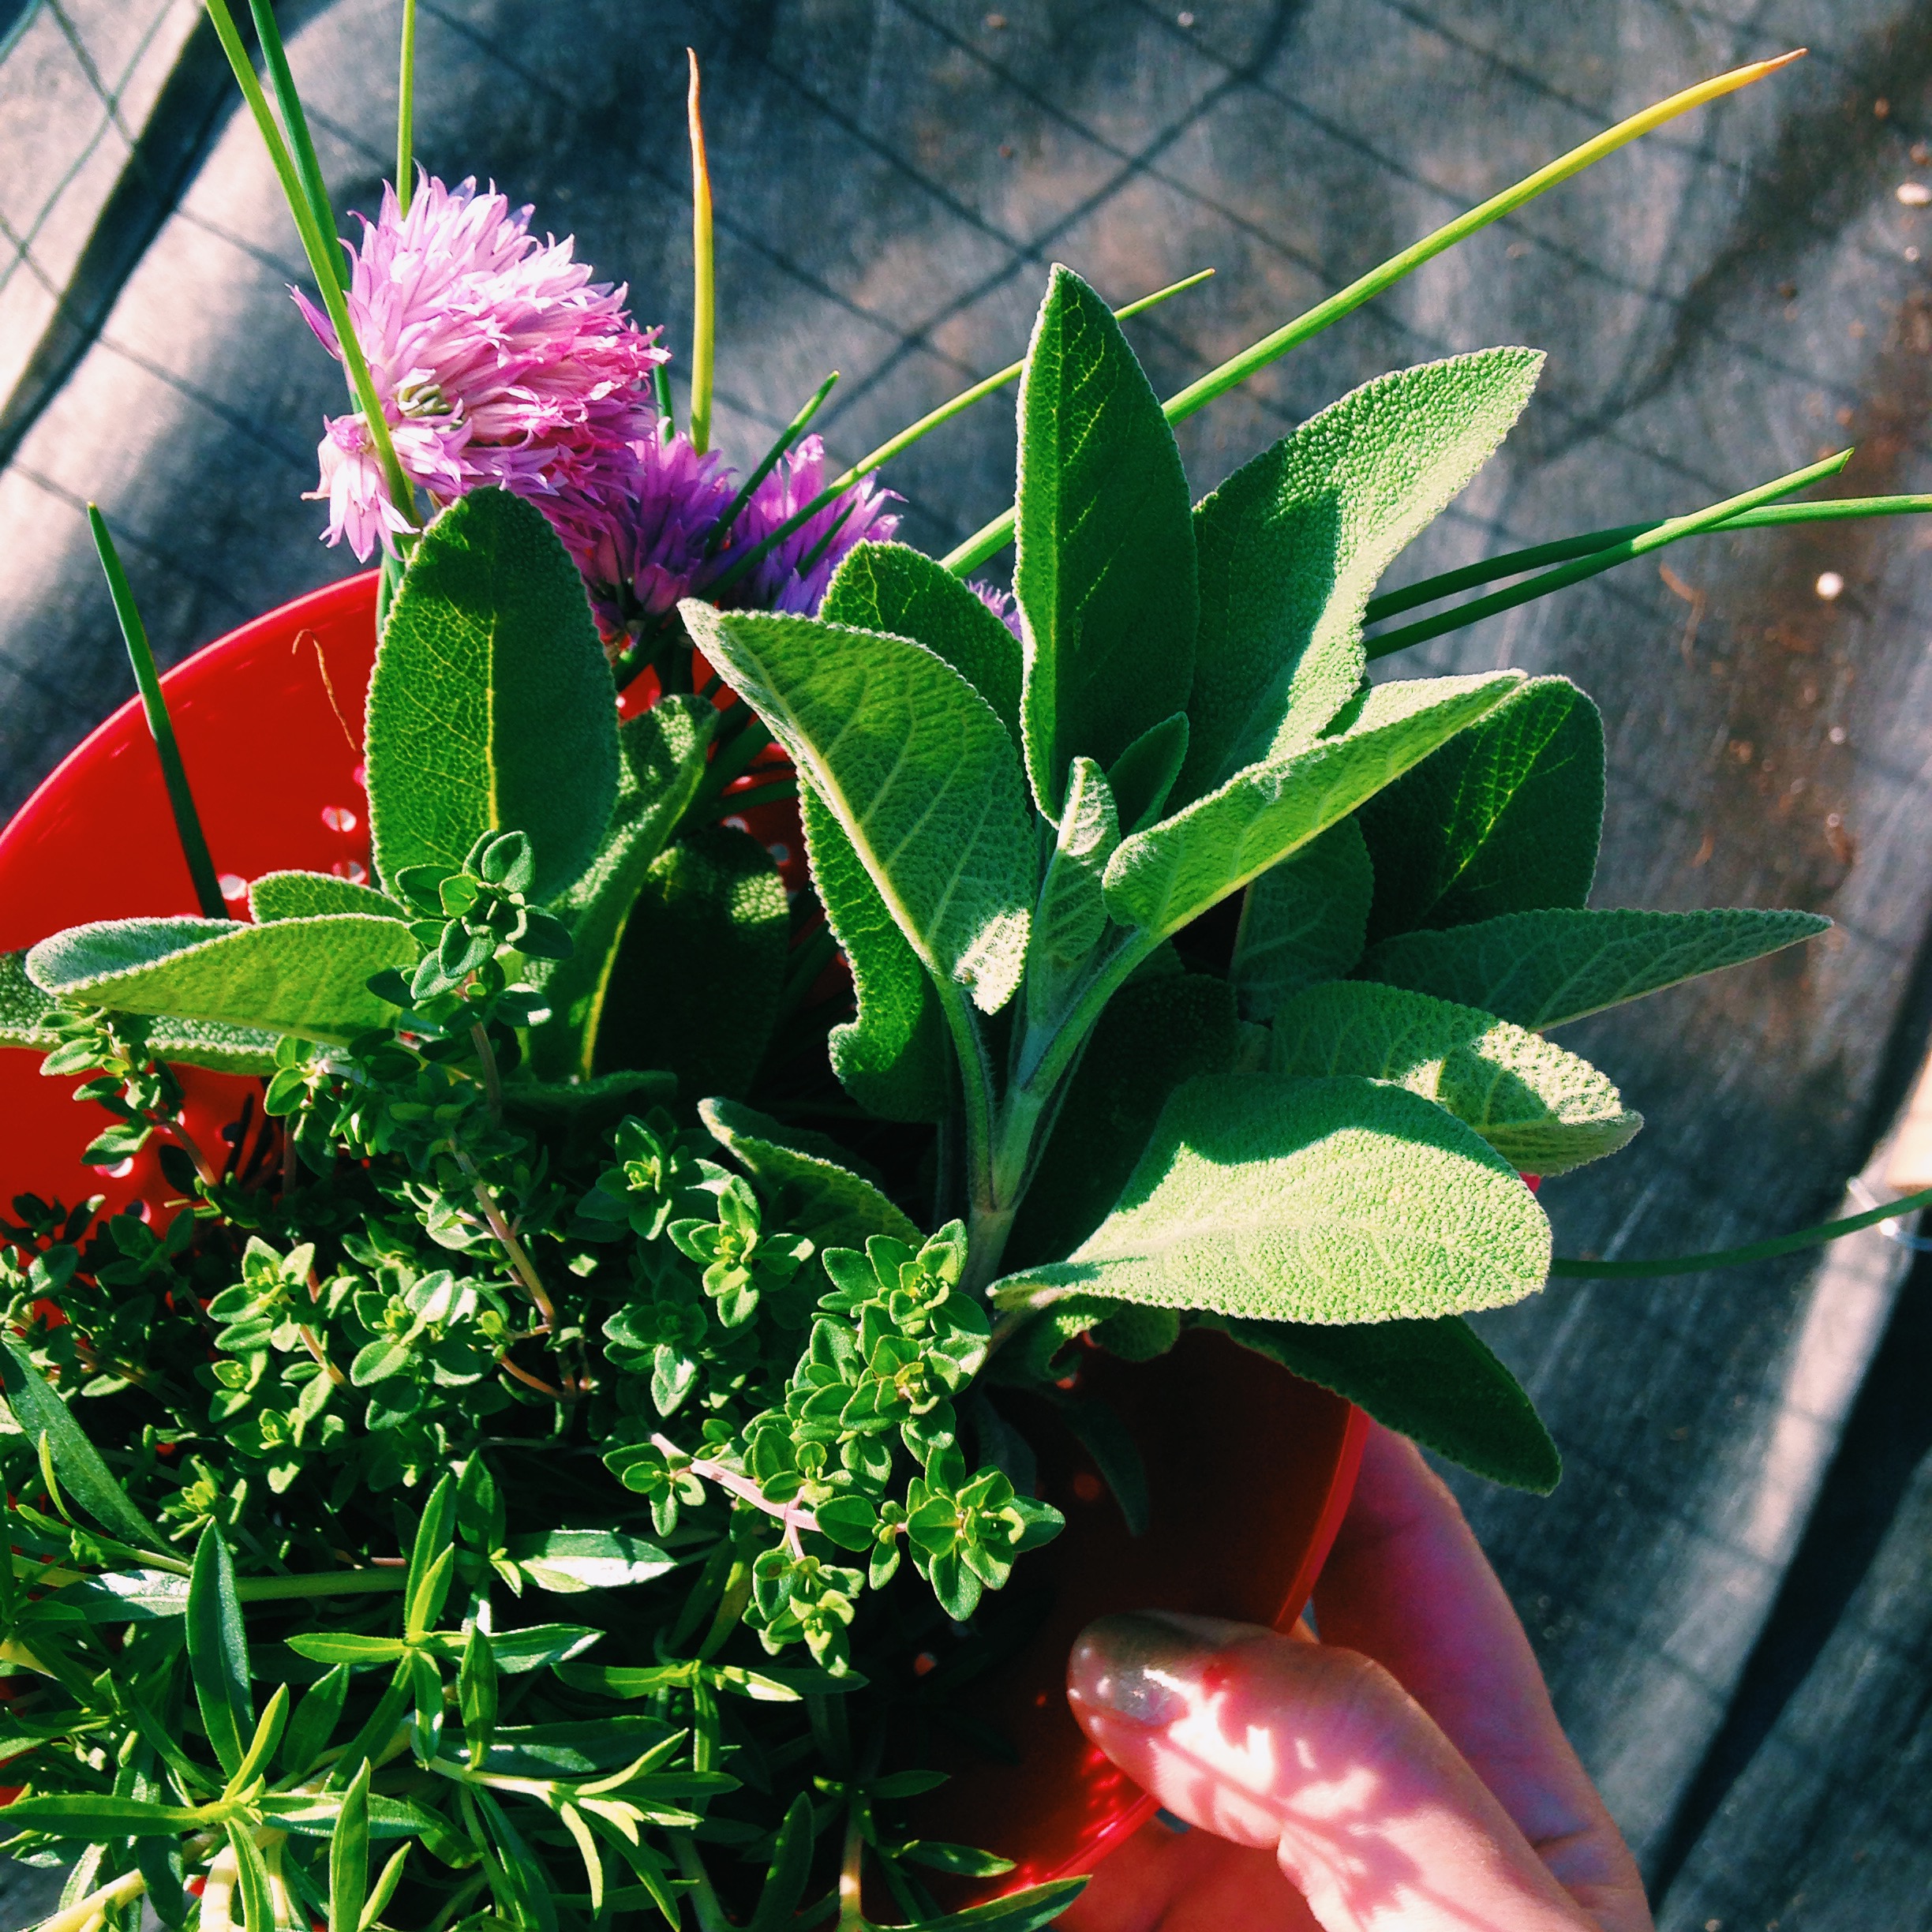
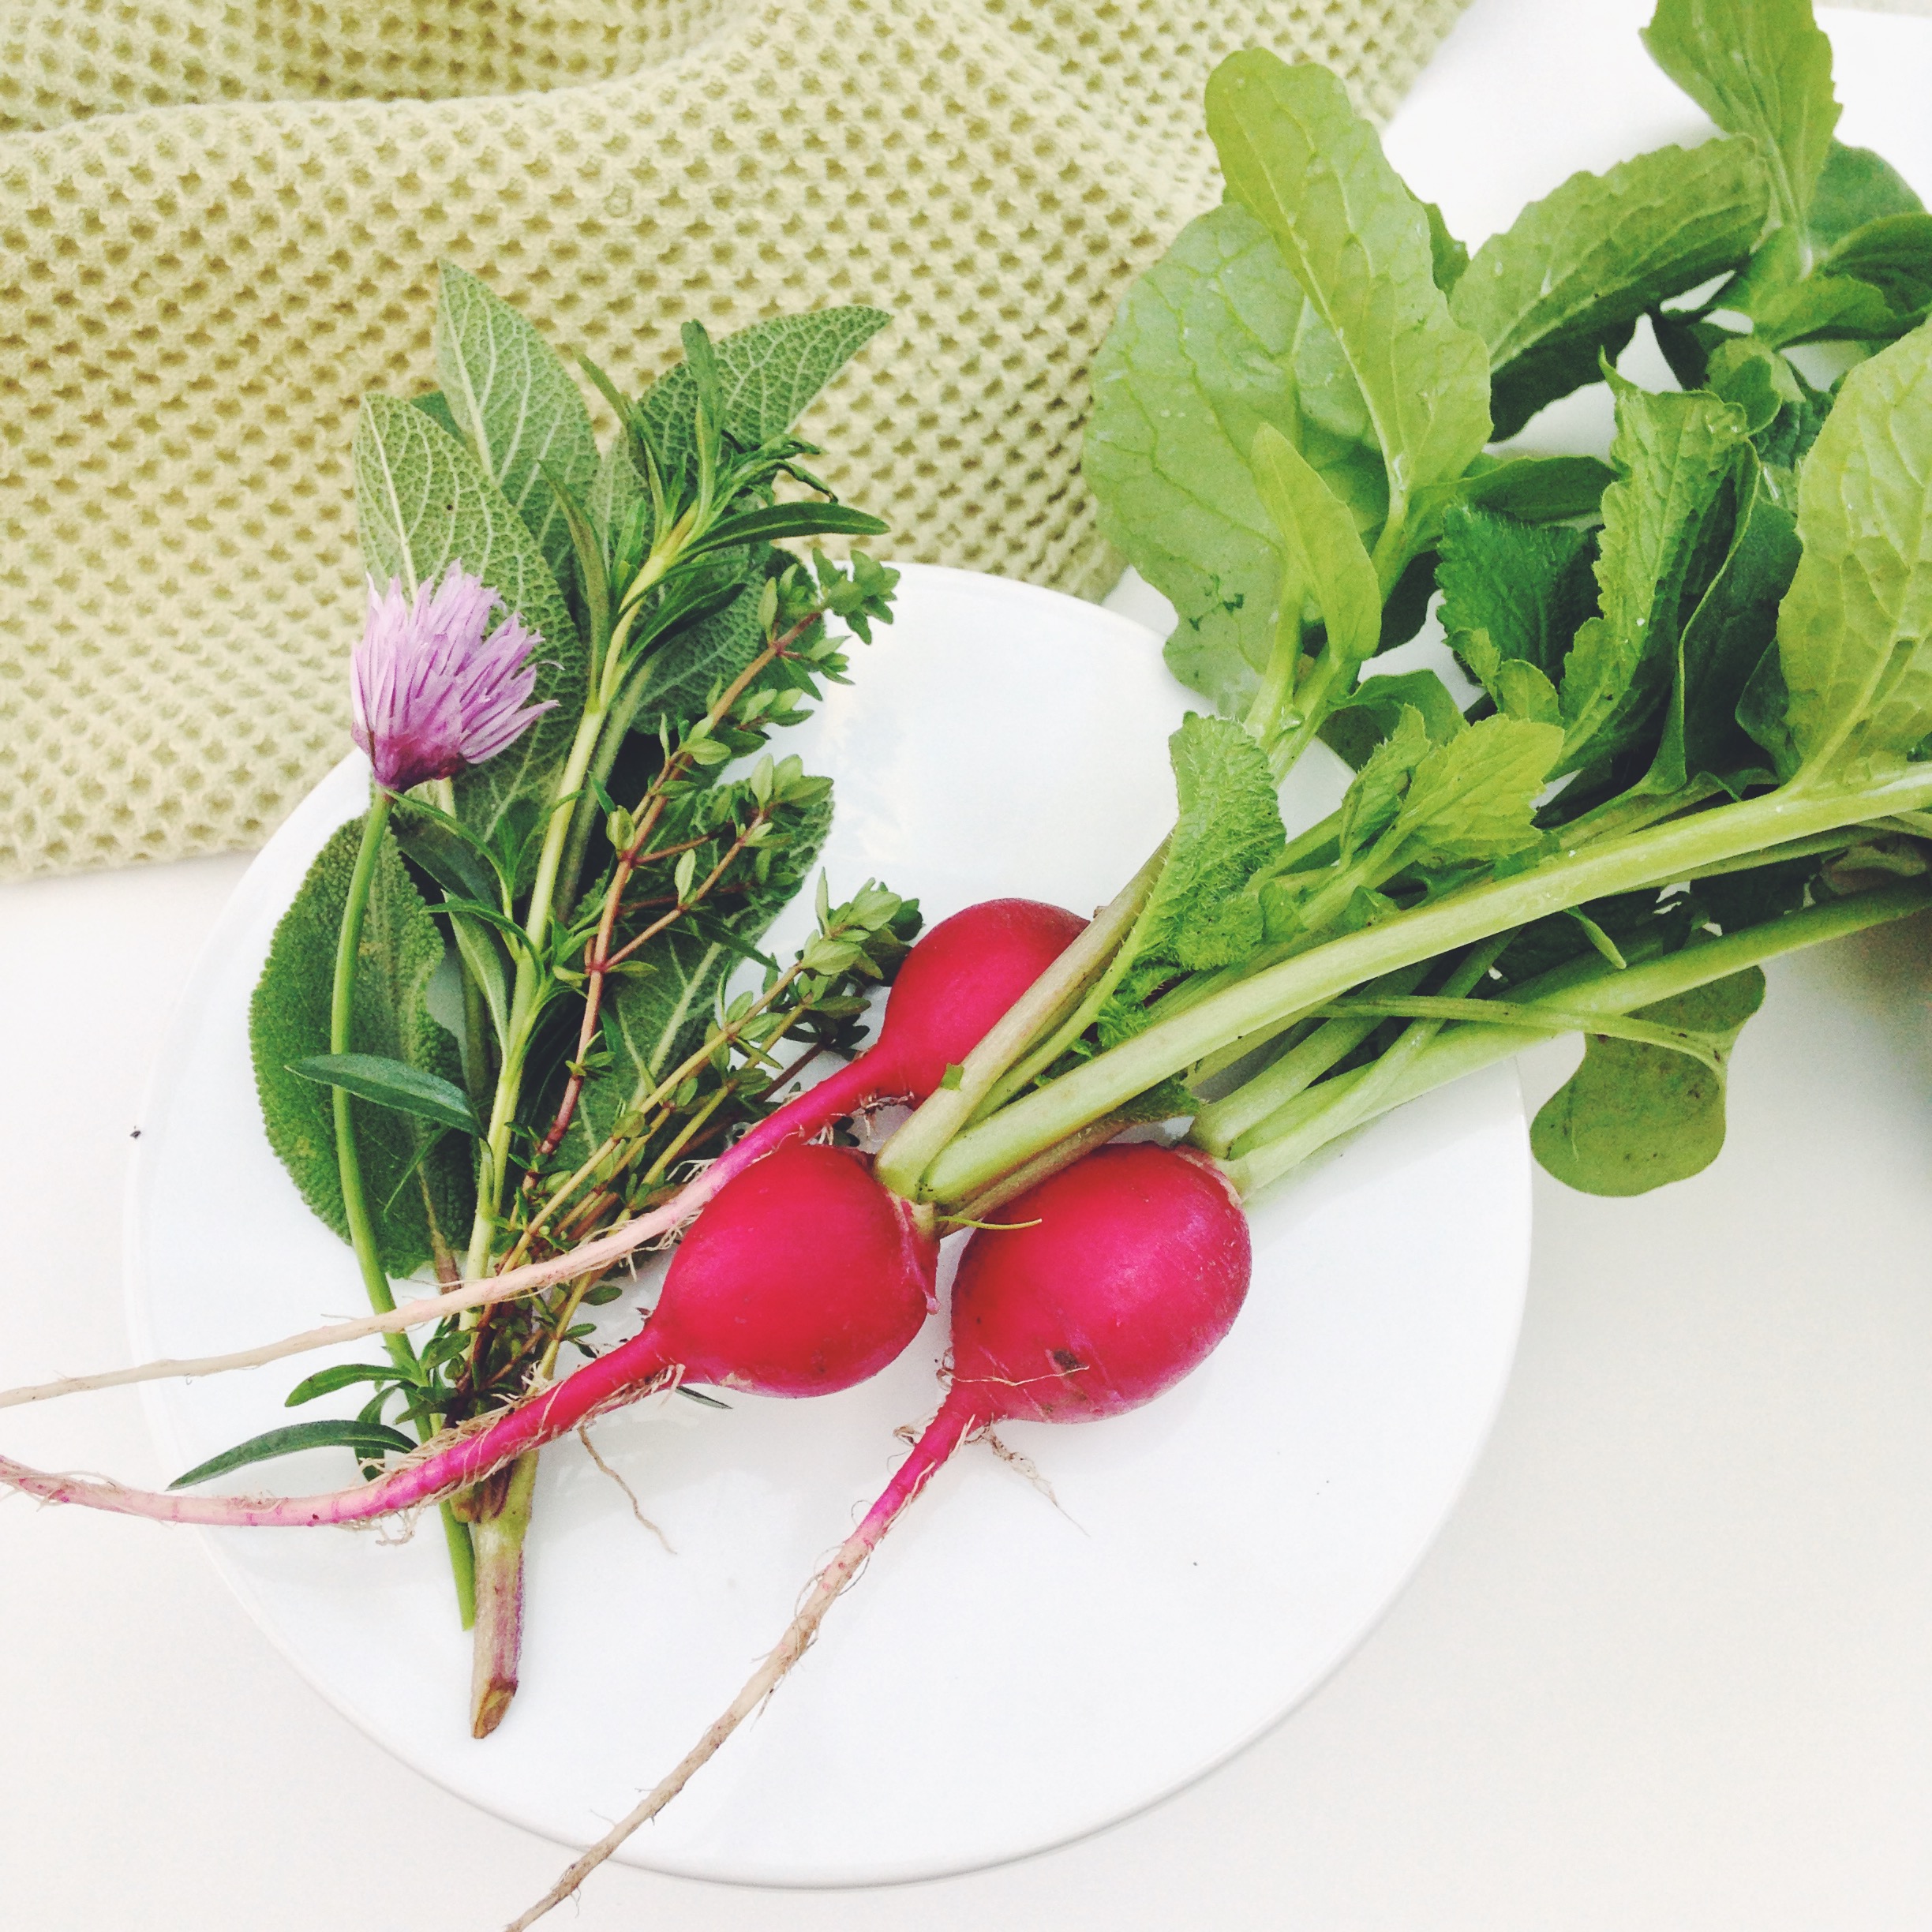
- A variety of herbs (preferably fresh, but dried will do just fine.)
- 1 can of Tuna
- 1 can of Cannellini Beans
- Good olive oil
- Kosher Salt
- Red pepper flakes
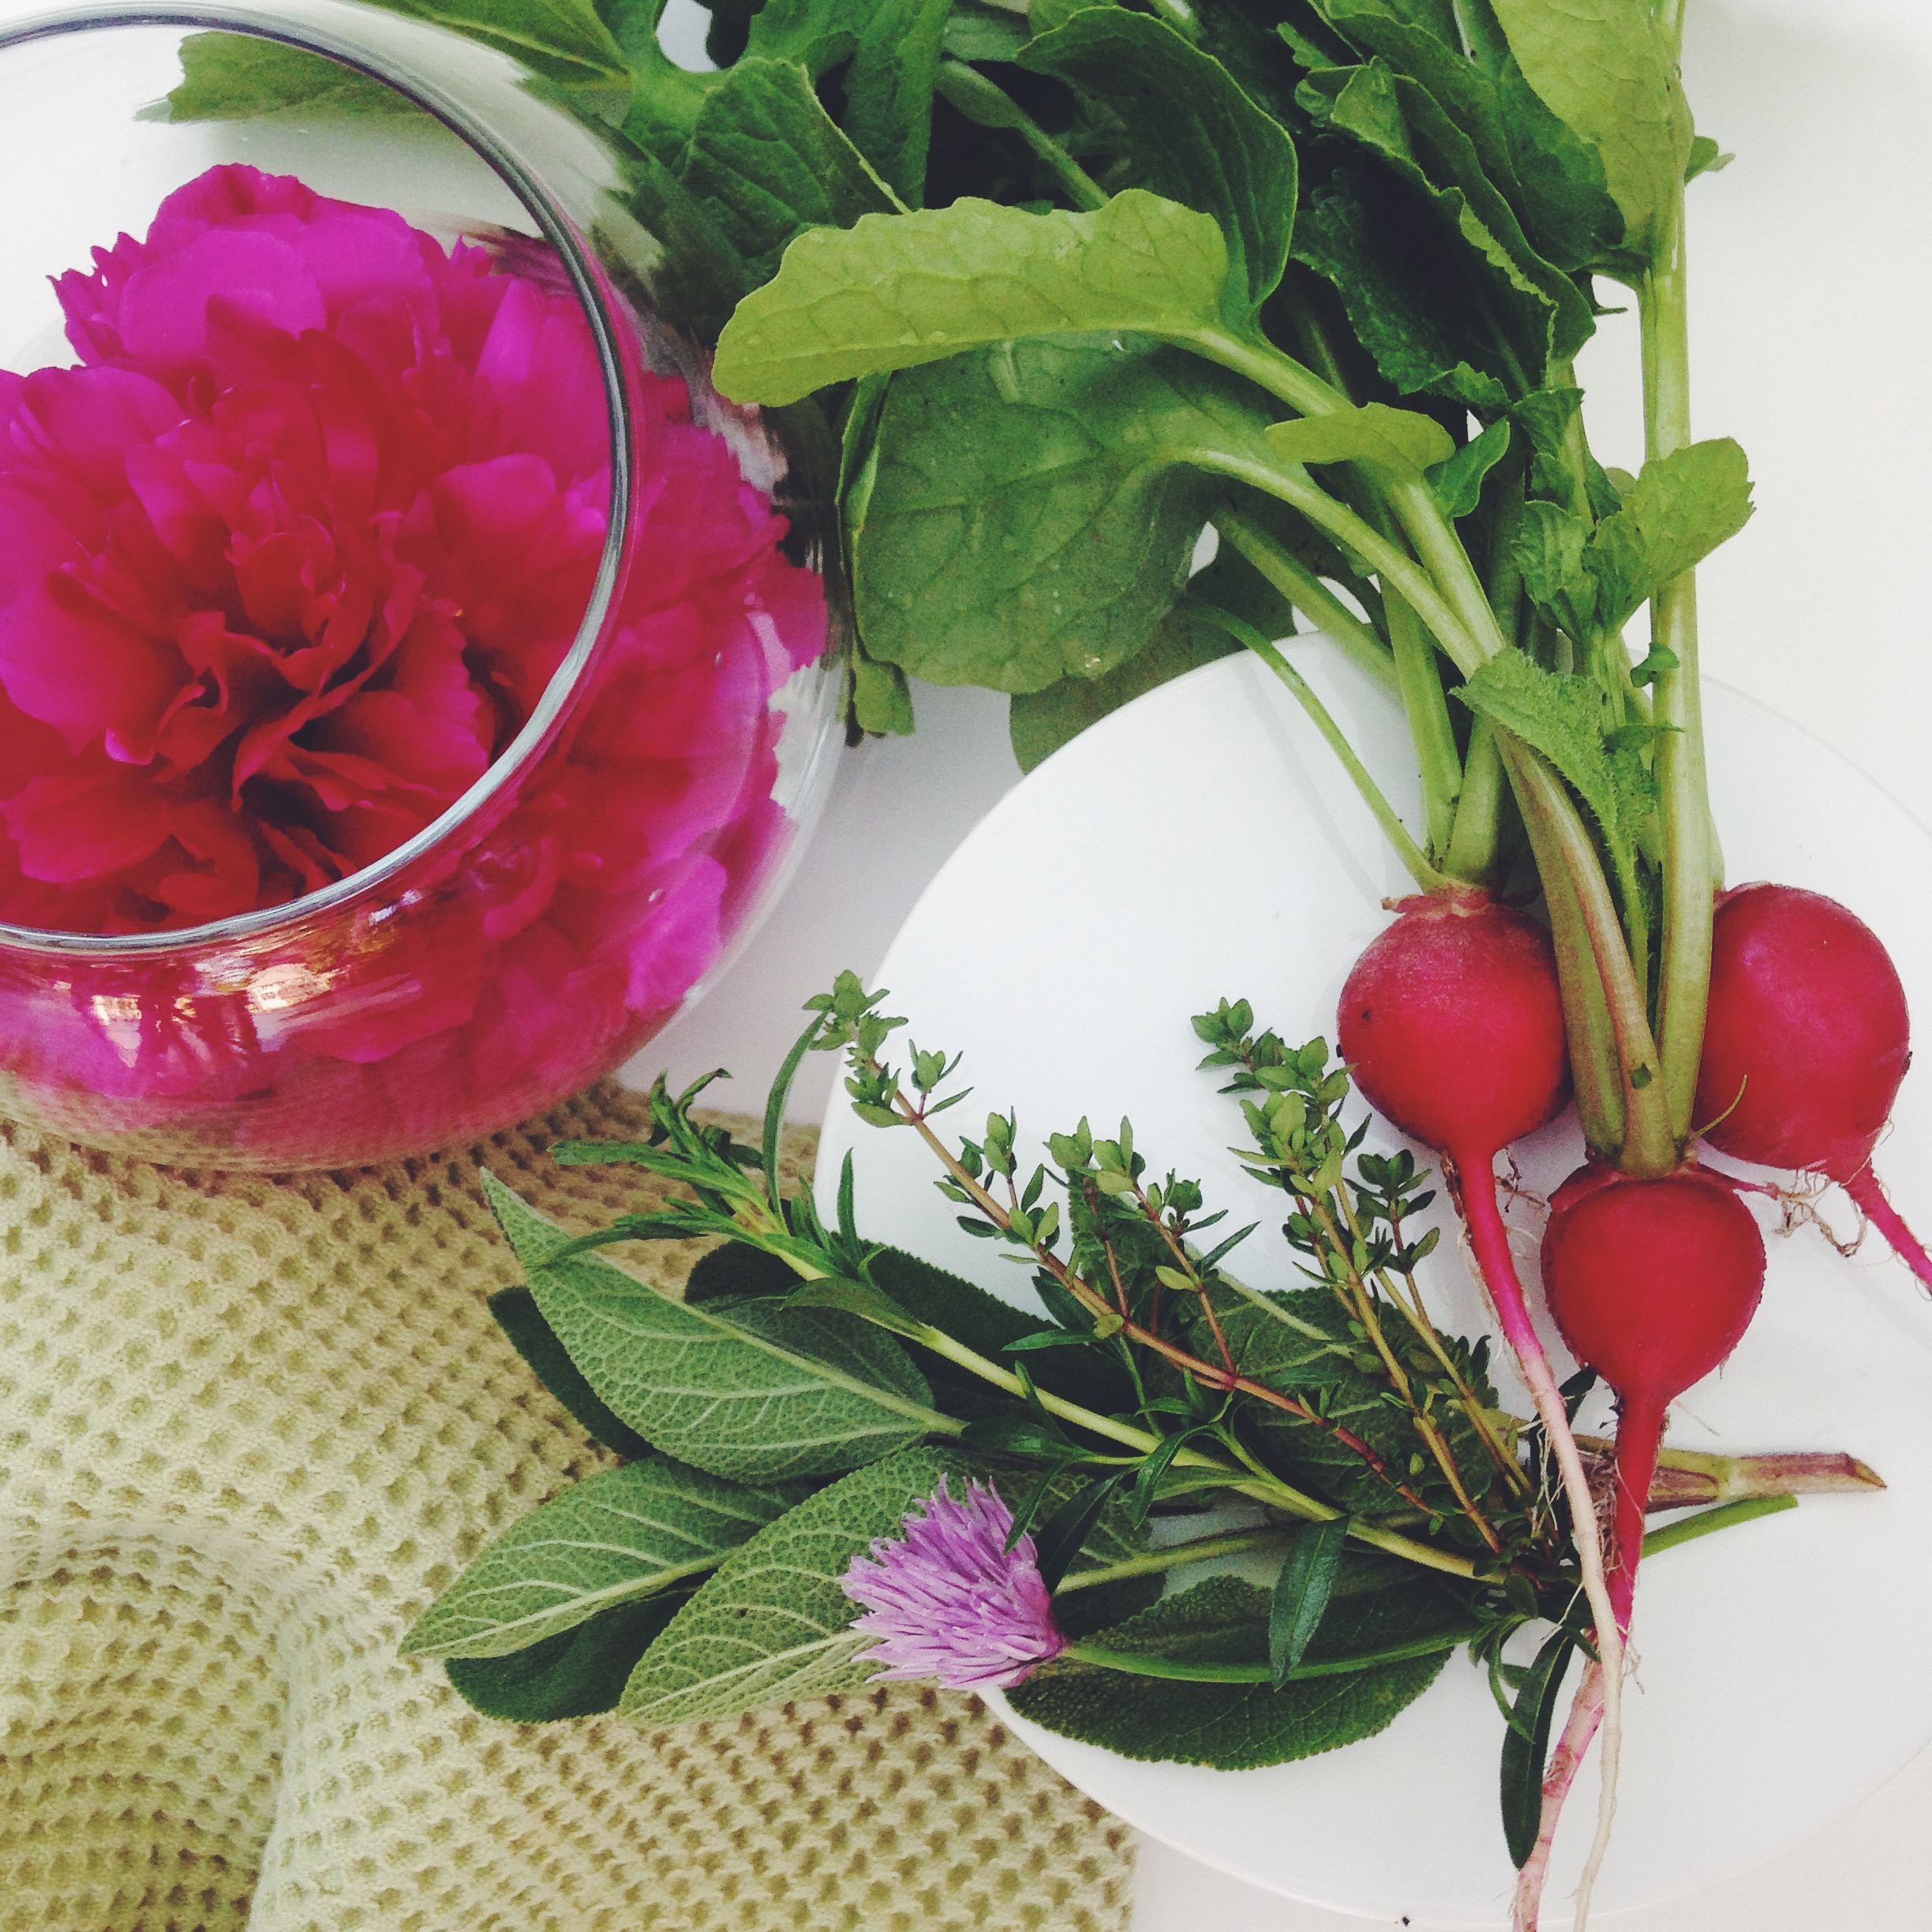
- Greens*
- Fresh radishes for garnish *(optional)

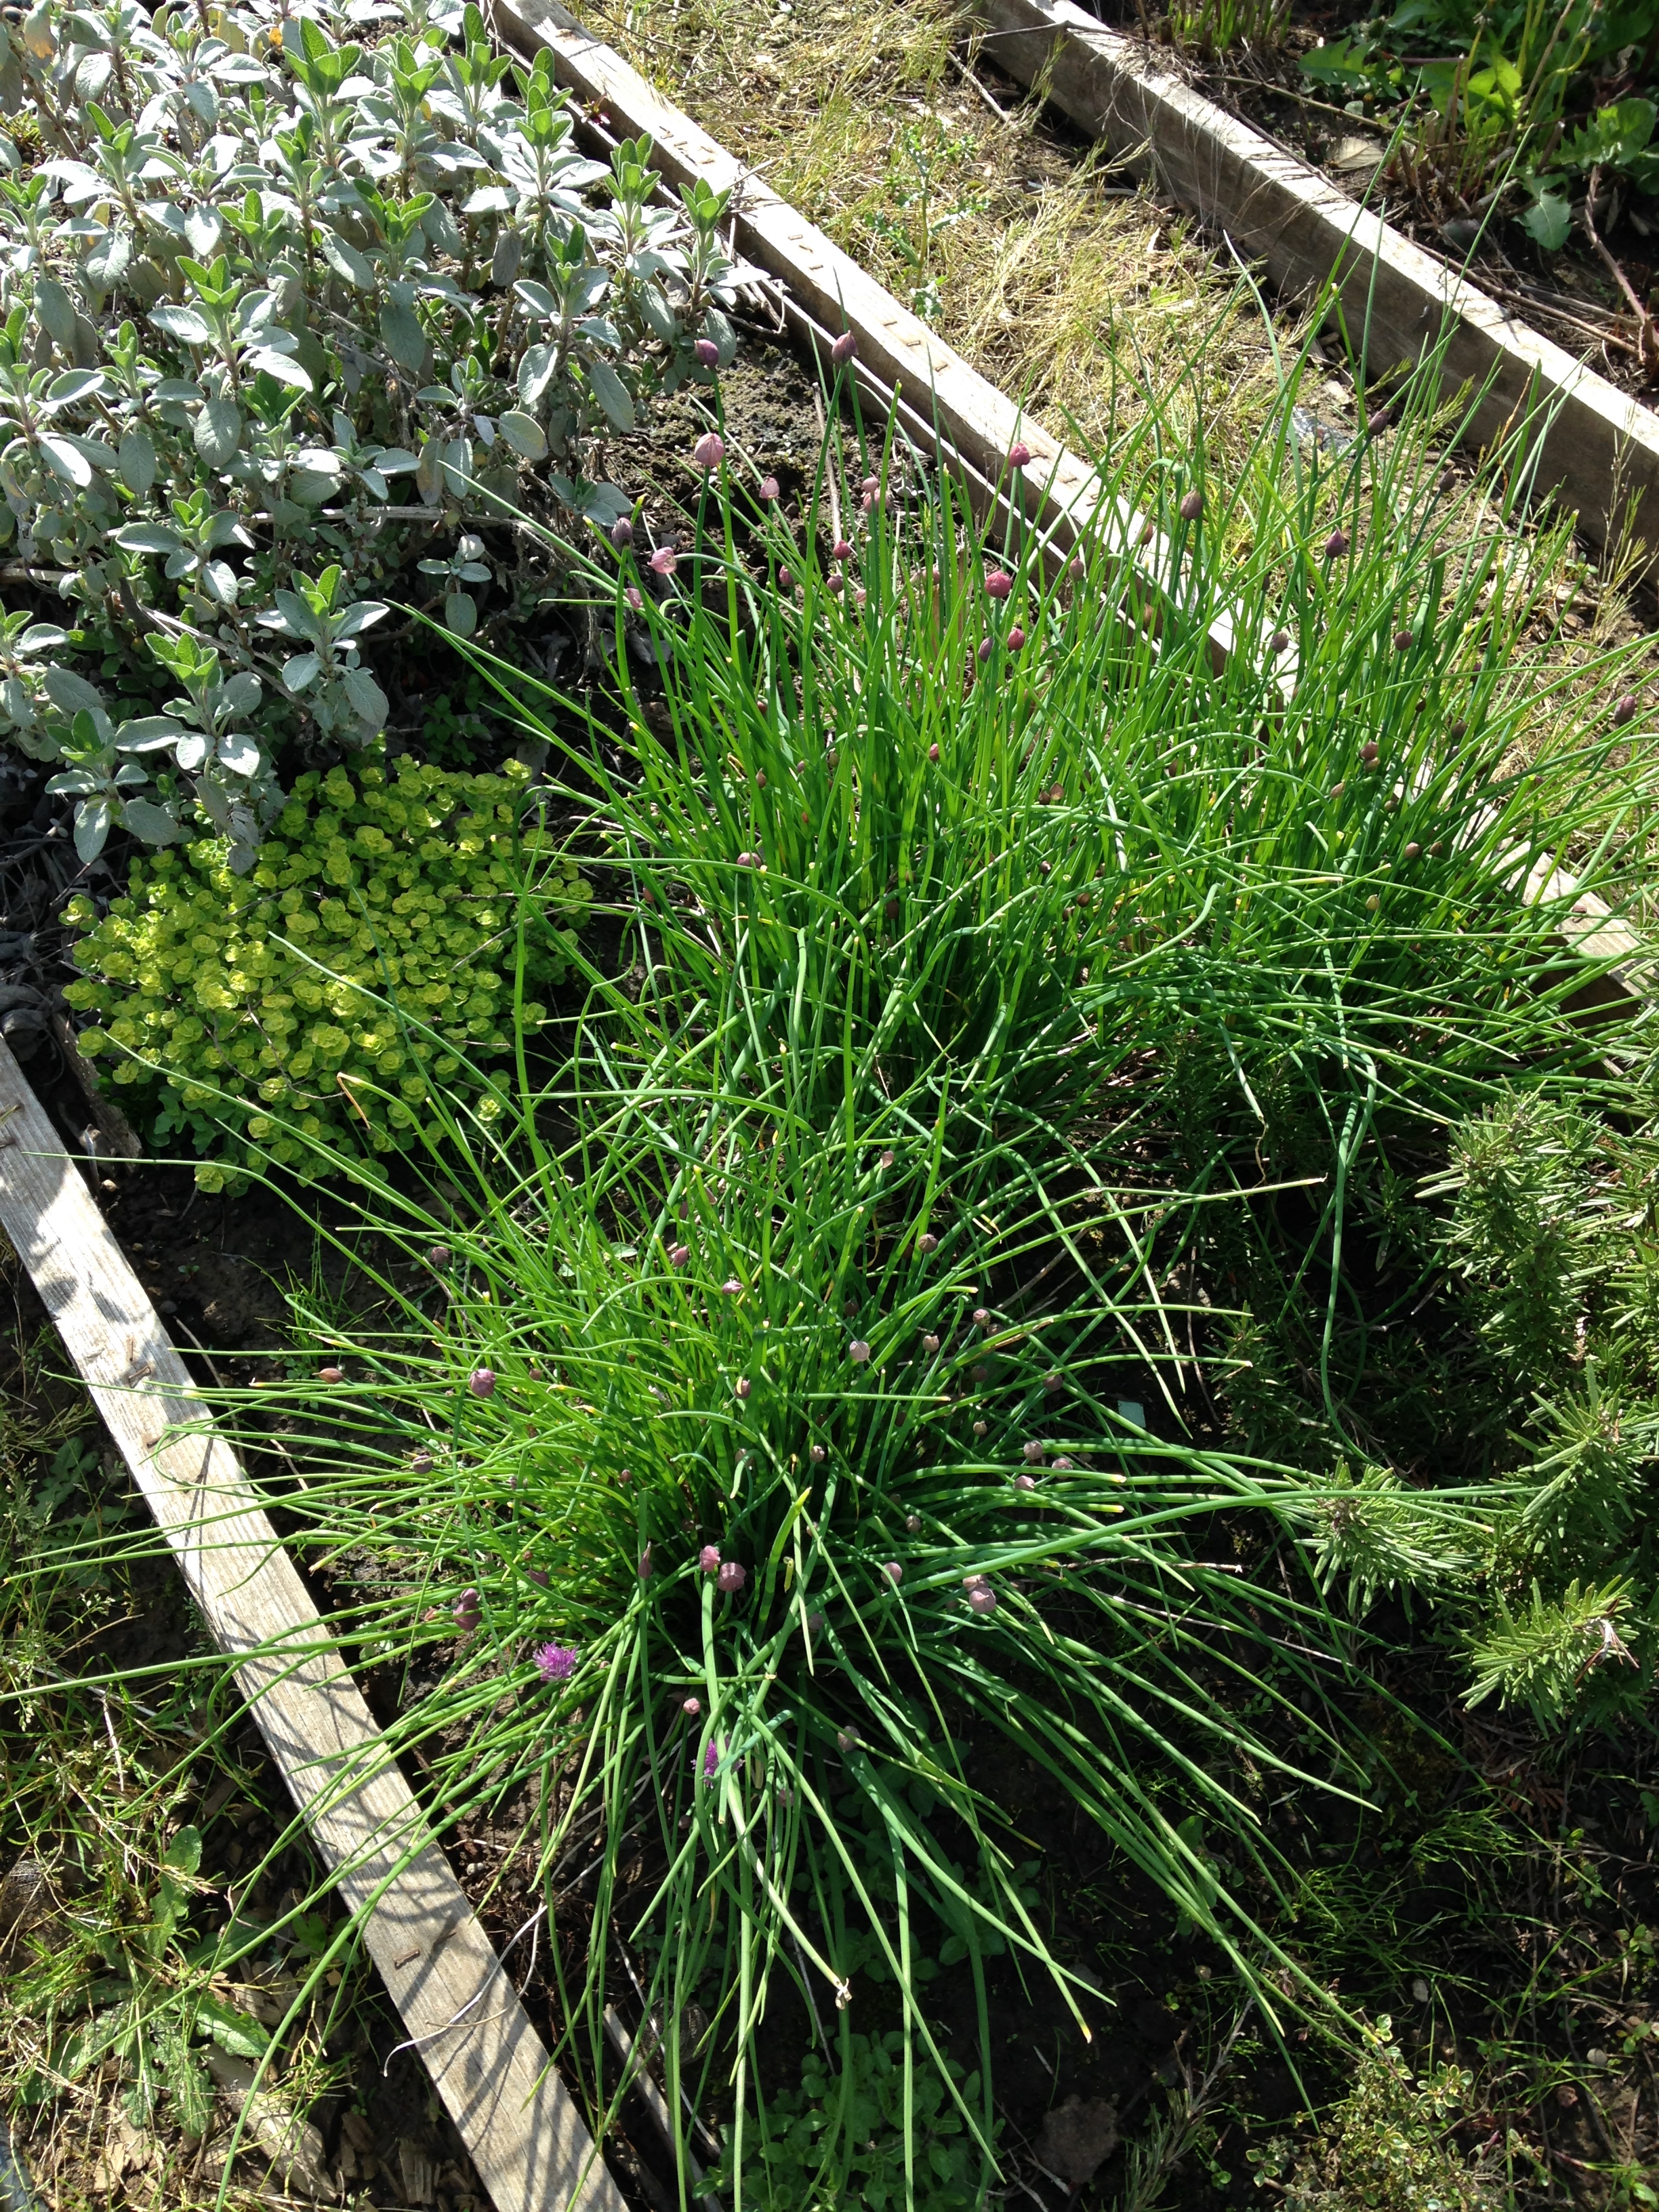
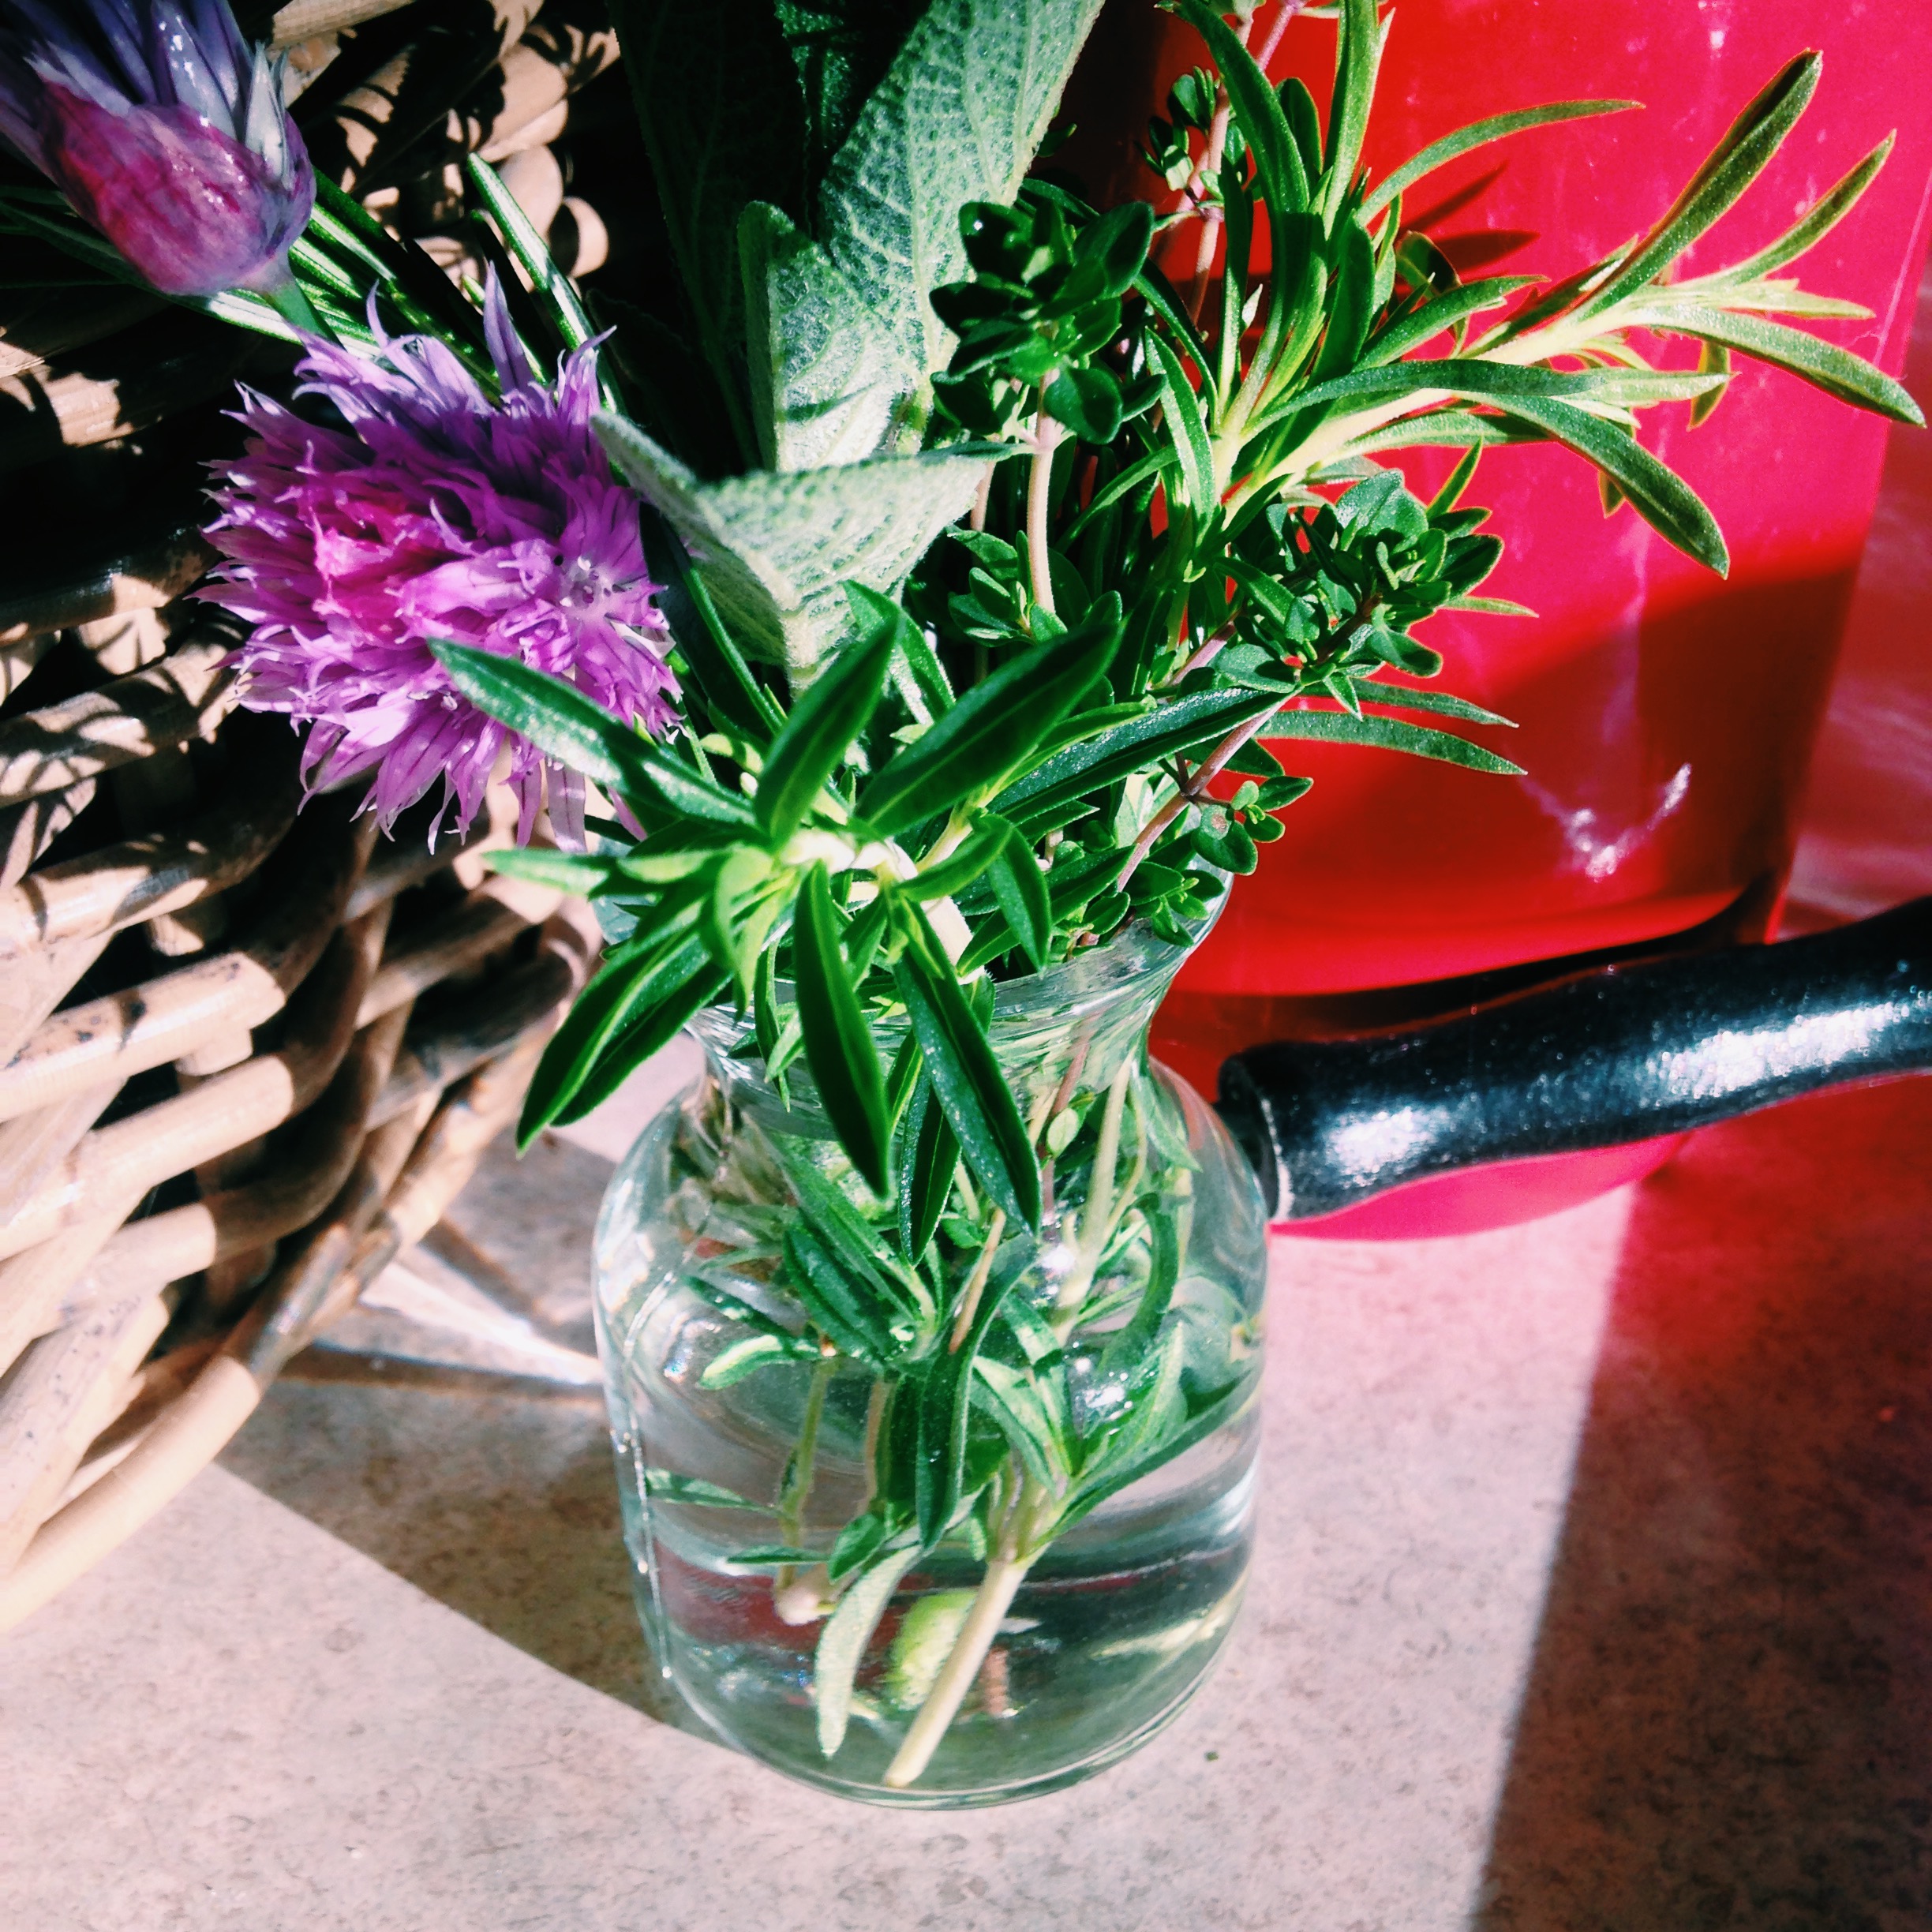
herb garden
I usually just head out to my herb garden and harvest a small handful of whatever looks and sounds good. In this particular dish I used Rosemary, Sage, Winter Savory, Thyme, and Chives. If you don’t have an herb garden, a medley of herbs from the store or the farmers market will do, or just dig around your spice cabinet. Though, I will say, that if you have any space at all to plant herbs, even if it is just in a few pots on the windowsill or back porch, they are the plants that get the most traffic in my garden. I love using them for garnishes, to flavor water, to season dishes, and when I’m in a pinch for a hostess gift, I usually will bring a bundle of fresh herbs wrapped in bakers twine. It’s useful, charming, and simple to put together. You will look like a domestic goddess, people will be impressed by the gesture, and all will be right with your dinner party world.
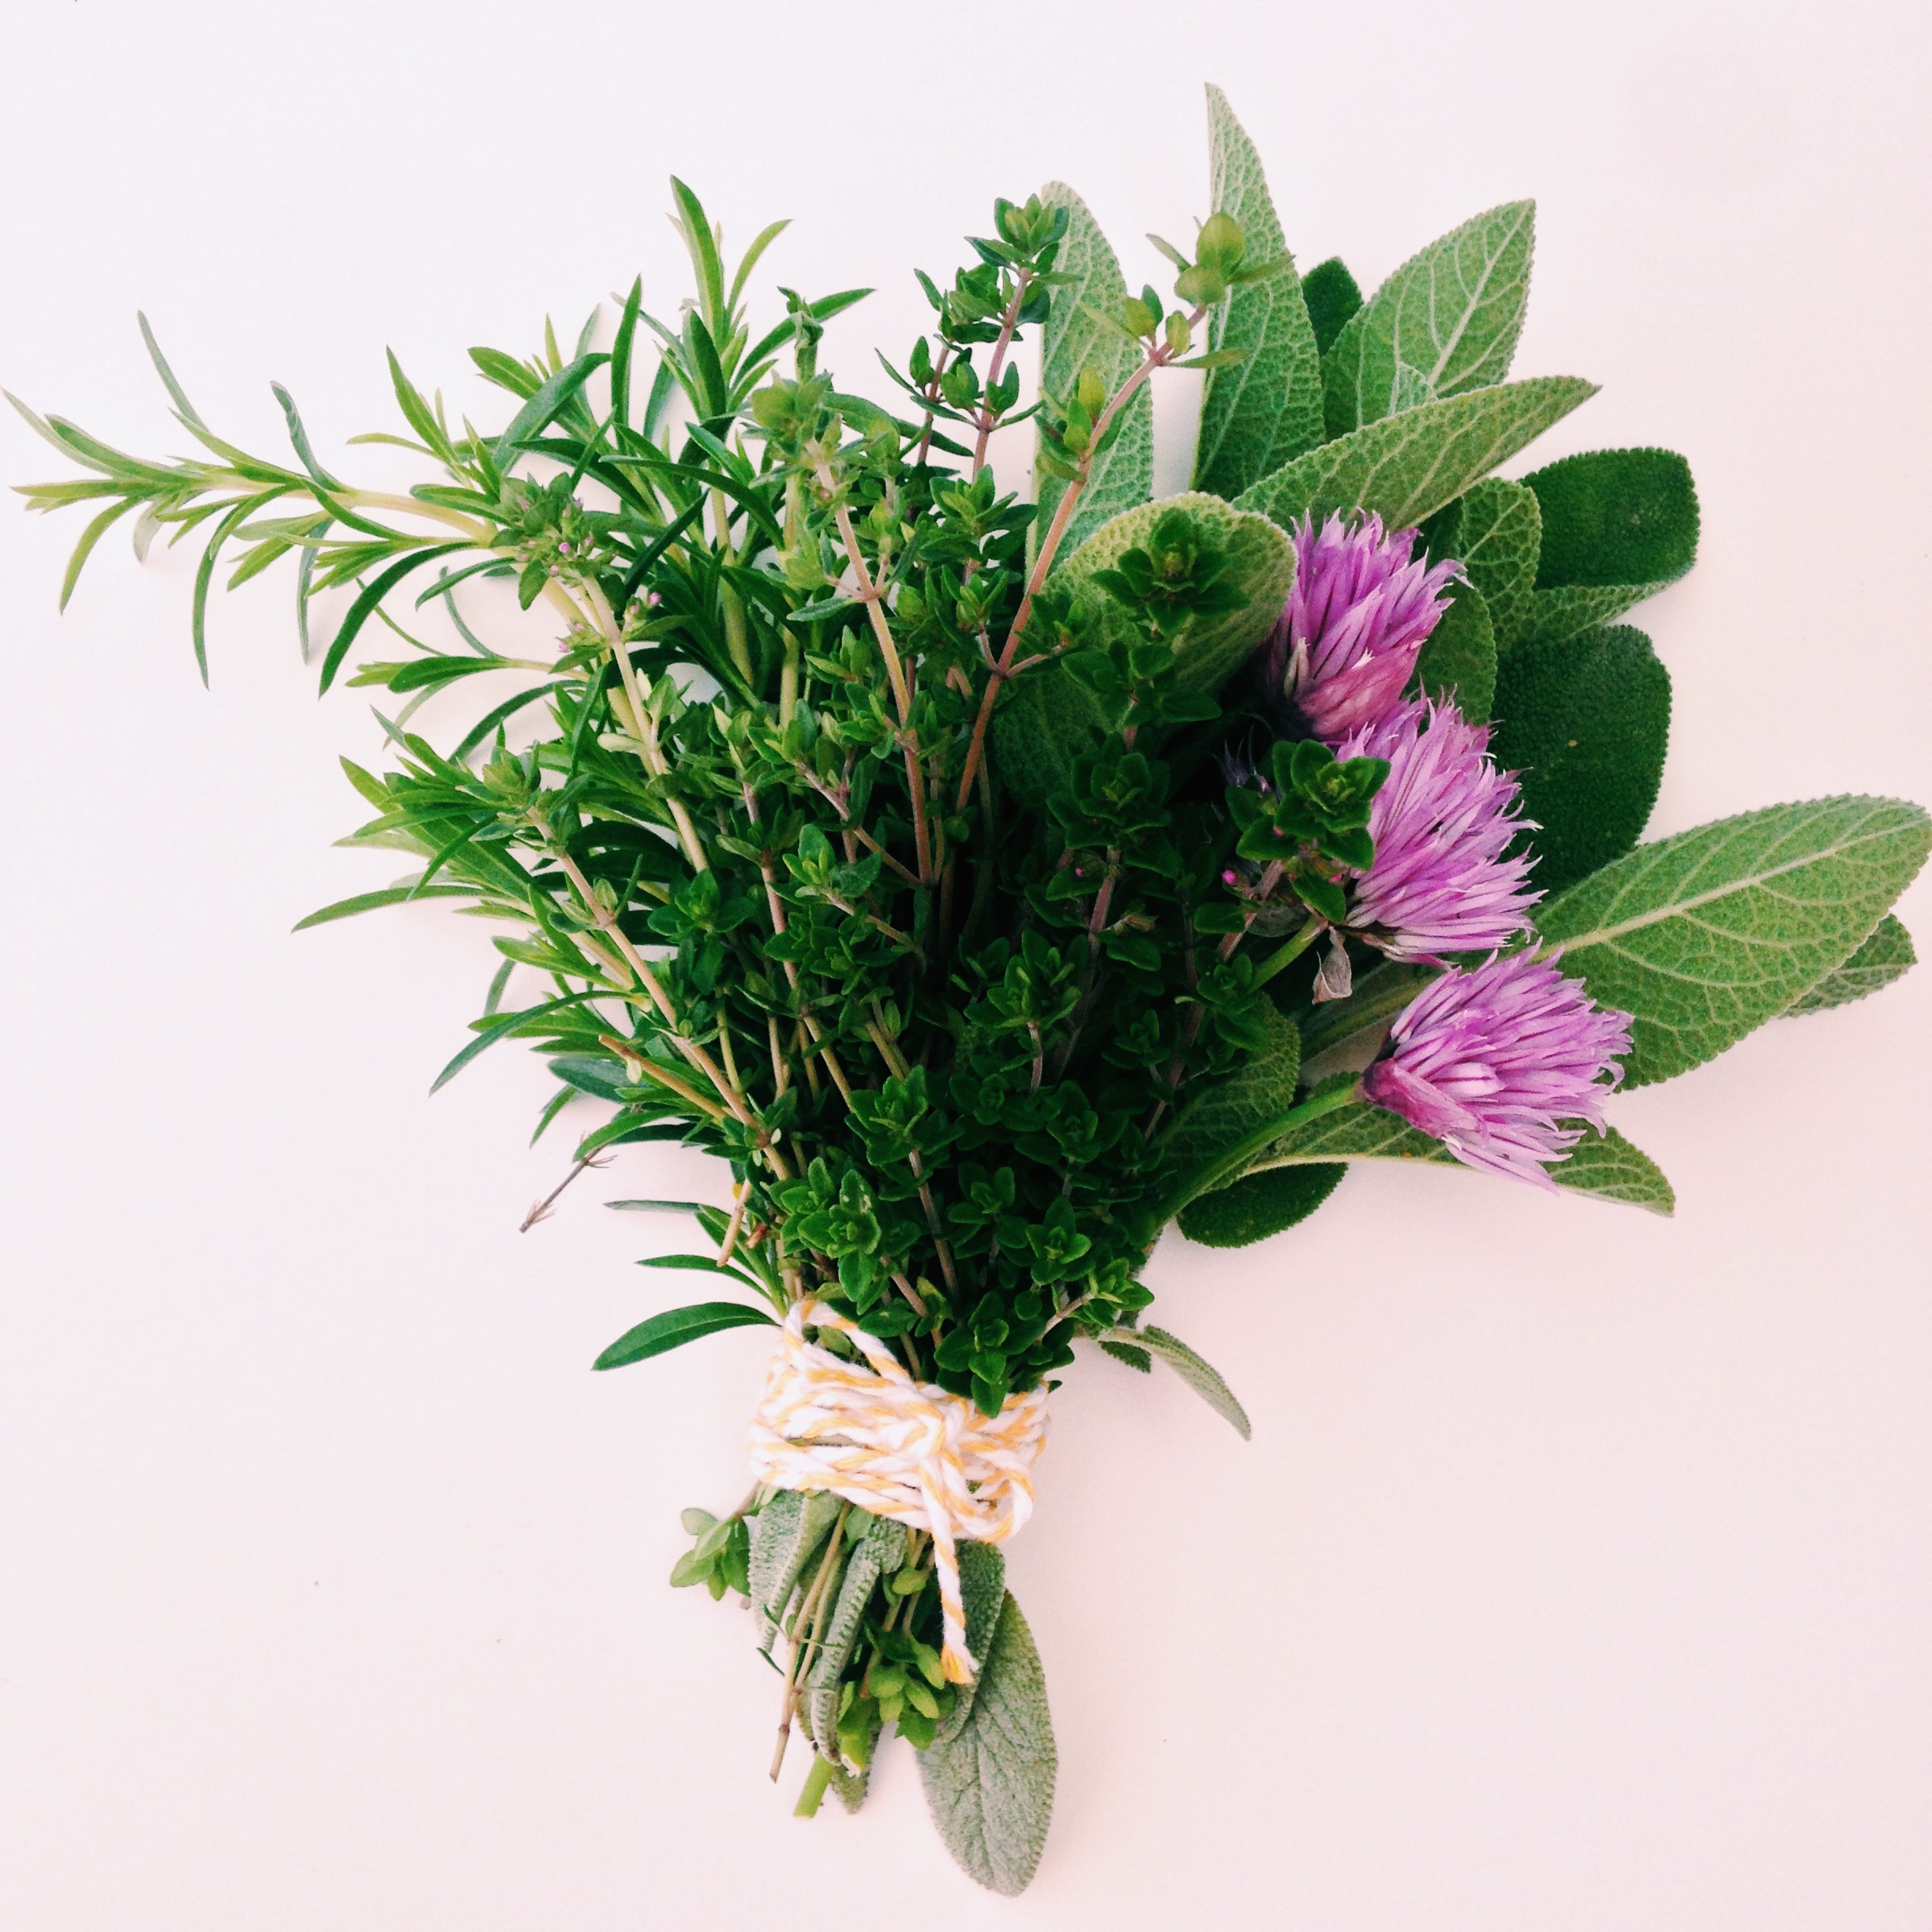
bundled and ready to take as a hostess gift
herbs
Another great thing to add to the mix a little later in the season is edible flowers. Chives are the only edible blossoms I’ve got up right now, but I’m looking forward to utilizing more edible blooms this summer. Thus far, I have Nasturtiums, Borage, Bee Balm, and Calendula planted around my tomatoes, and I’m excited to be adding them to everything from salads to cocktails.
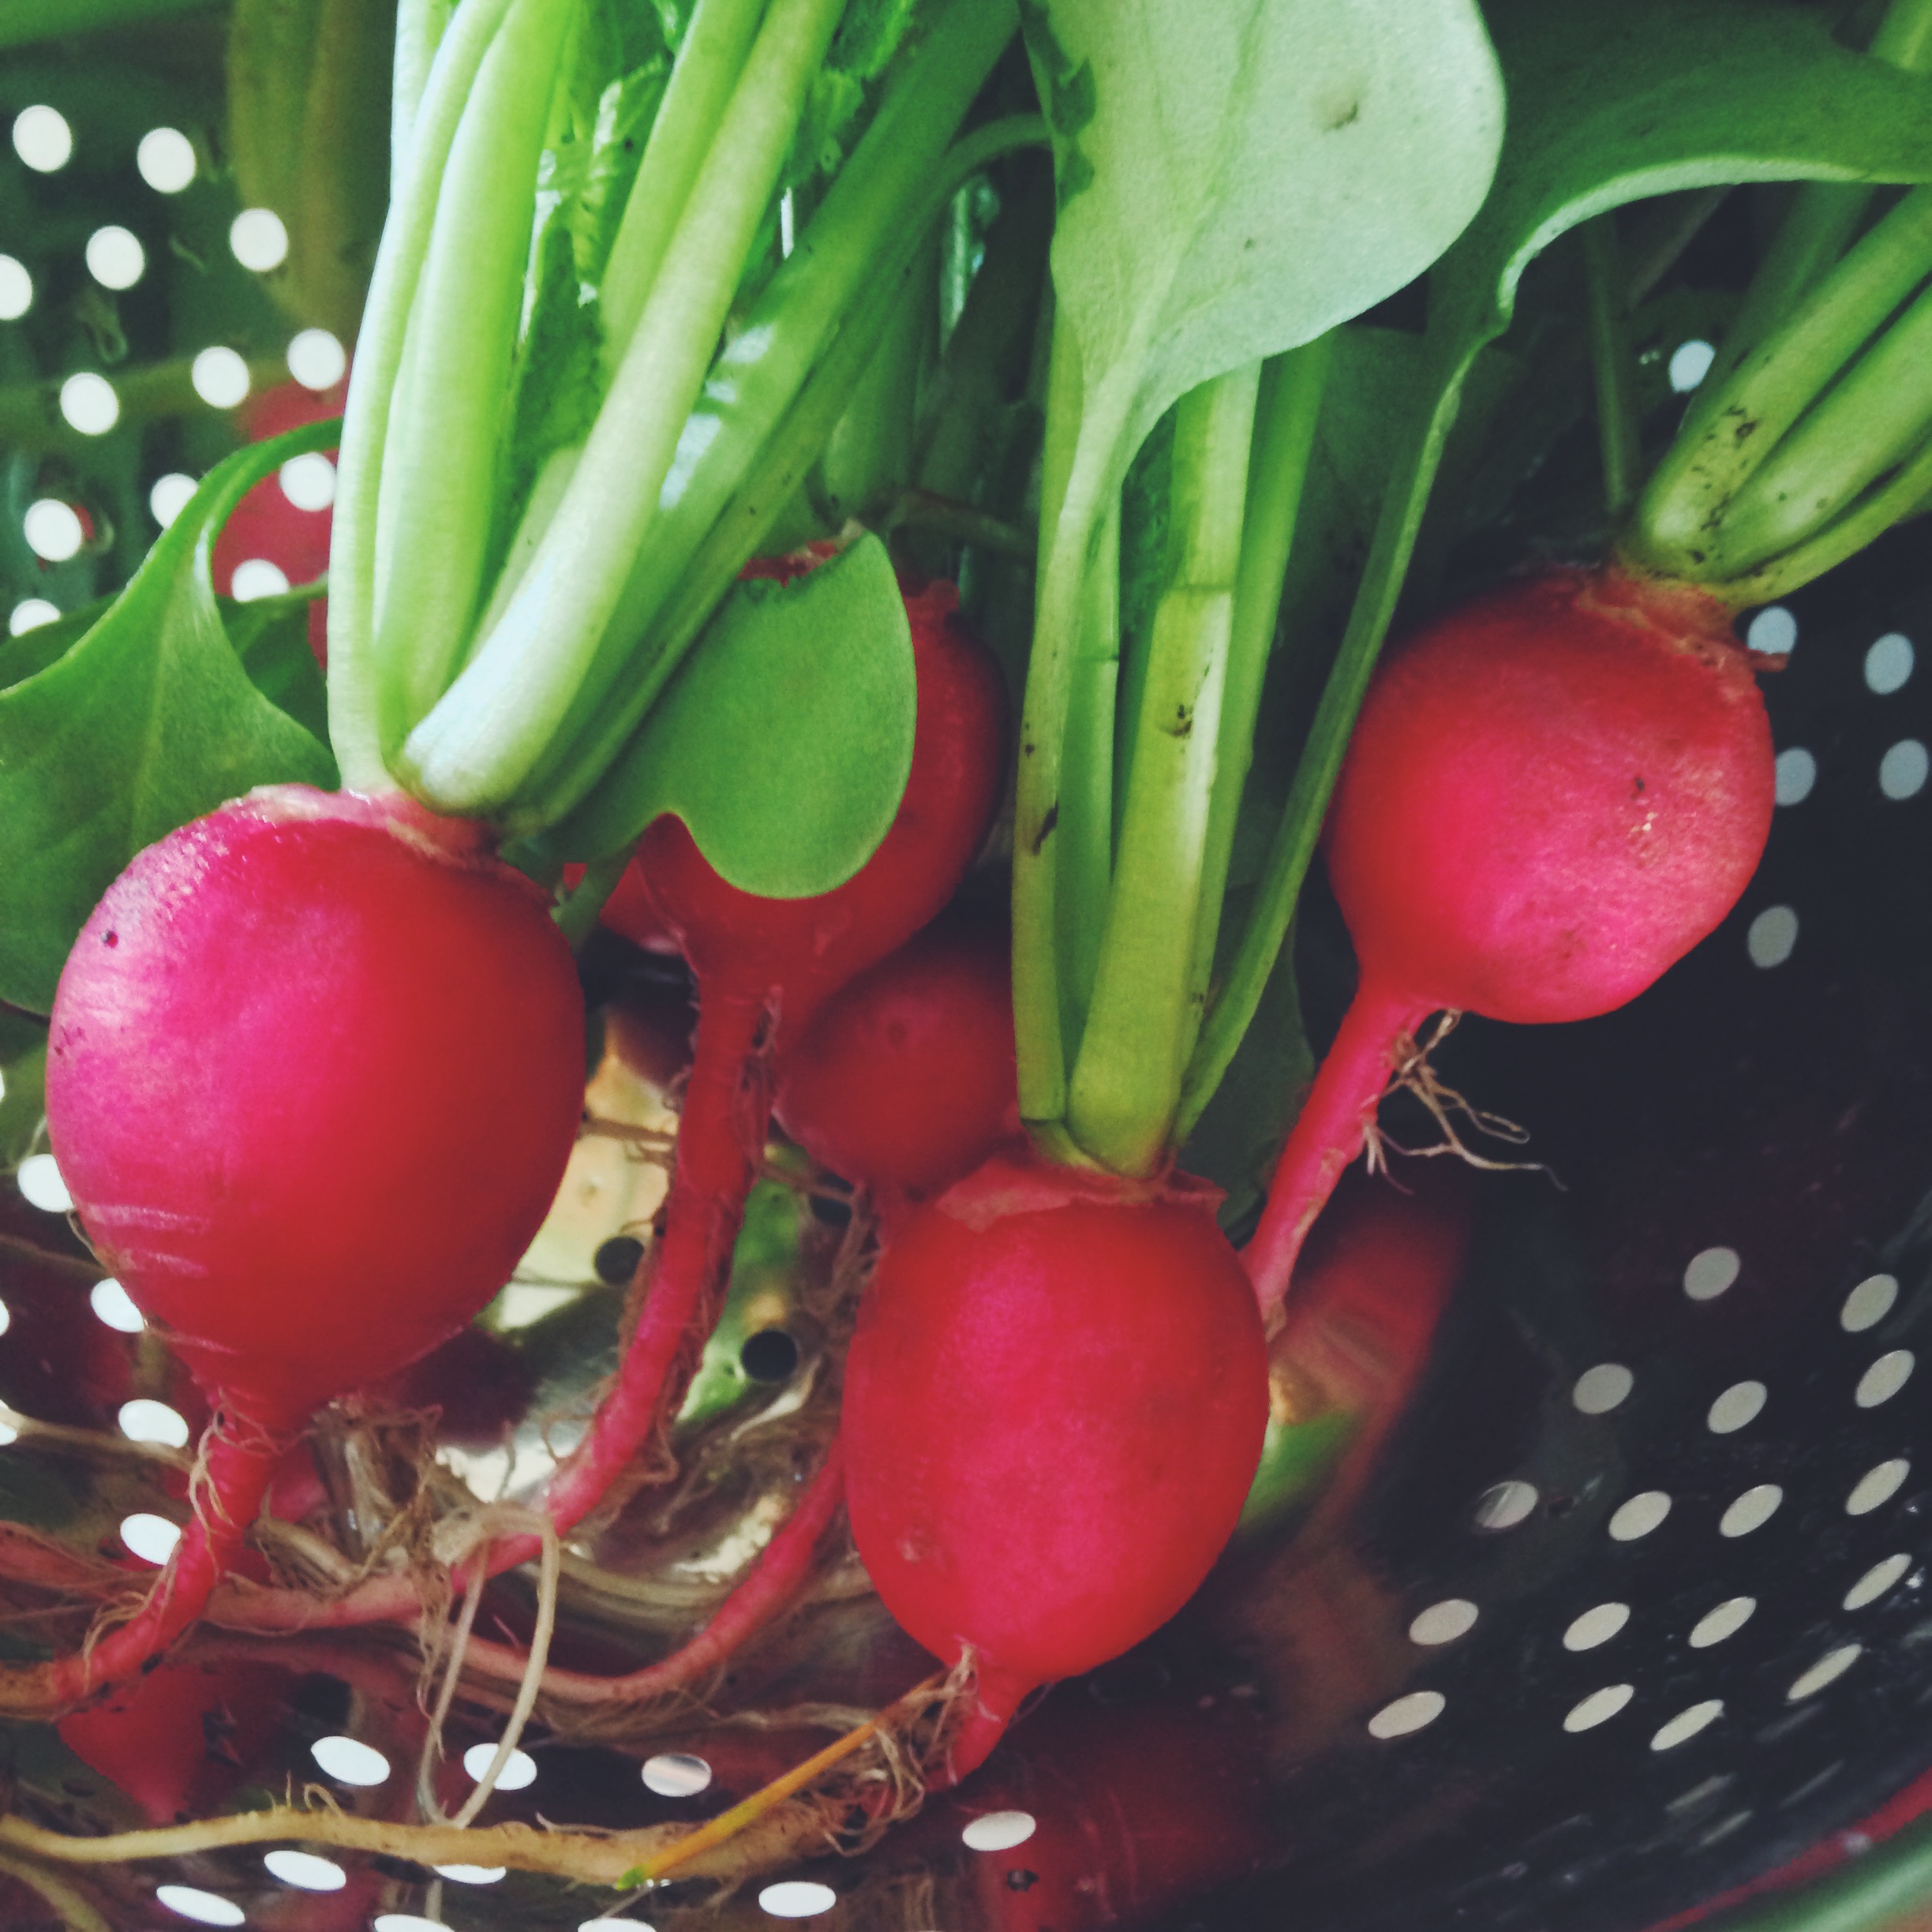
fresh radish
Instructions:
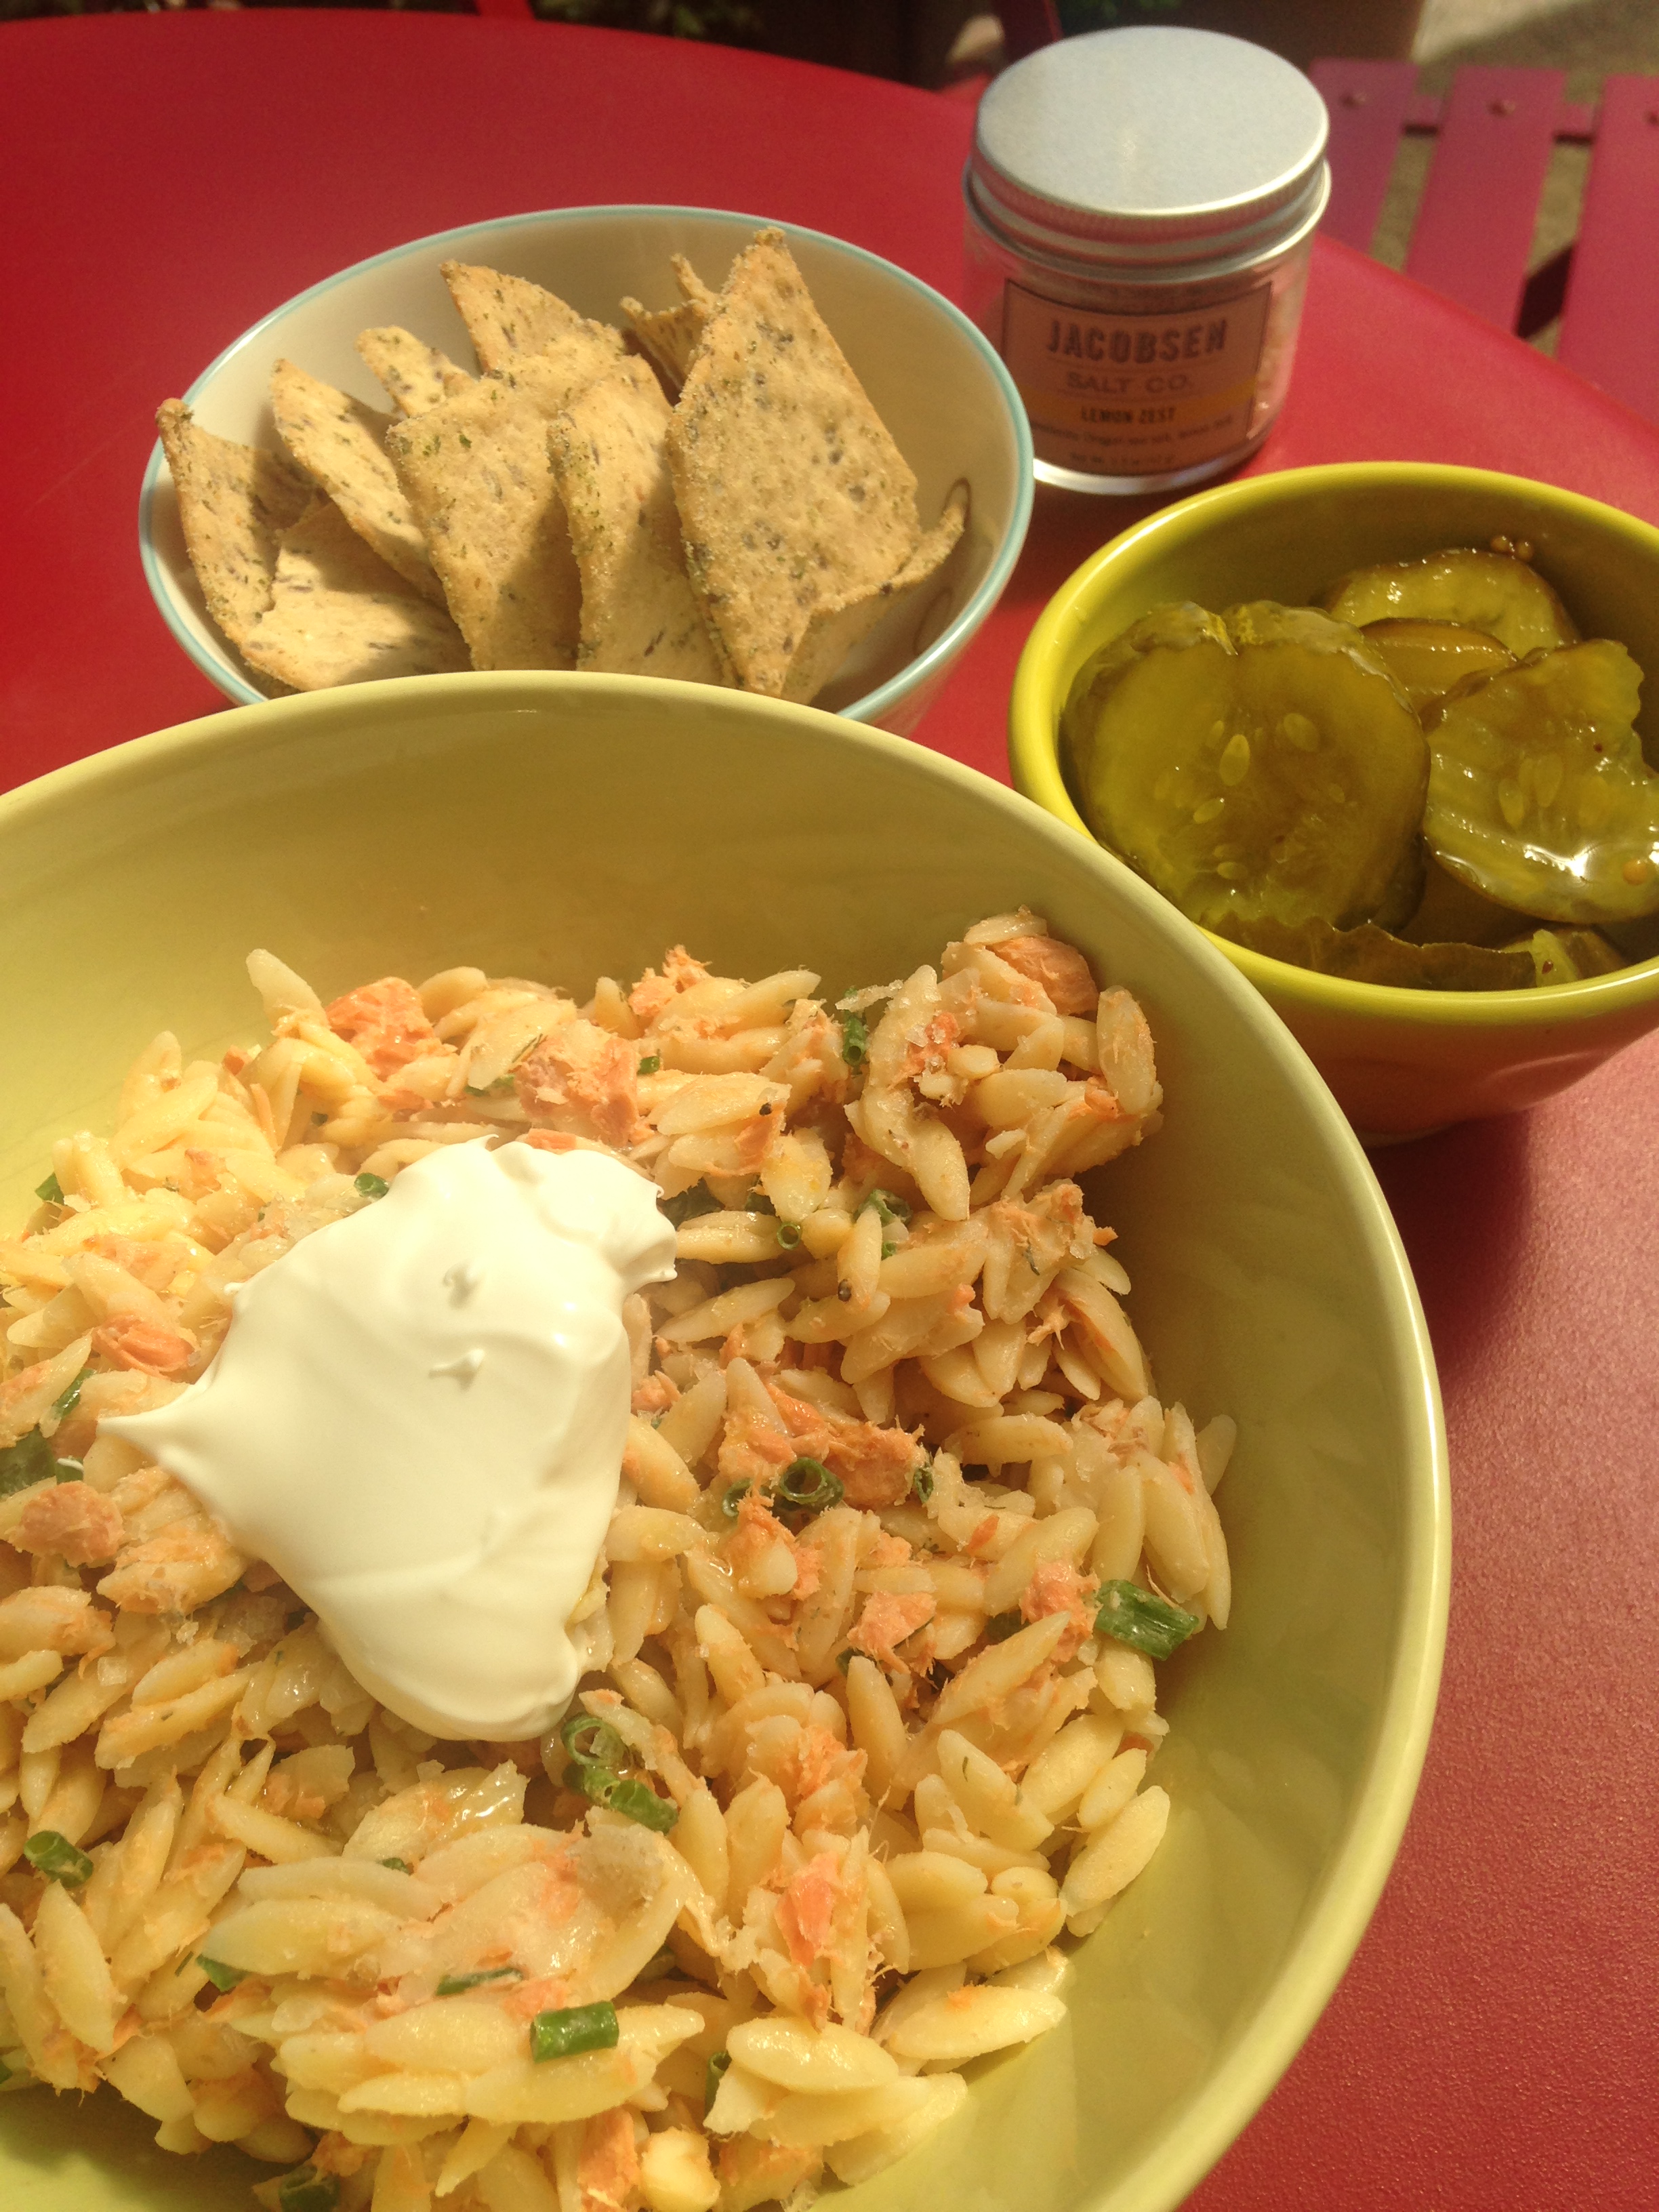
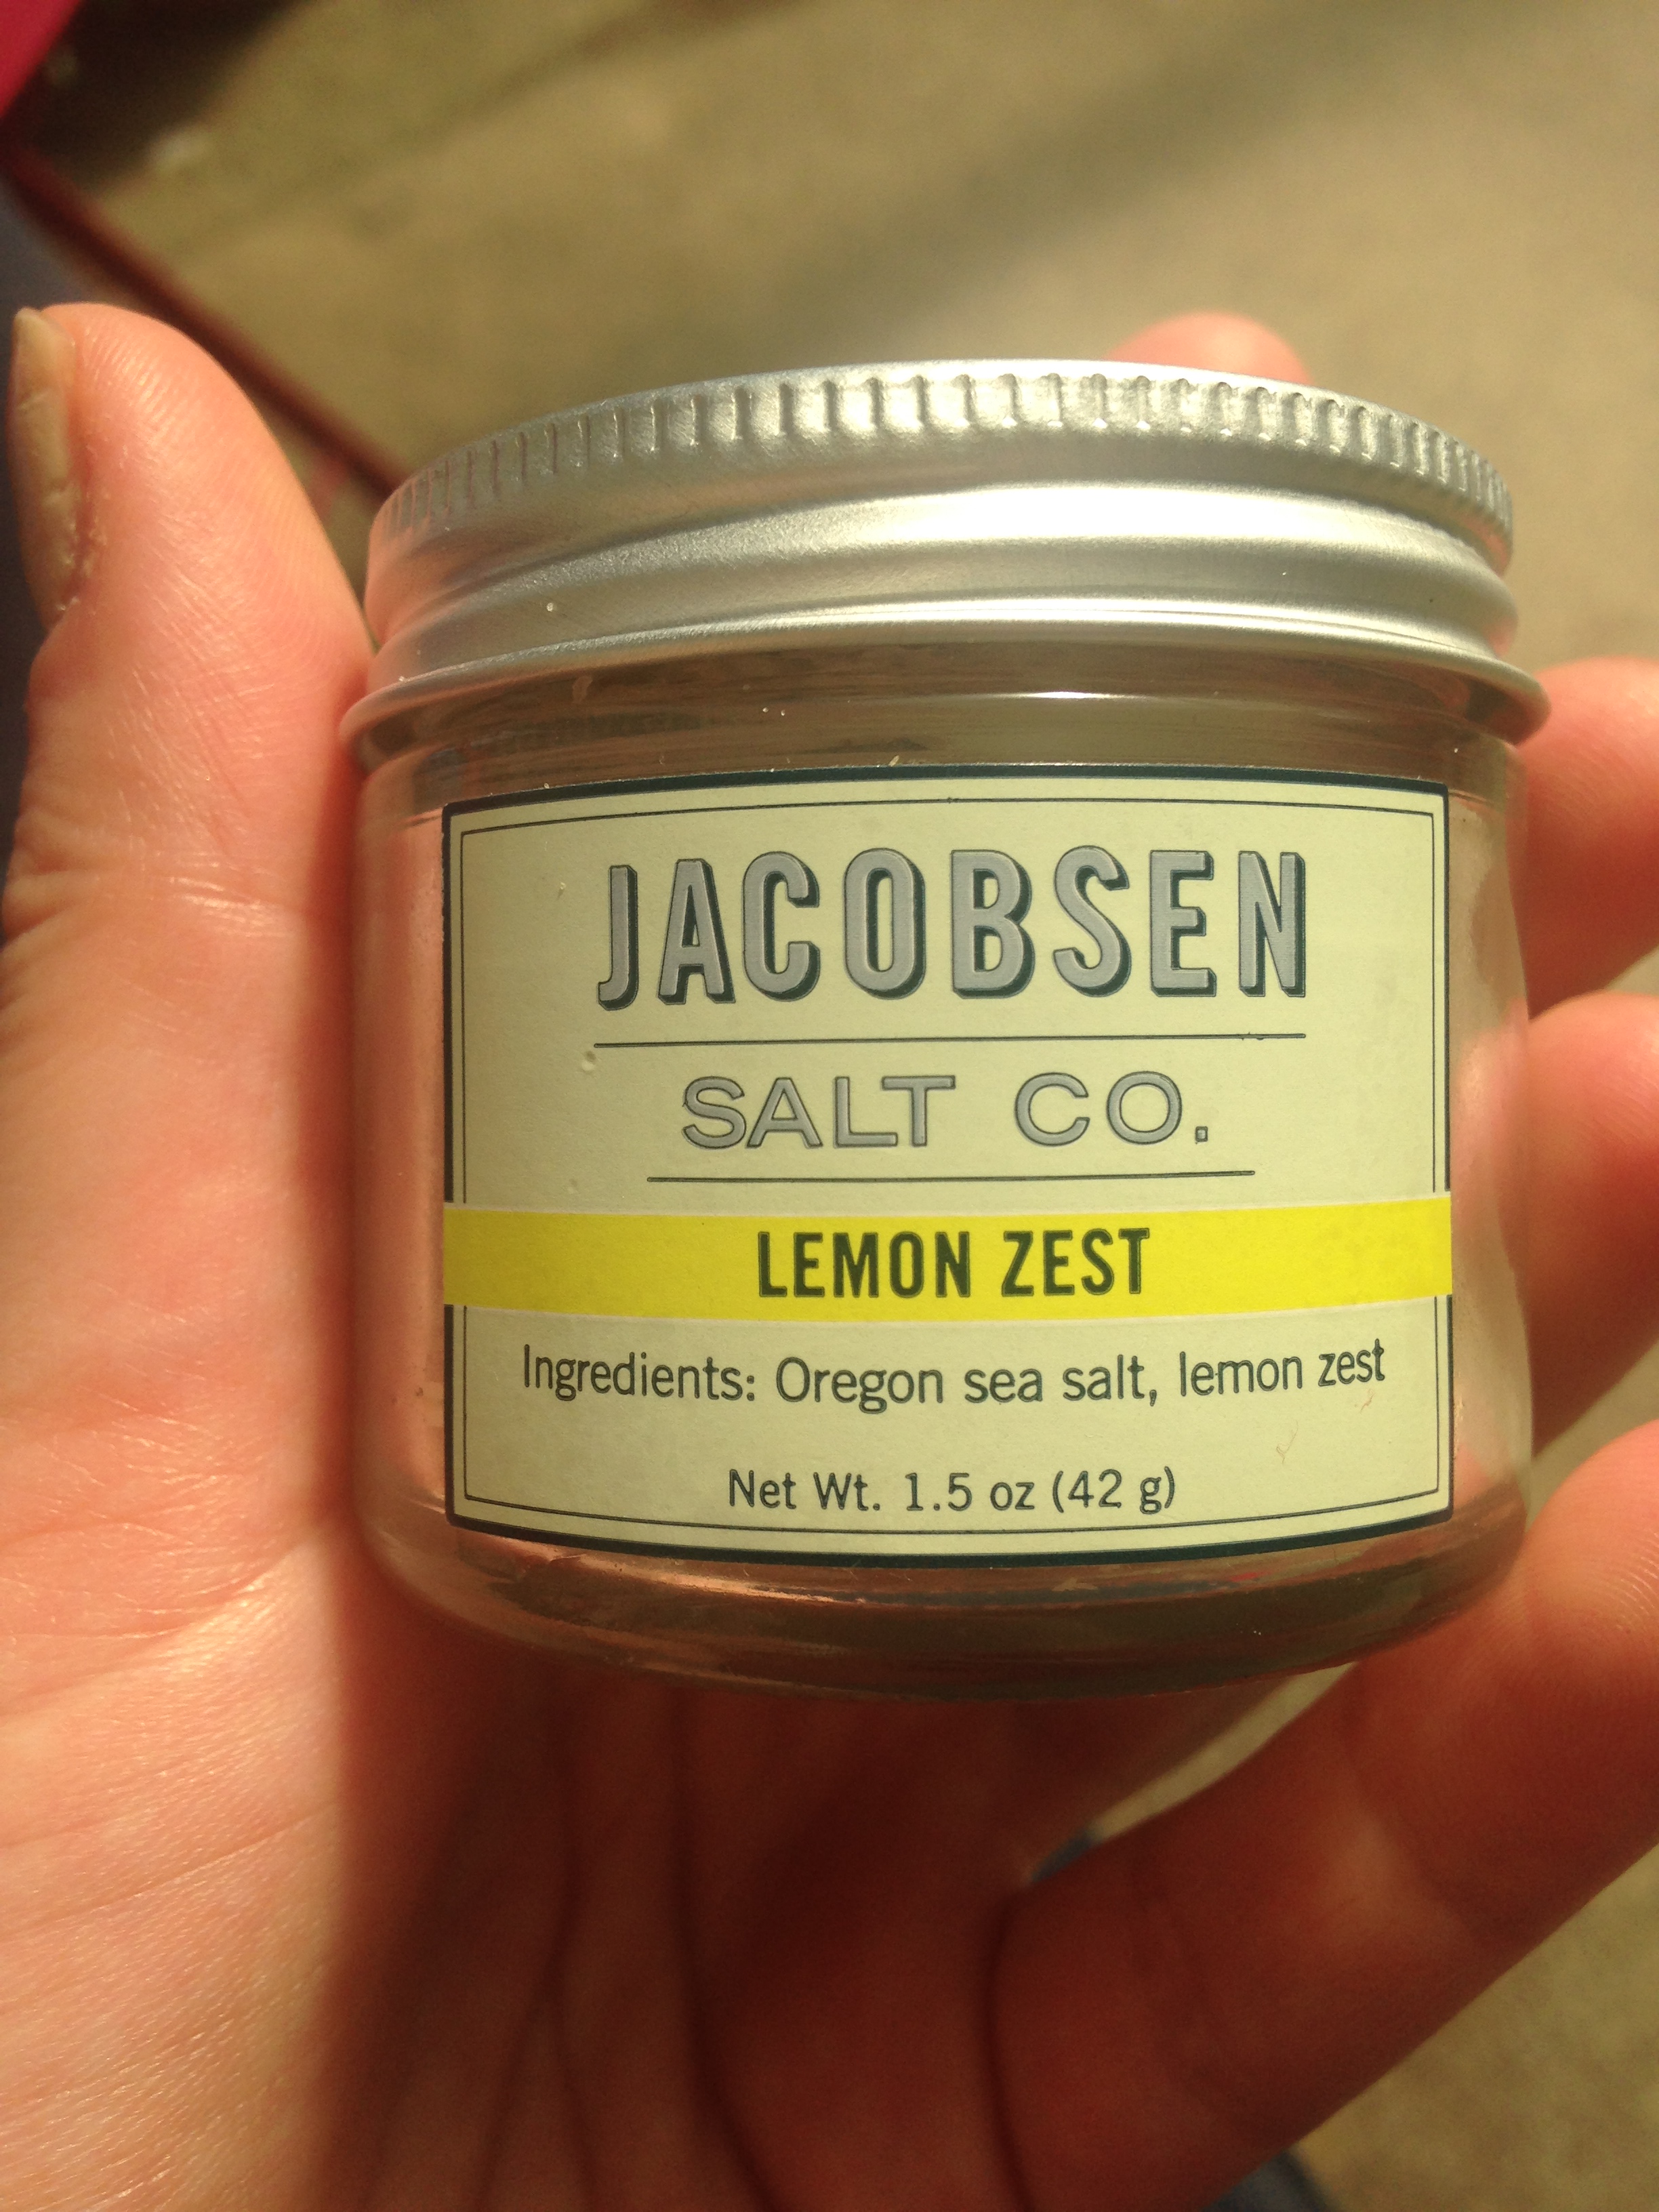
- Drain the white beans and the tuna and set aside. ( Note here… I’m a single girl on a budget, so I just pulled a can of tuna out of the pantry. If you wanted to class things up a bit, I would recommend using the tuna from Jacobsen Salt Co. ) Chop the herbs or add a blend of dried herbs to a bowl. Mix the beans and tuna with the herbs, a drizzle of olive oil, a sprinkling of kosher salt and red pepper flakes. Heat the tuna mixture in a pan over the stove until warm (about 5 minutes on medium)
- Meanwhile place greens on a plate. Thinly slice a few radishes and set aside.
- Once the tuna mixture is warm, dish it over the prepared greens, top with radishes, and drizzle with some good olive oil. Serve warm.
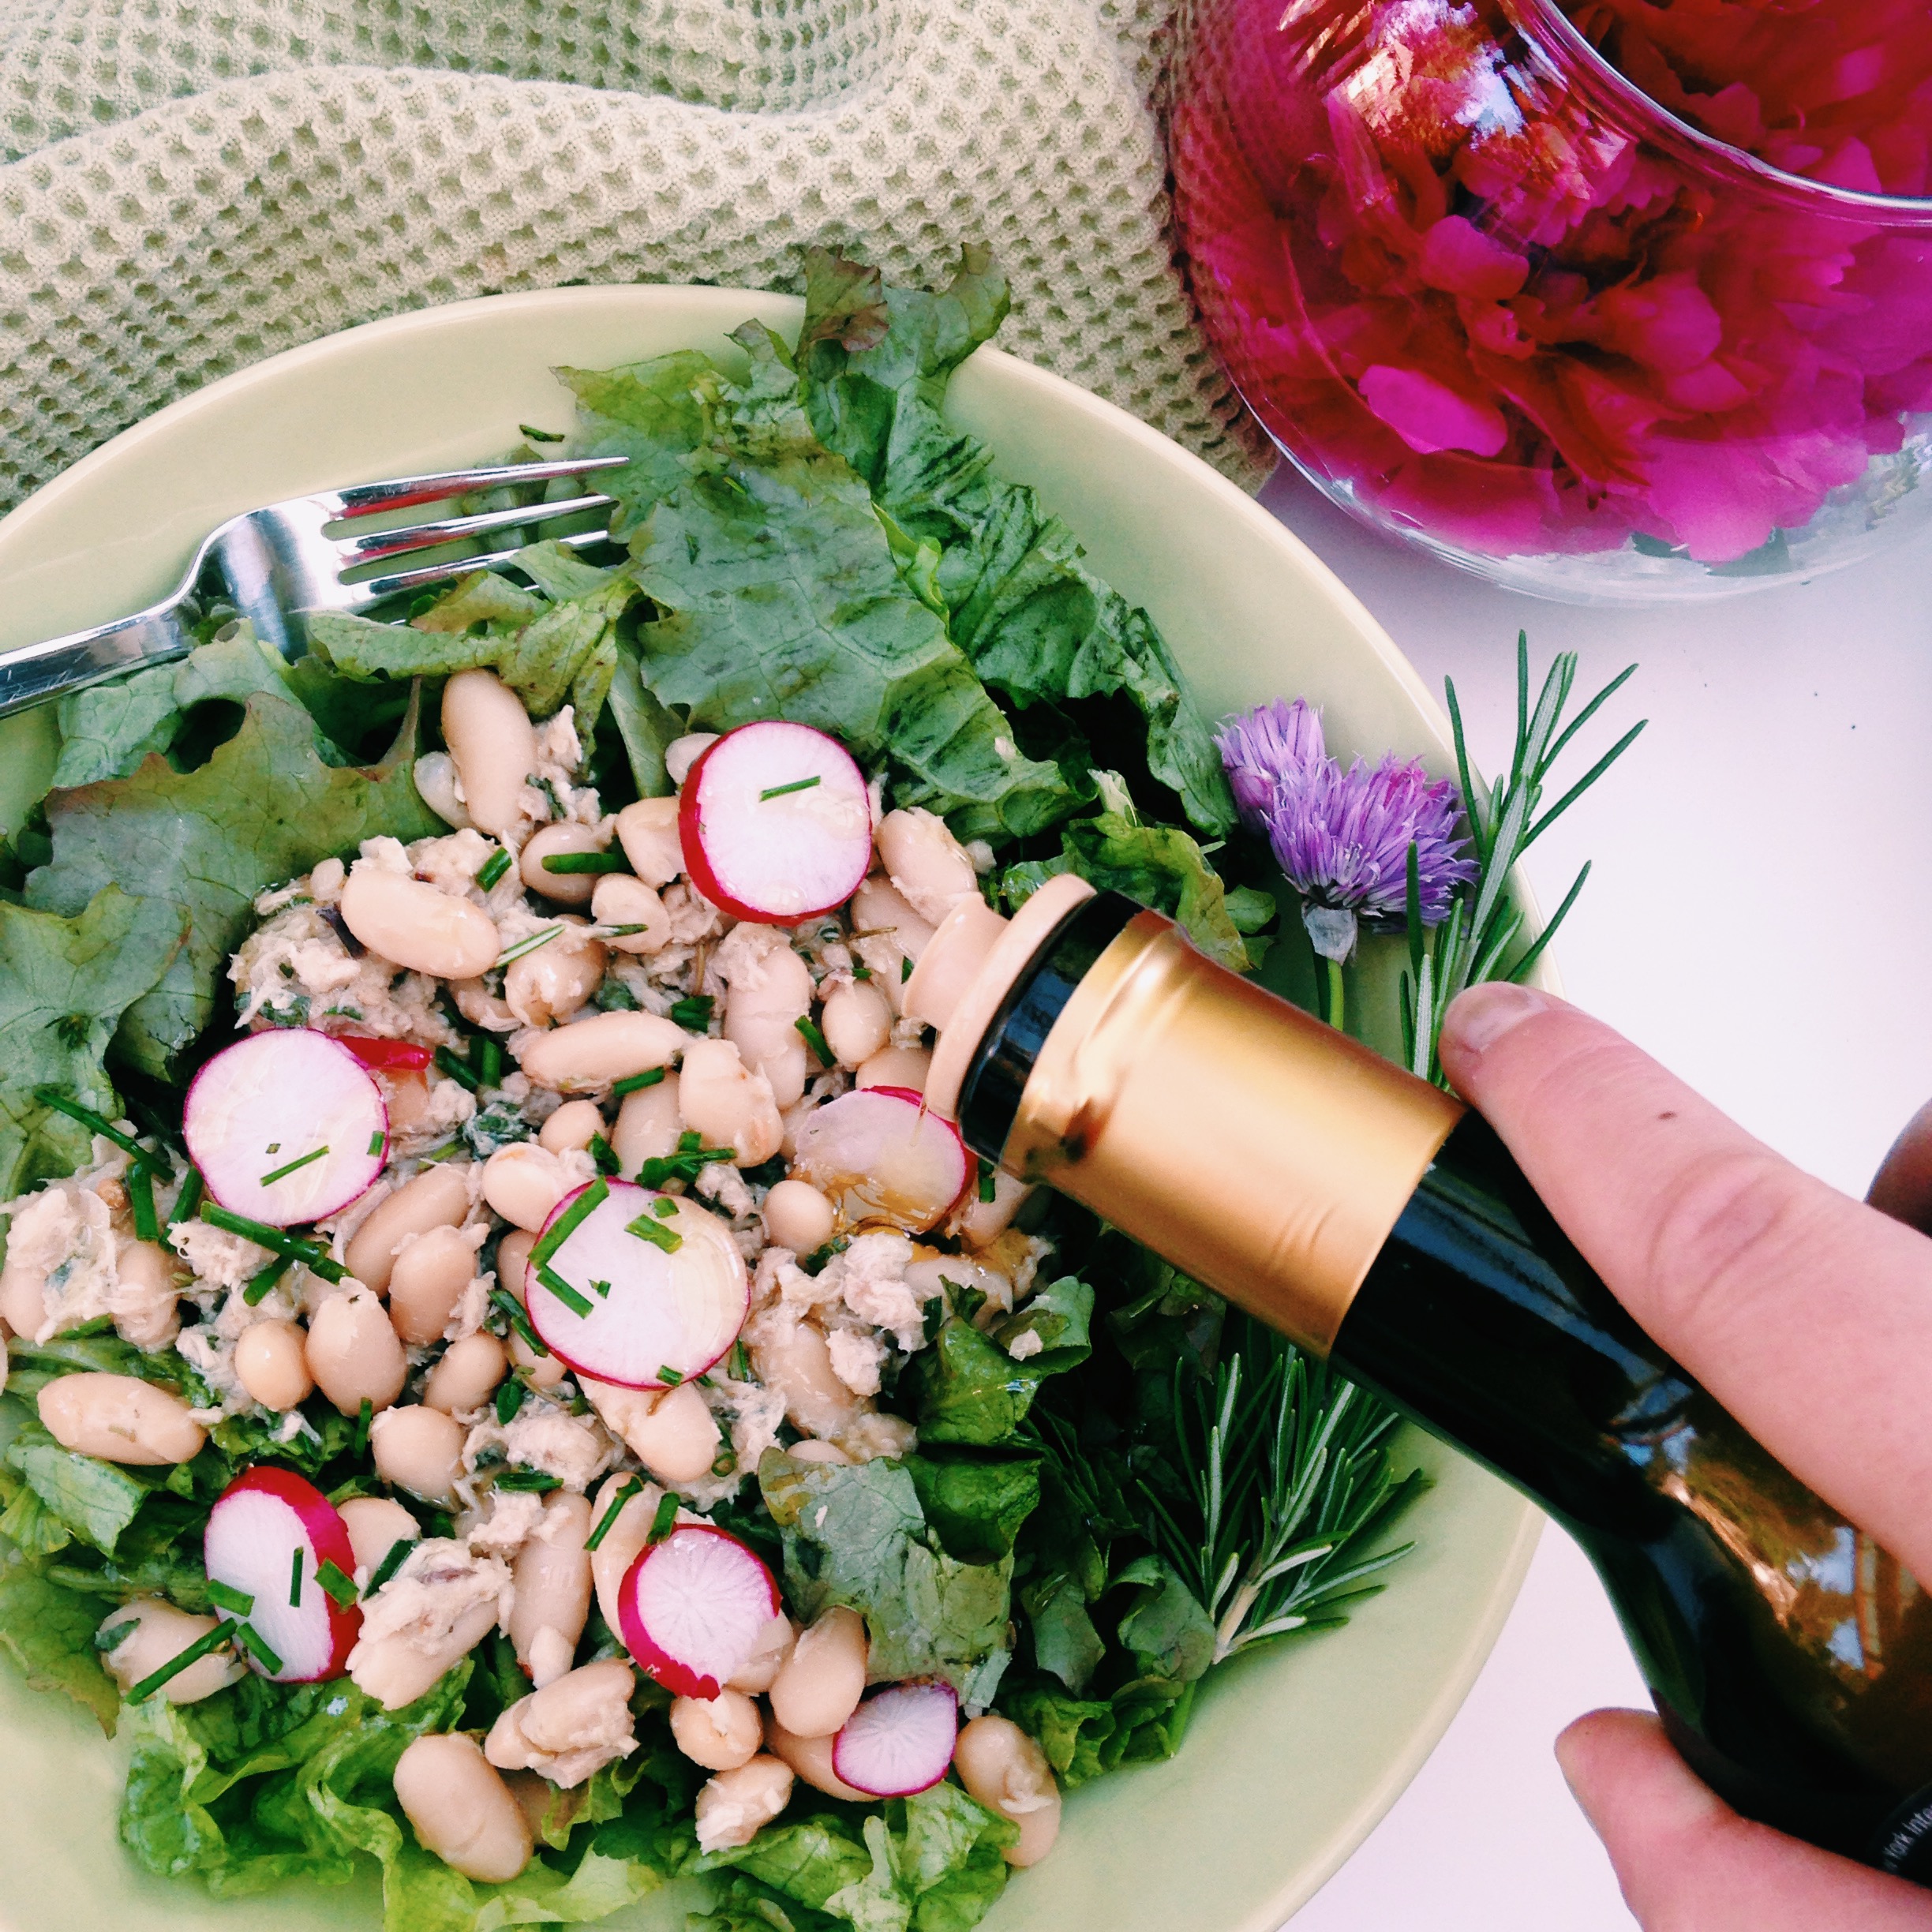
Best enjoyed alfresco style with a glass of crisp white wine, or maybe some iced tea.
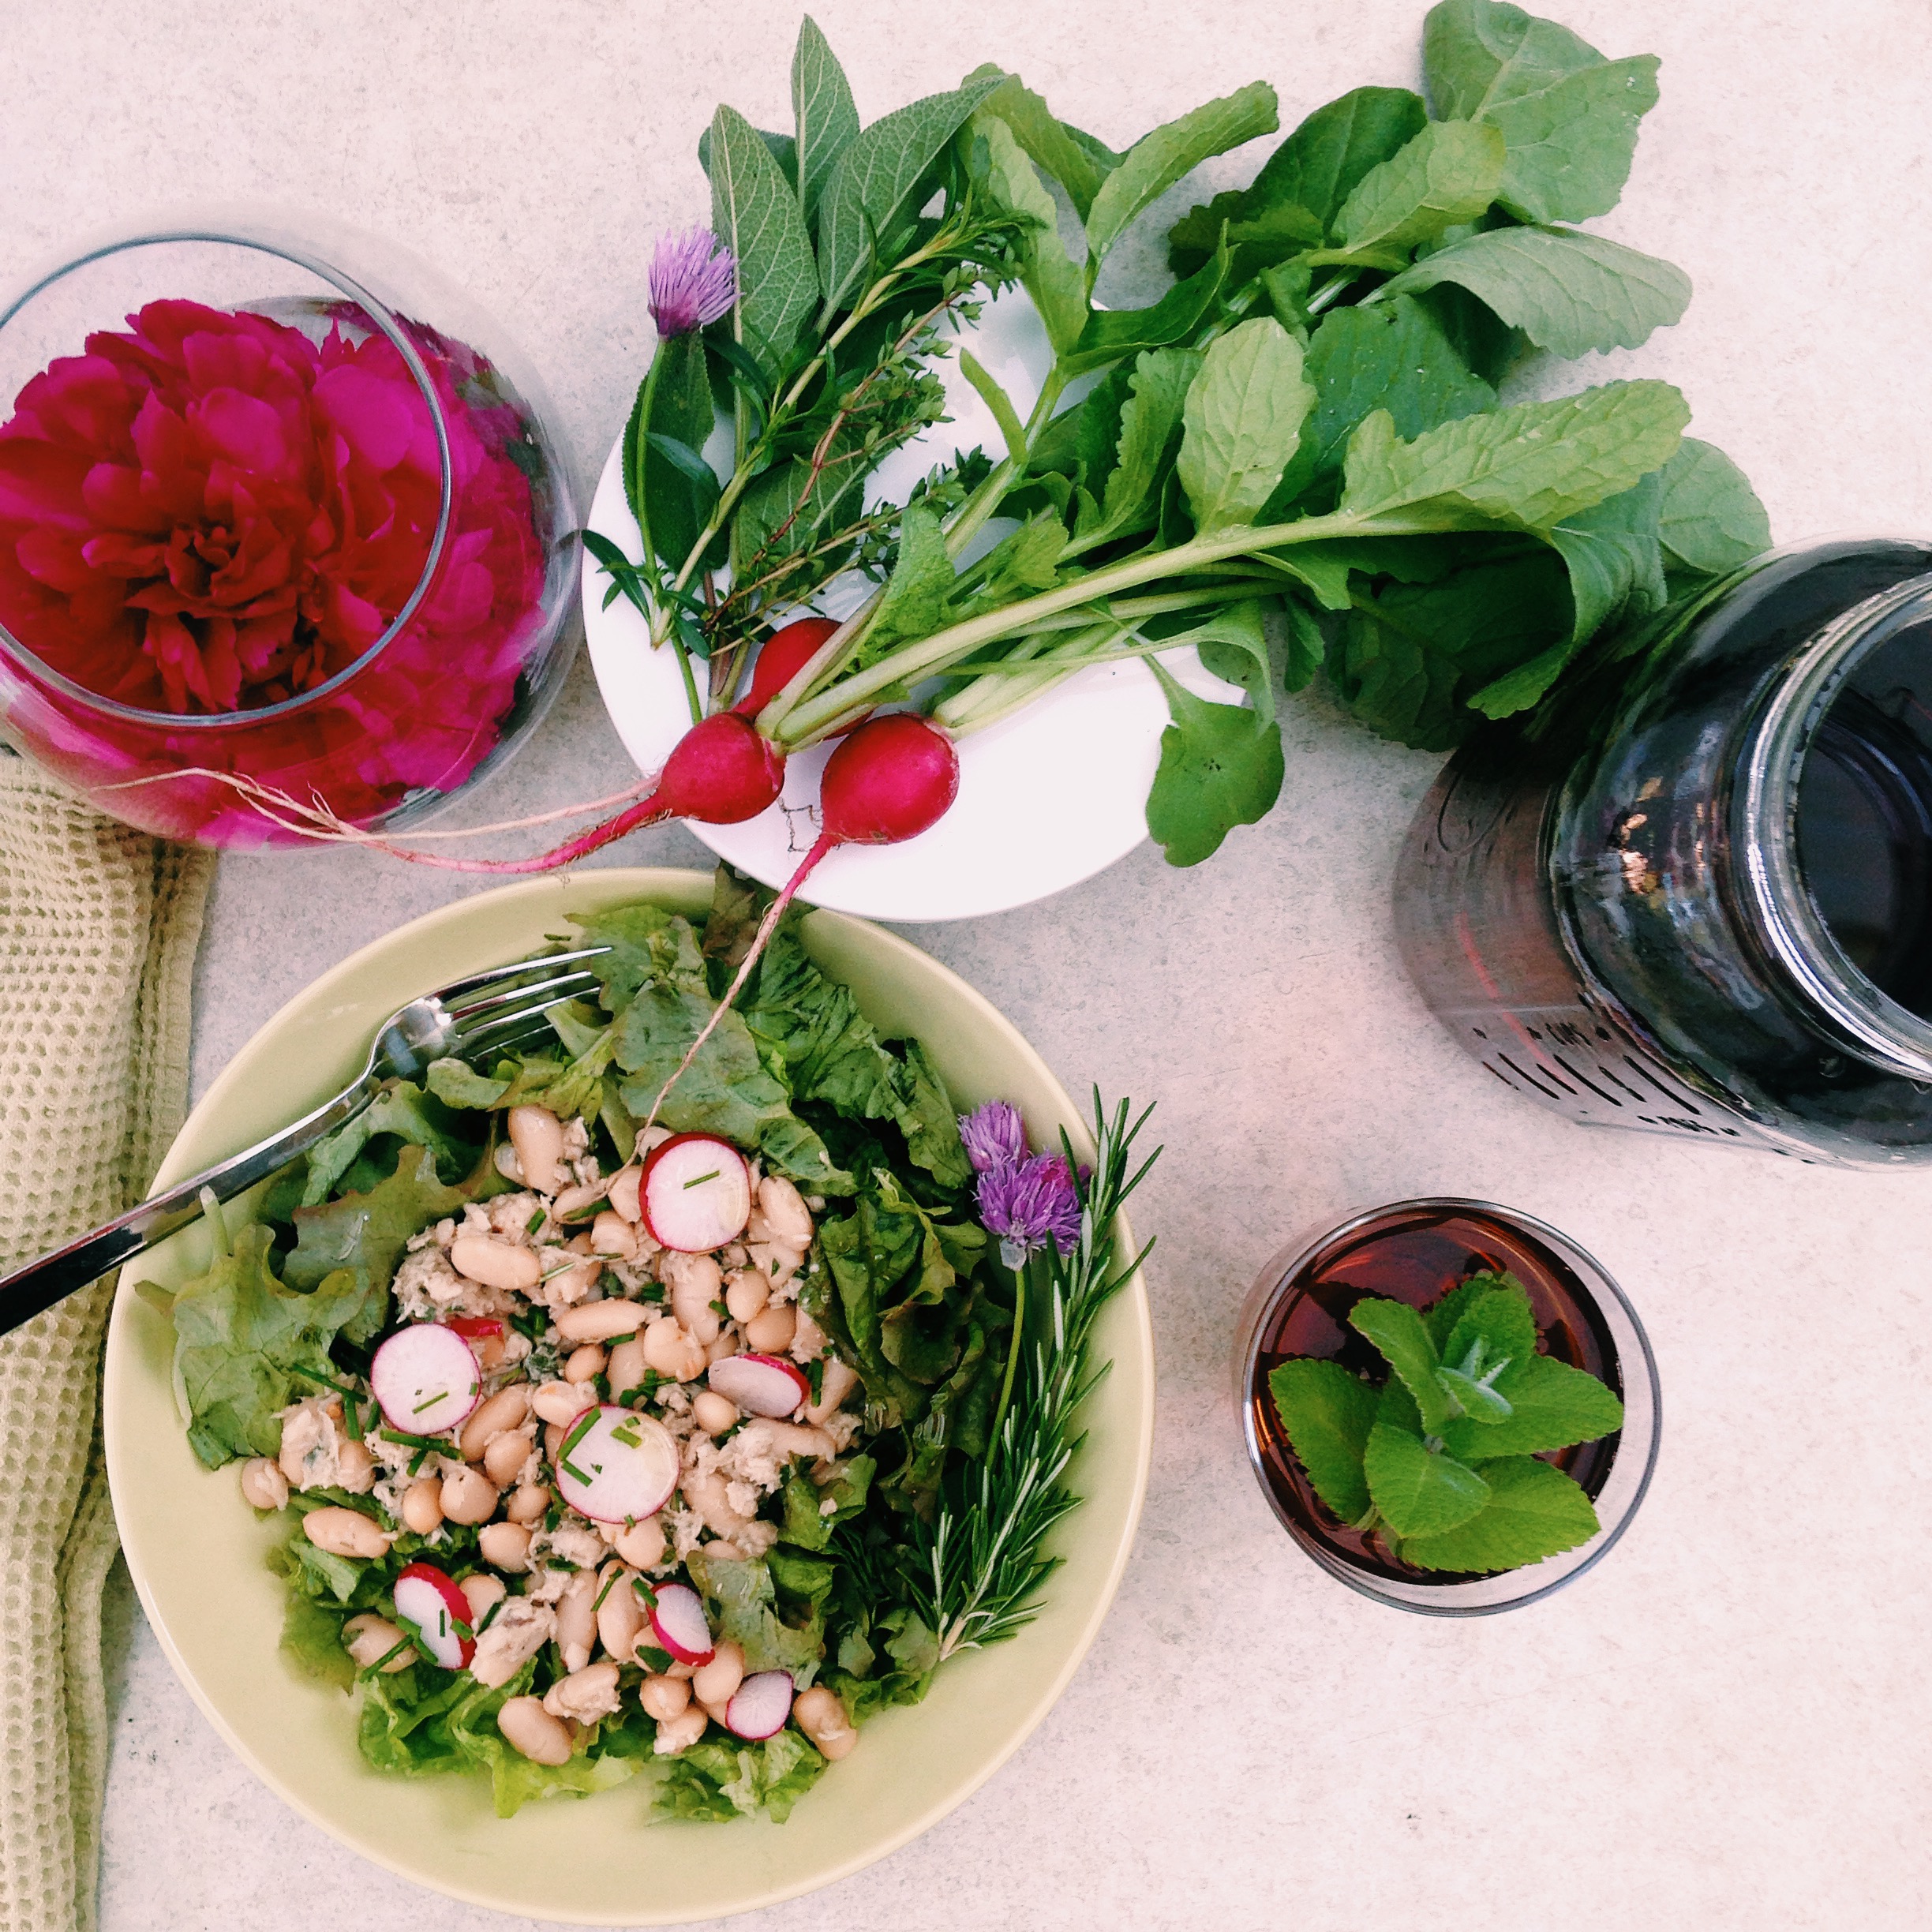
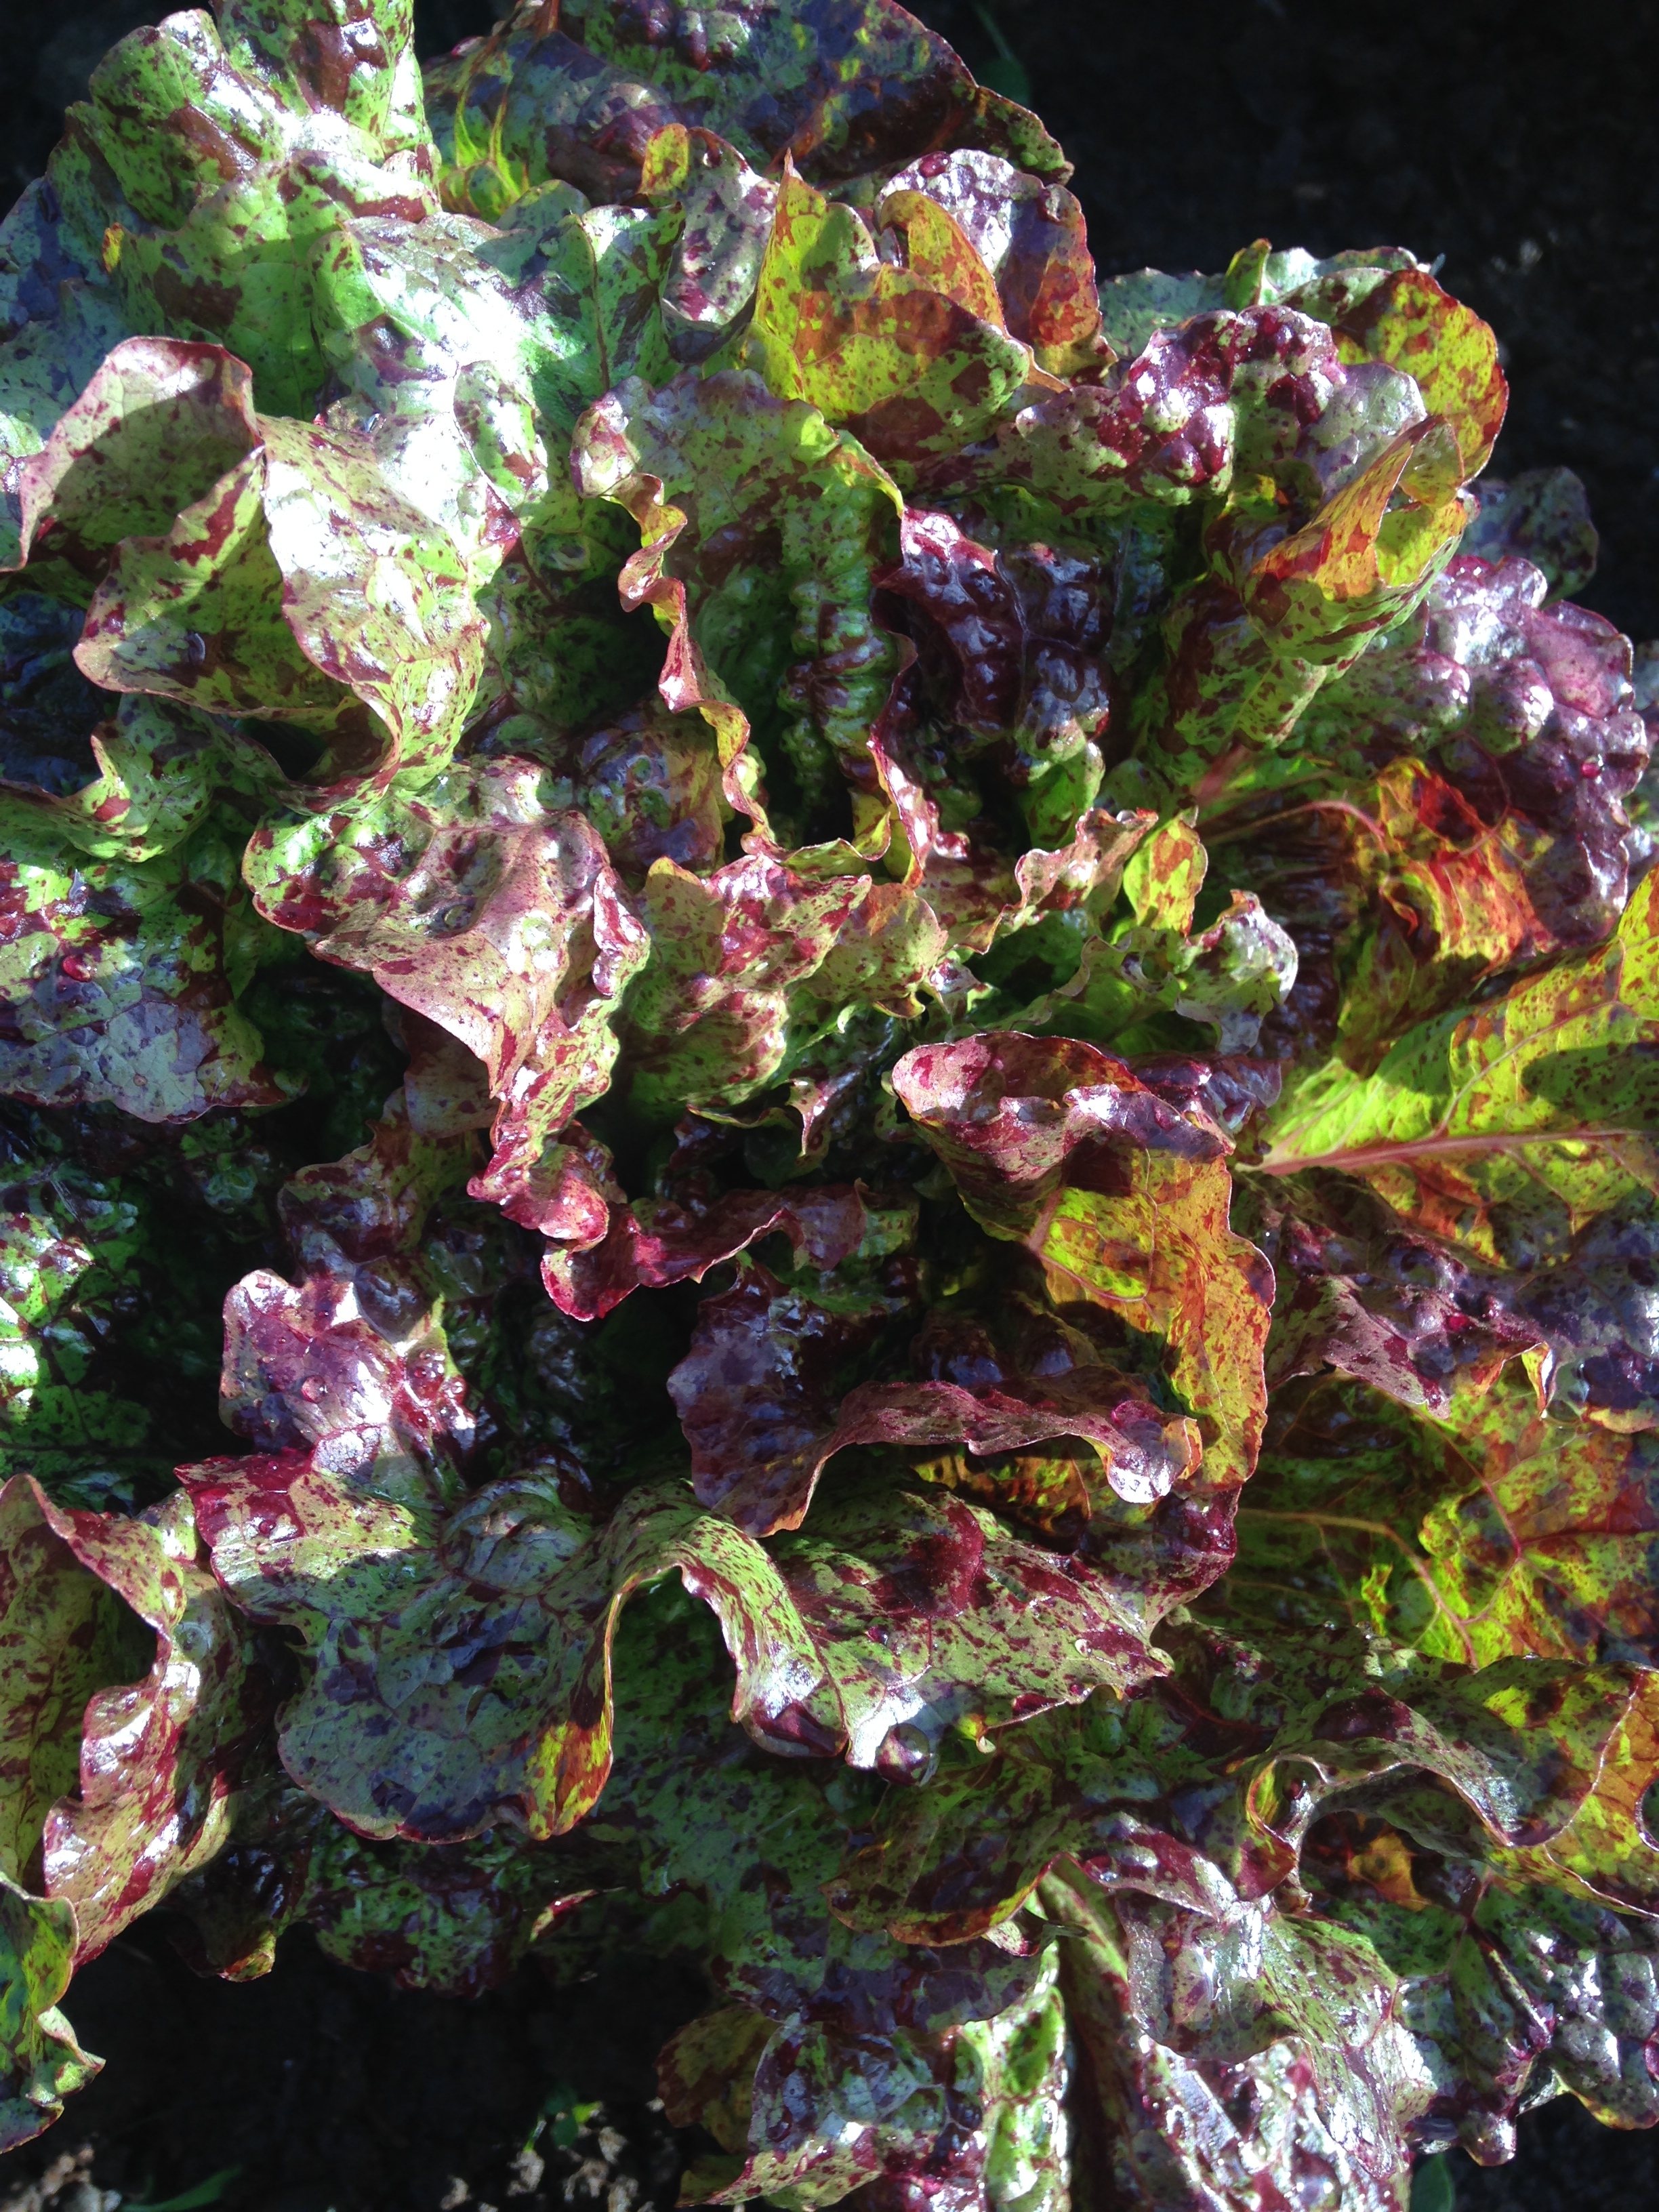
*Since the tuna will be warm, kale, spinach and other robust greens are a wonderful base for this dish. I ended up using kale and red leafed lettuce.
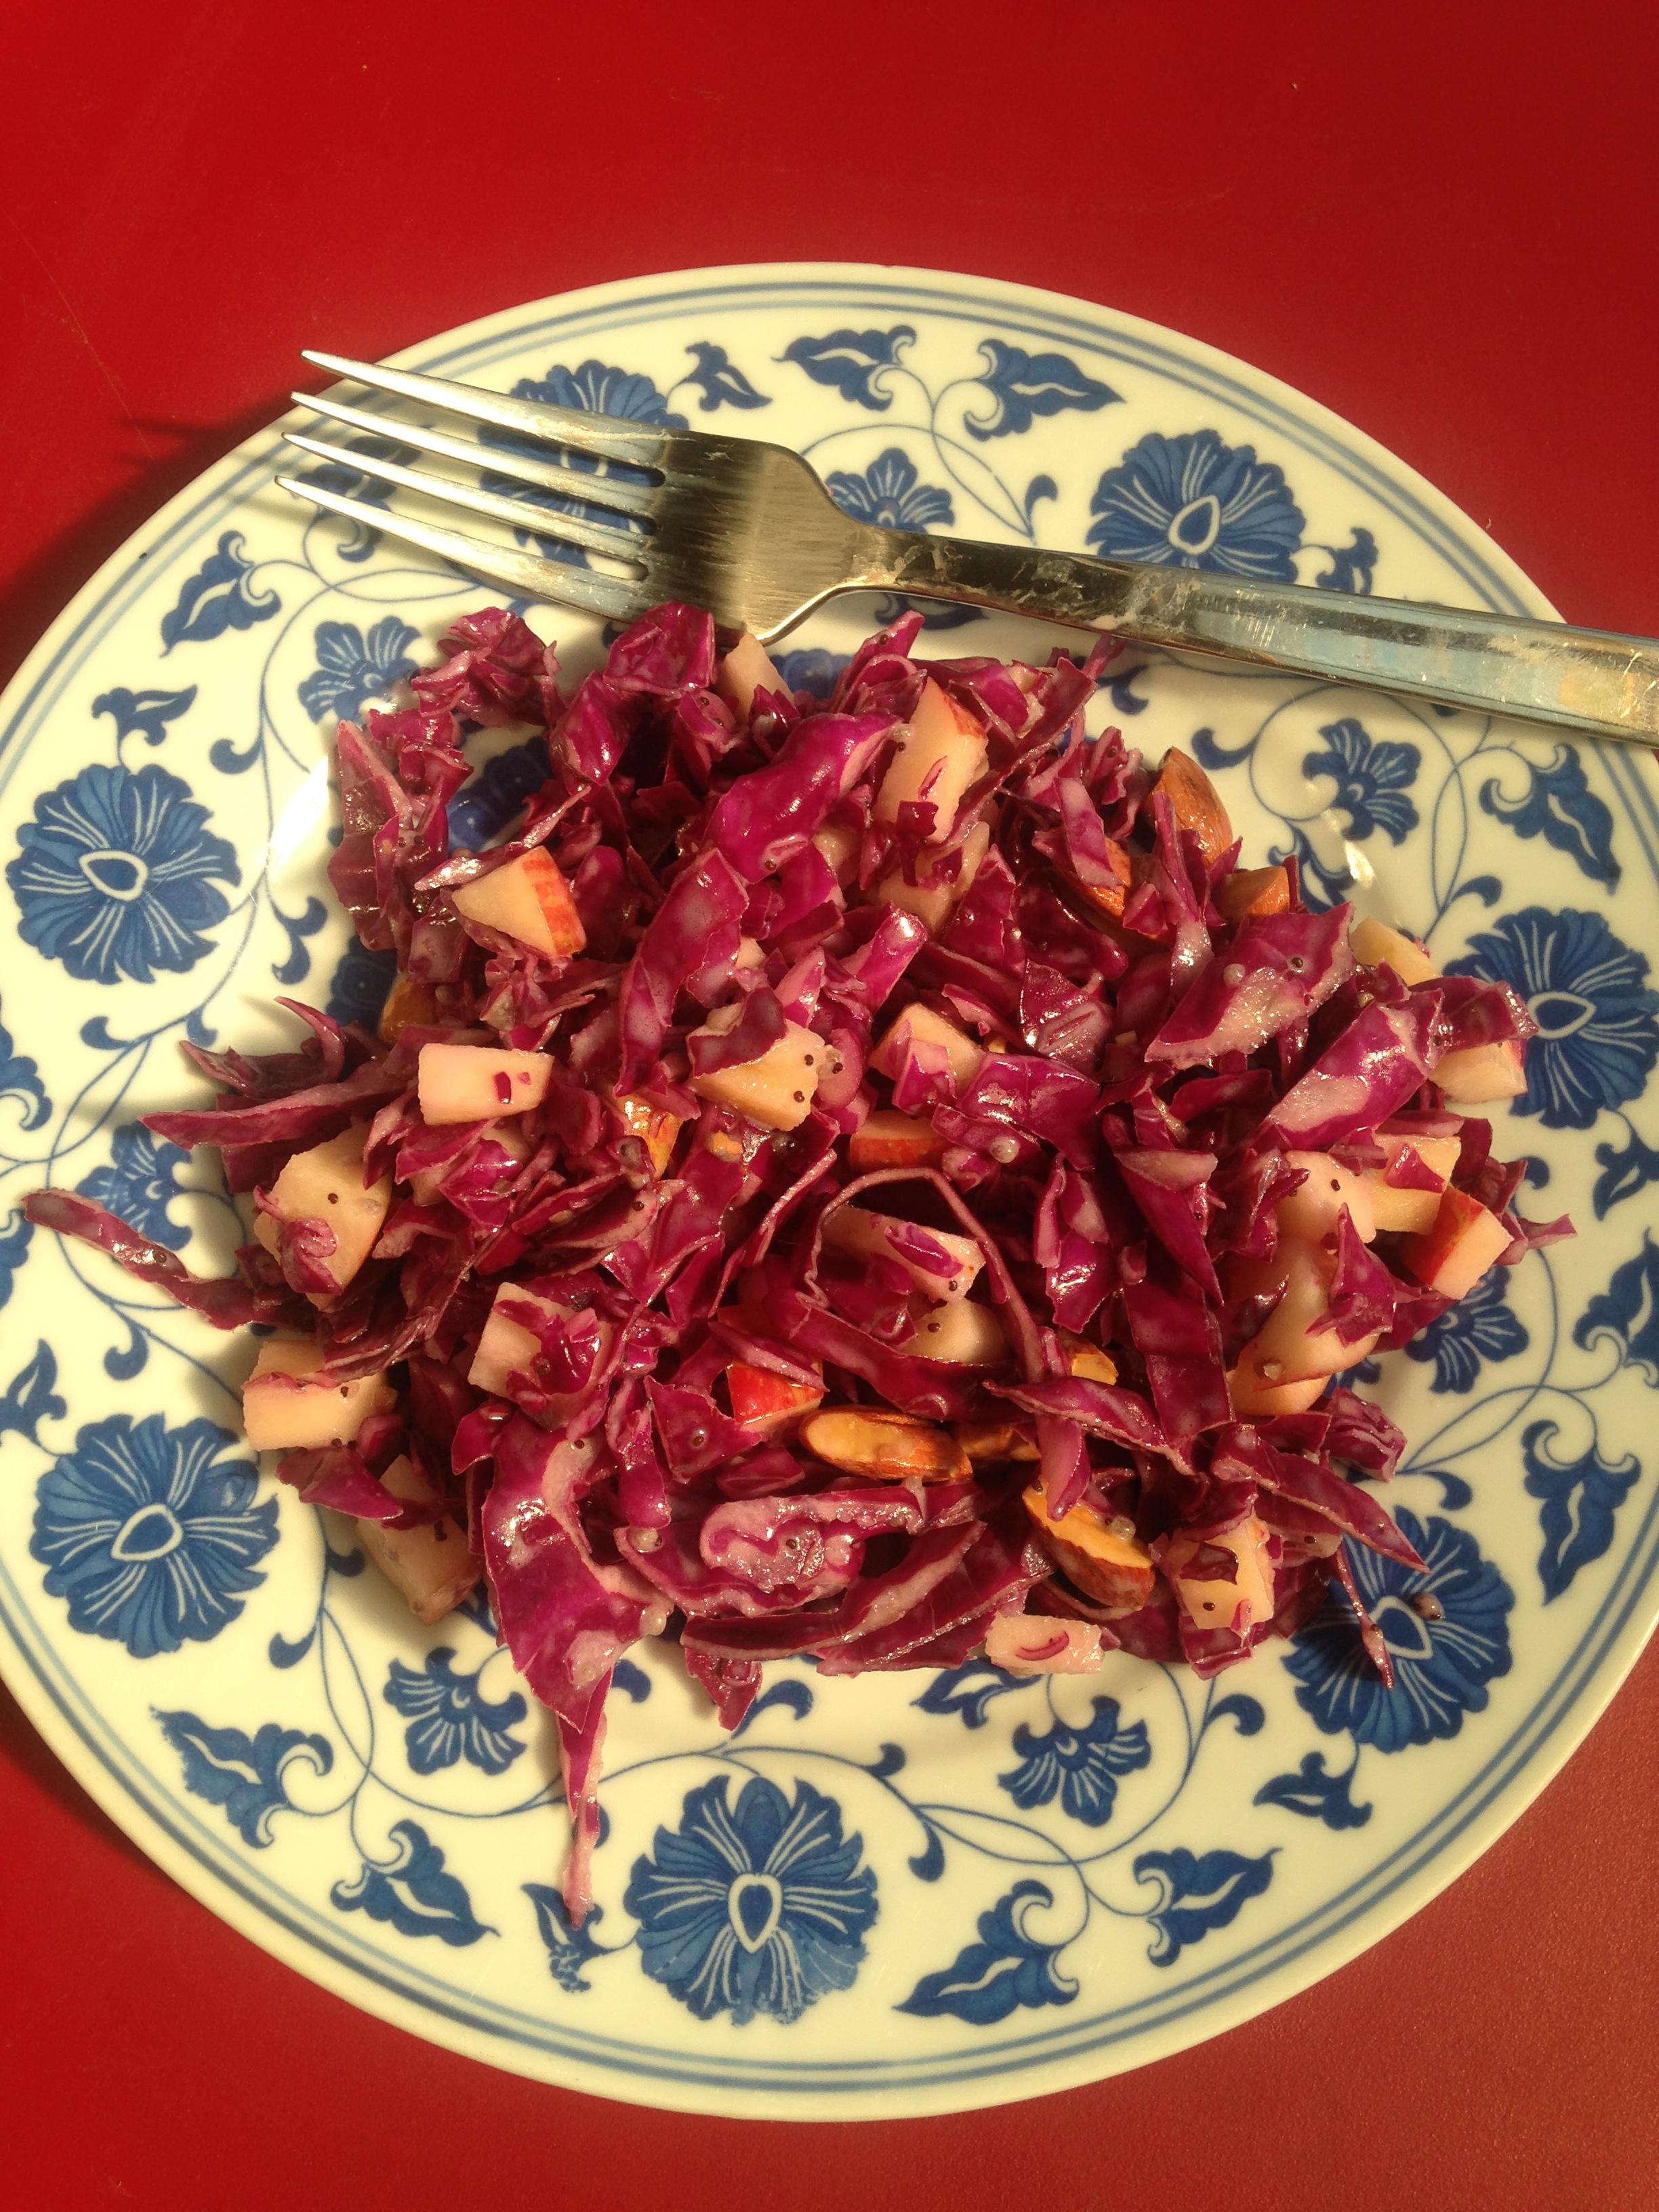
*I have a plethora of radishes in my garden, and I loved the texture and color that they added to this dish. You might also add or substitute avocado, cucumbers, a poached egg? The possibilities are endless.