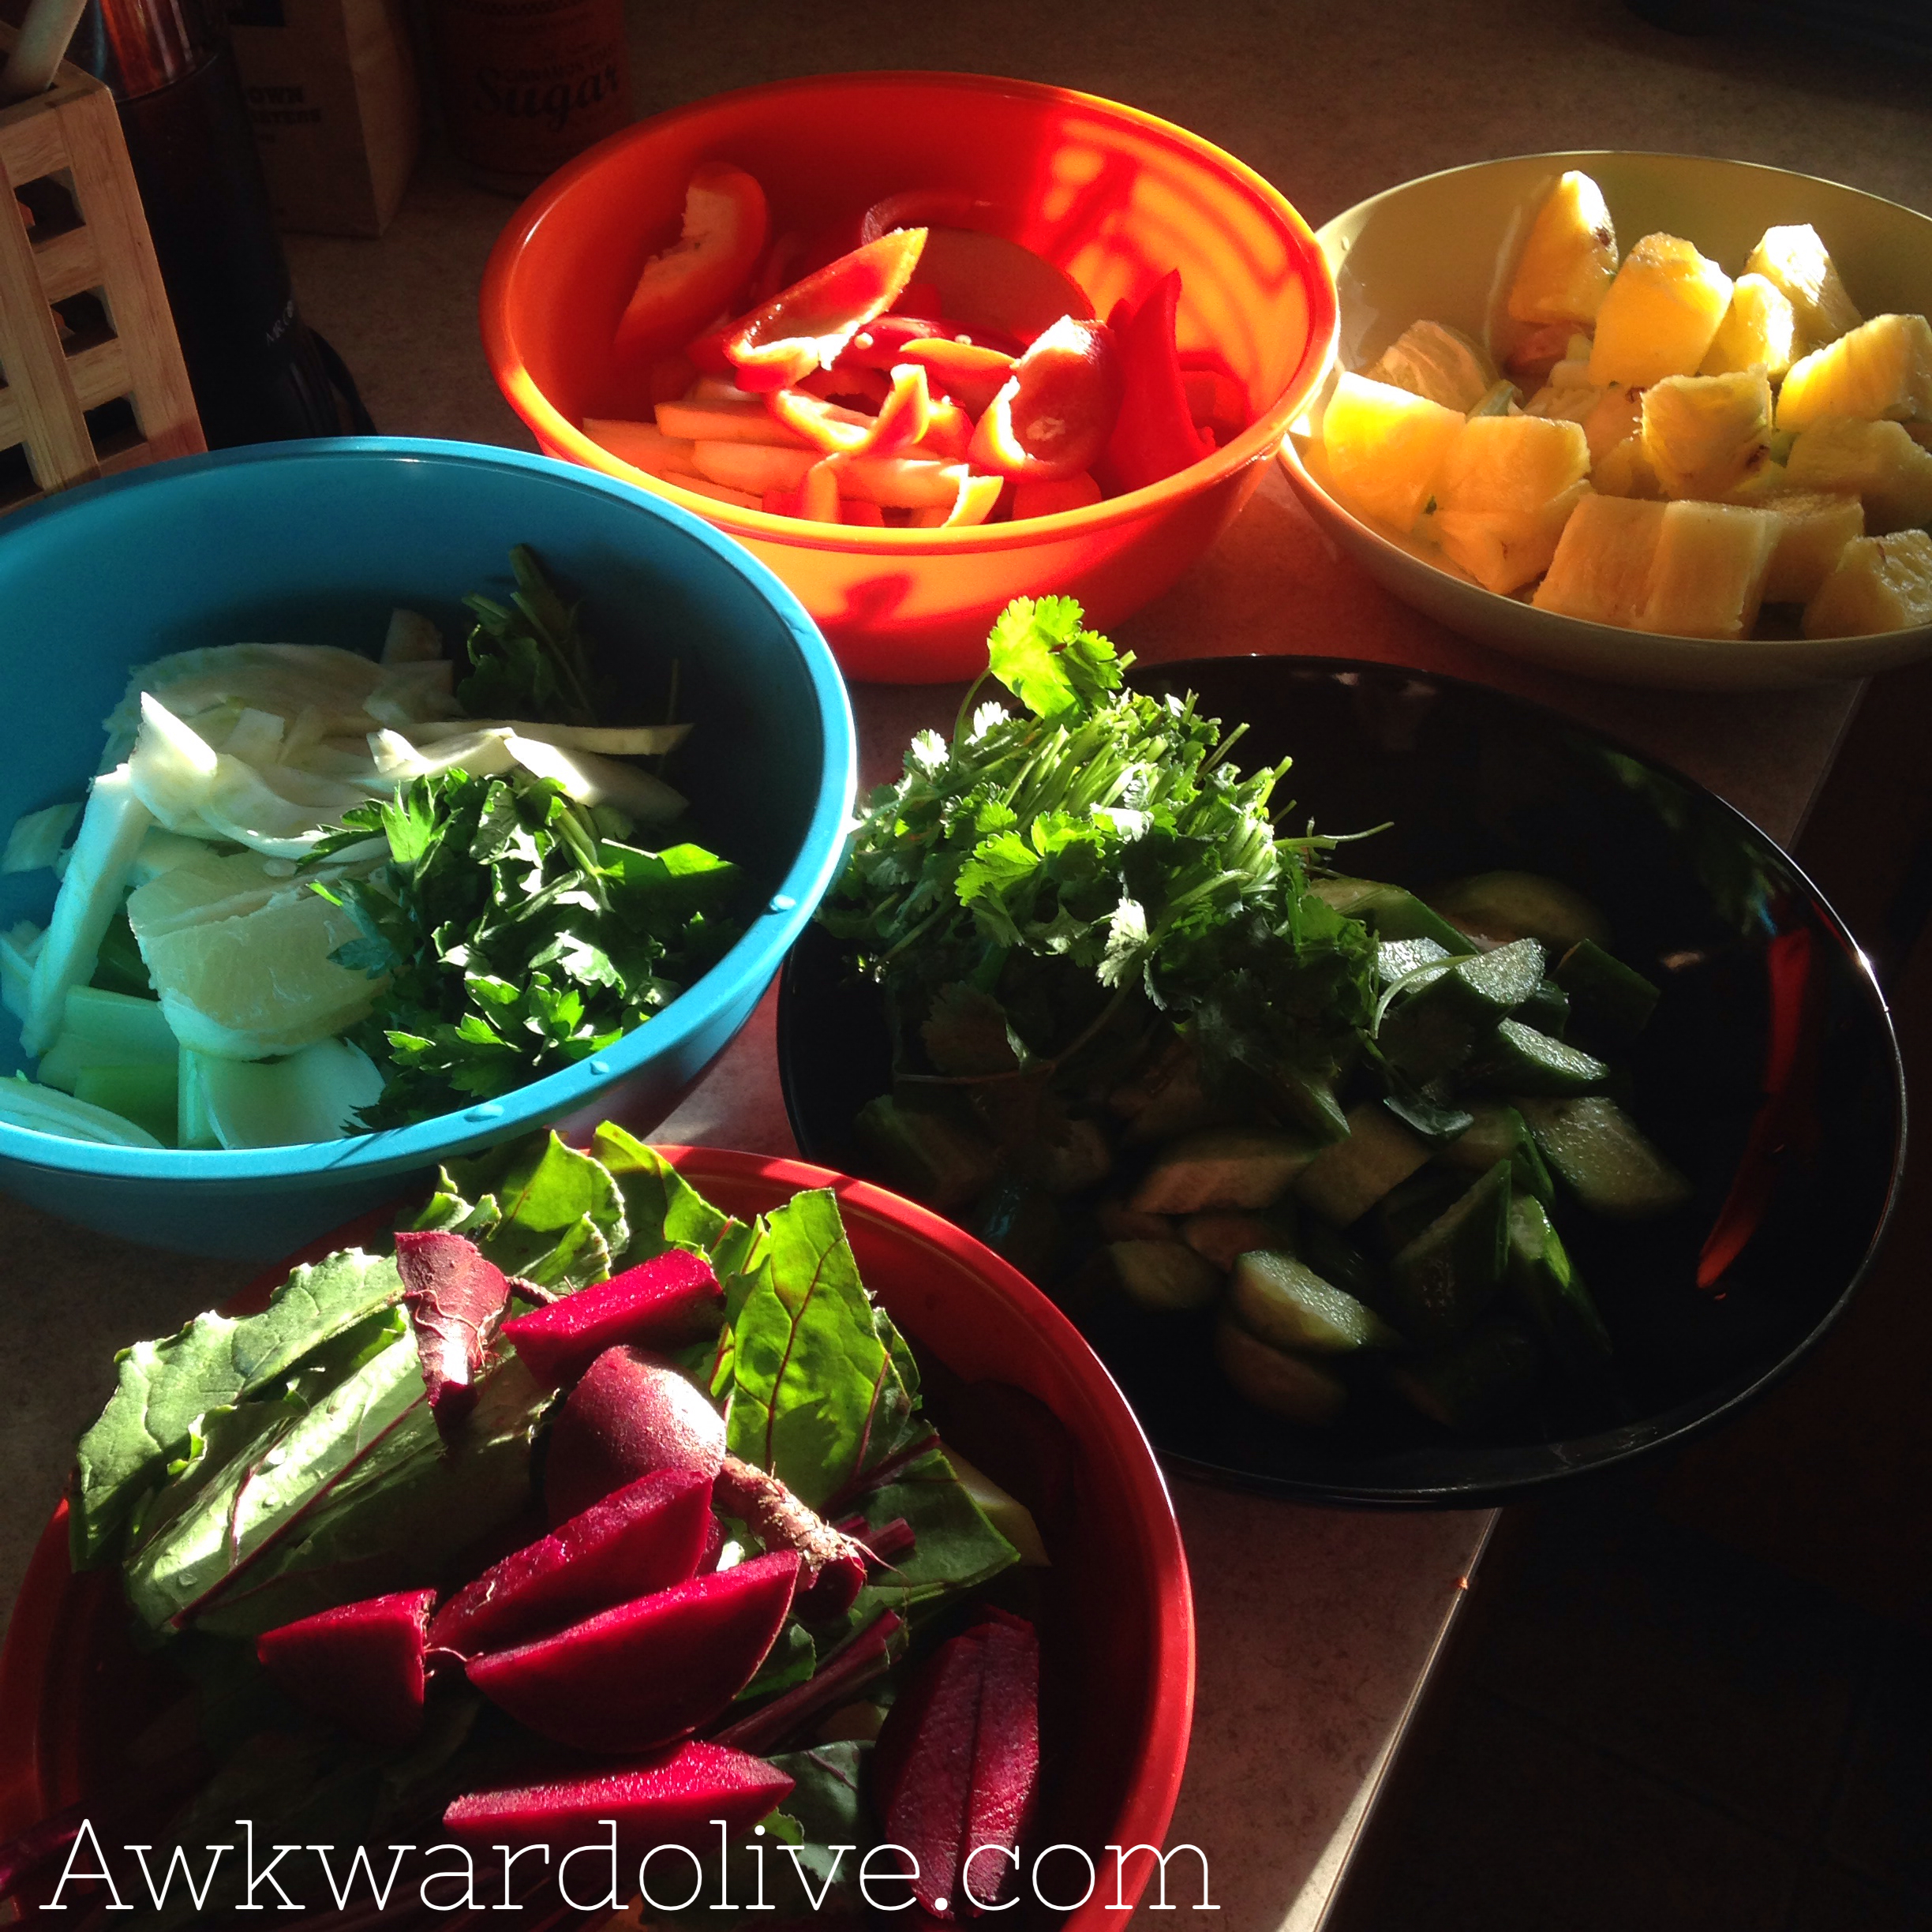
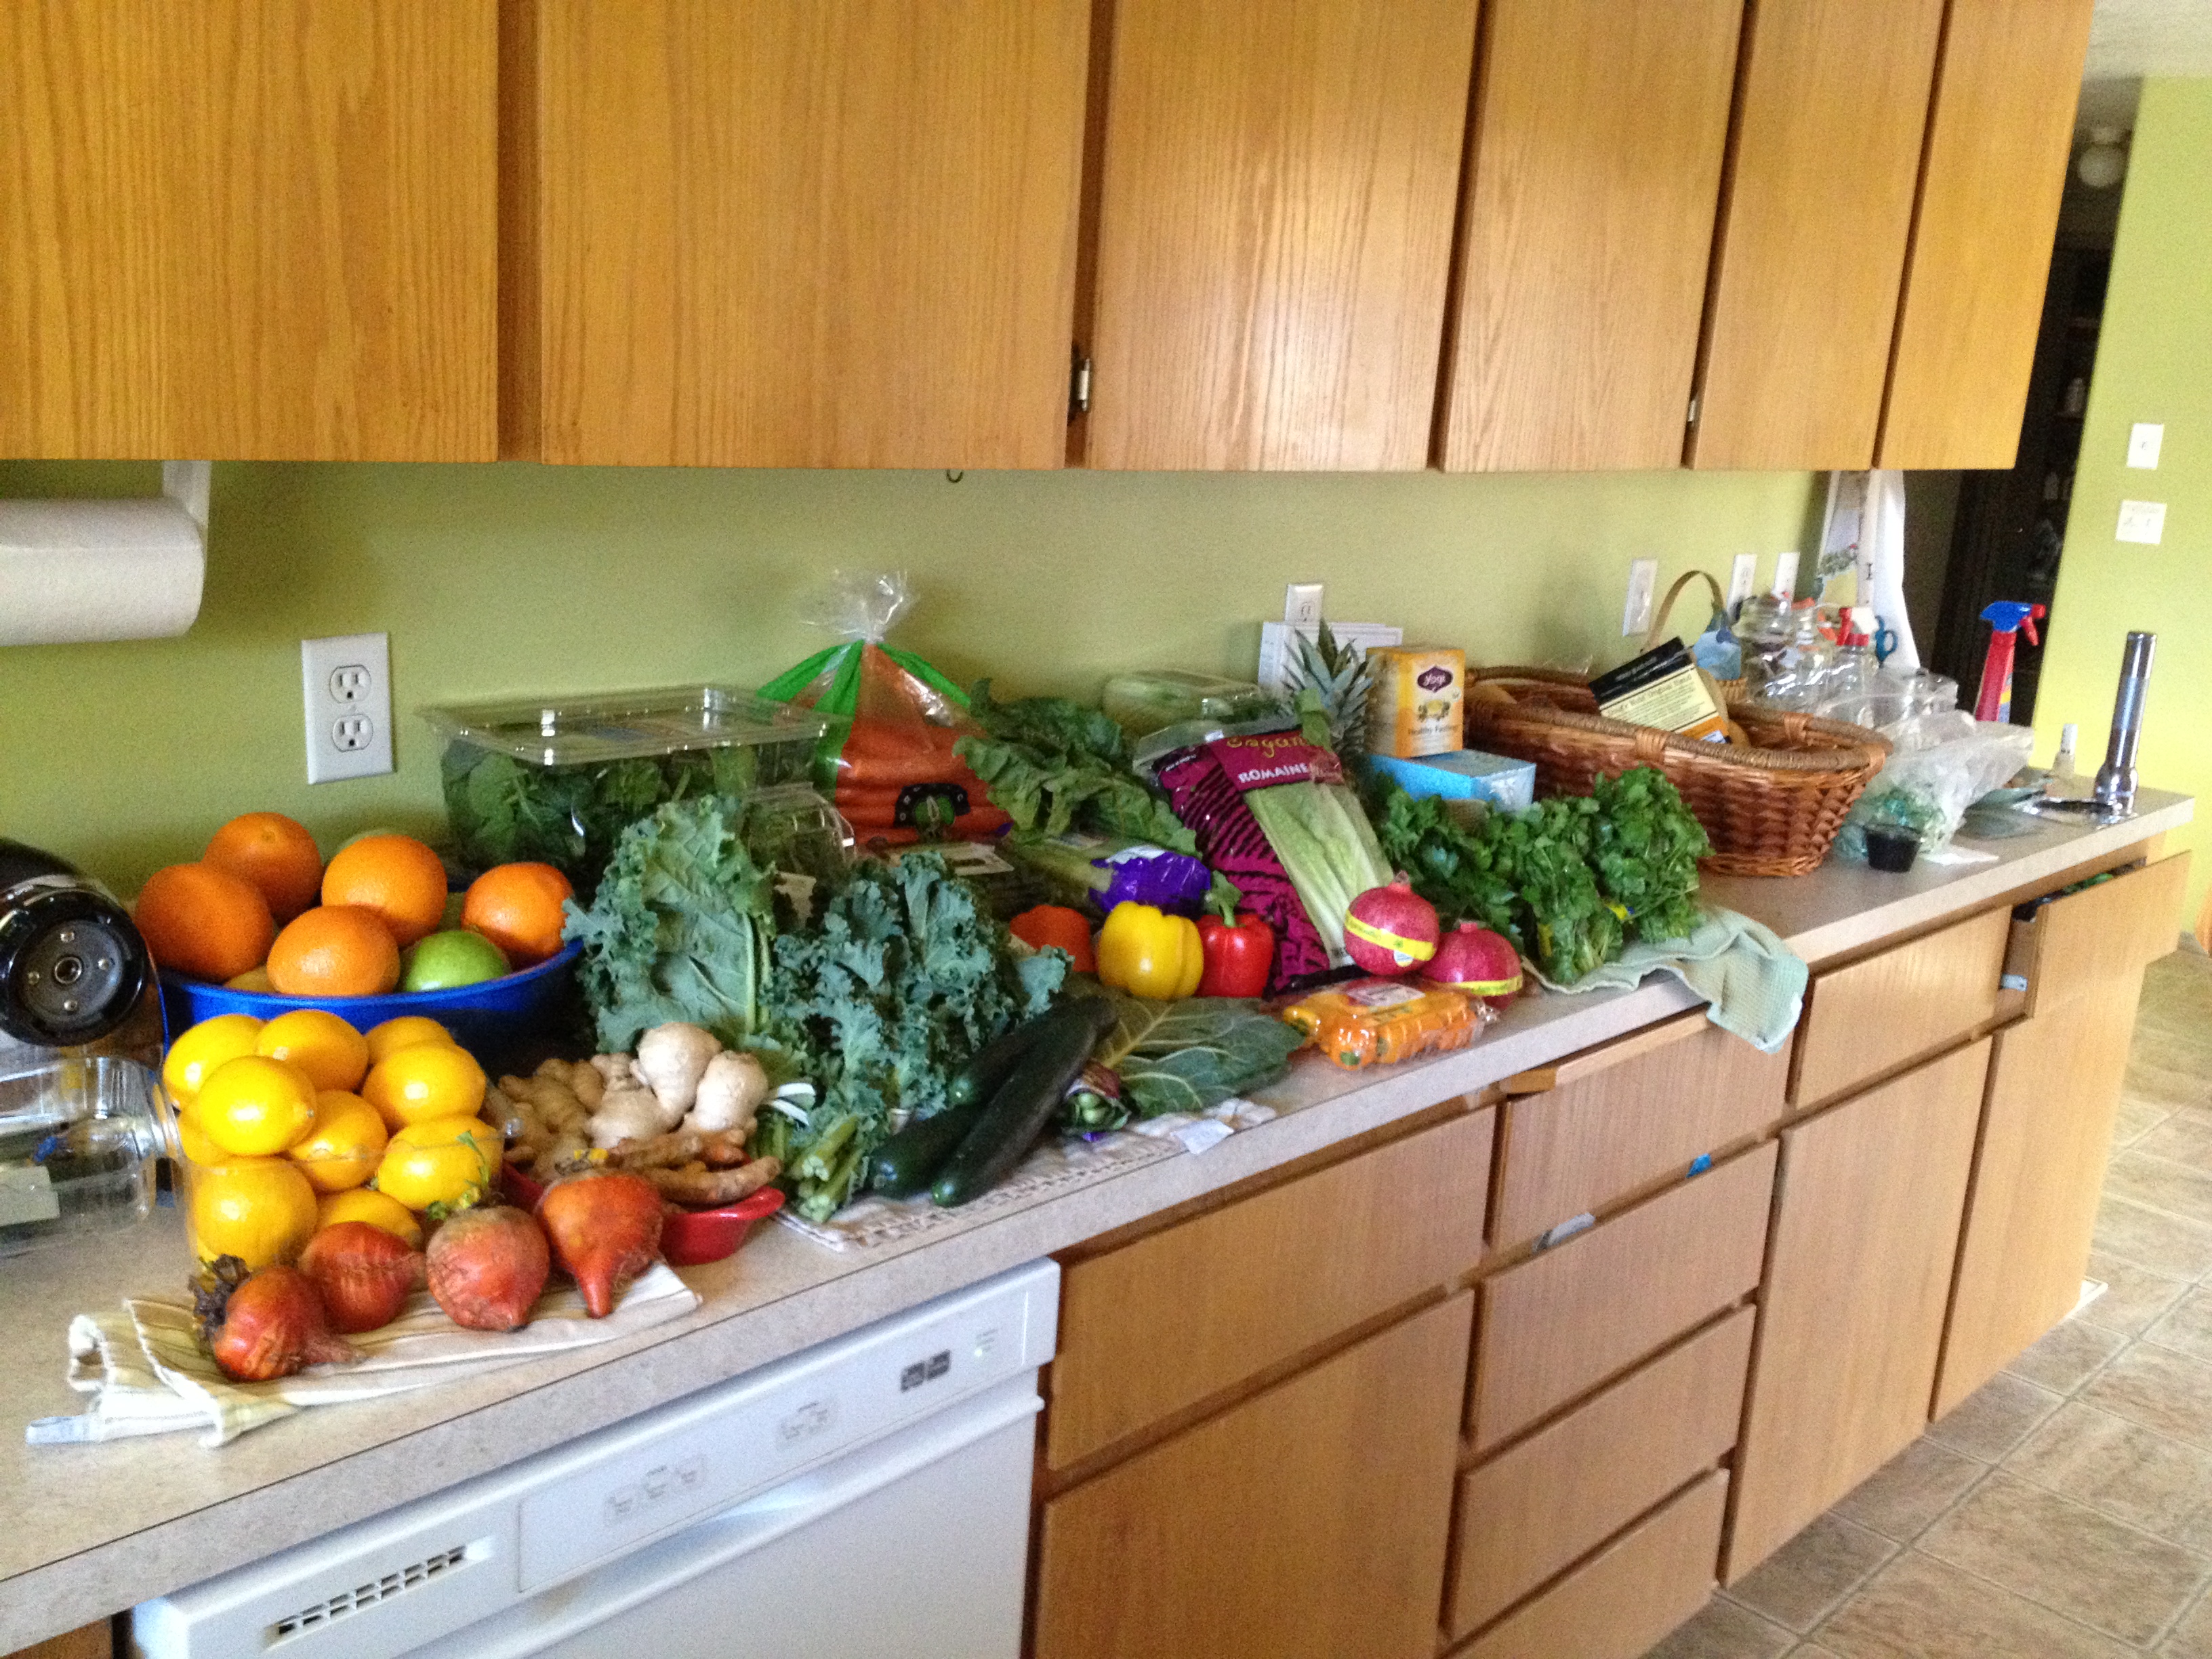
$141 worth of produce
Here we are, day one of Juice Cleanse extravaganza 2014 (It’s a working title) I’m going to spend the next five days not eating solid food, living off of juice, water, tea, and coconut water! Hooray! (no really, I’m excited) This will be my 3rd juice cleanse, and by far the longest, and though I’m a little nervous (I work in a restaurant surrounded by amazingly delicious things all the time… hello temptation) I’m mostly just ready to get this show on the road.
I wrote out menus for each day, made a grocery list, and made a few decisions about what sort of cleanse I was going to do. After giving it a lot of thought, I decided to try and do all organic. I’m not about to get on my high horse and preach the benefits of organic eating, but eating organic whenever possible makes a lot of sense to me, and especially when juicing. Juice allows the nutrients to enter into your blood stream rather quickly, because your body doesn’t have to break down any fiber etc. Call me crazy, but it seems like anything that is essentially going to be directly entering your blood stream should be organic (I know my logic is flawed. But so what!)
And even though I’m on a tight budget I figured I would let myself splurge on organic. After all, I don’t have a family to support, I won’t be going out all week, and I won’t have expenses like coffee, takeout, and sadly I won’t have Wine Wednesday. I set a budget for myself, and shopped around a little and tried to find the best bargains. This was a little labor intensive, and I ended up going to 5 different stores, but overall I was successful. (I know five stores sounds like a lot. I could have narrowed it down, but I knew some stuff I wanted to get in bulk, some stuff I could only find at Whole Foods, some stuff I knew Trader Joe’s had at an excellent price… This is why planning is key. ) I couldn’t find organic grapes, and I opted to get a case of Meyer lemons at Costco rather than conventional organic lemons. I also did not buy organic fennel bulb ( I feel like I’m confessing my sins… but its my blog, so I’m not going to justify why I bought the fennel that I did..) And I was able to get everything I’m going to need for 5 days (and then some) for $141. I This breaks down to $28/ day. Manageable. (my professional juice cleanse ended up being about $50 a day including delivery, so I’m thrilled with $28).

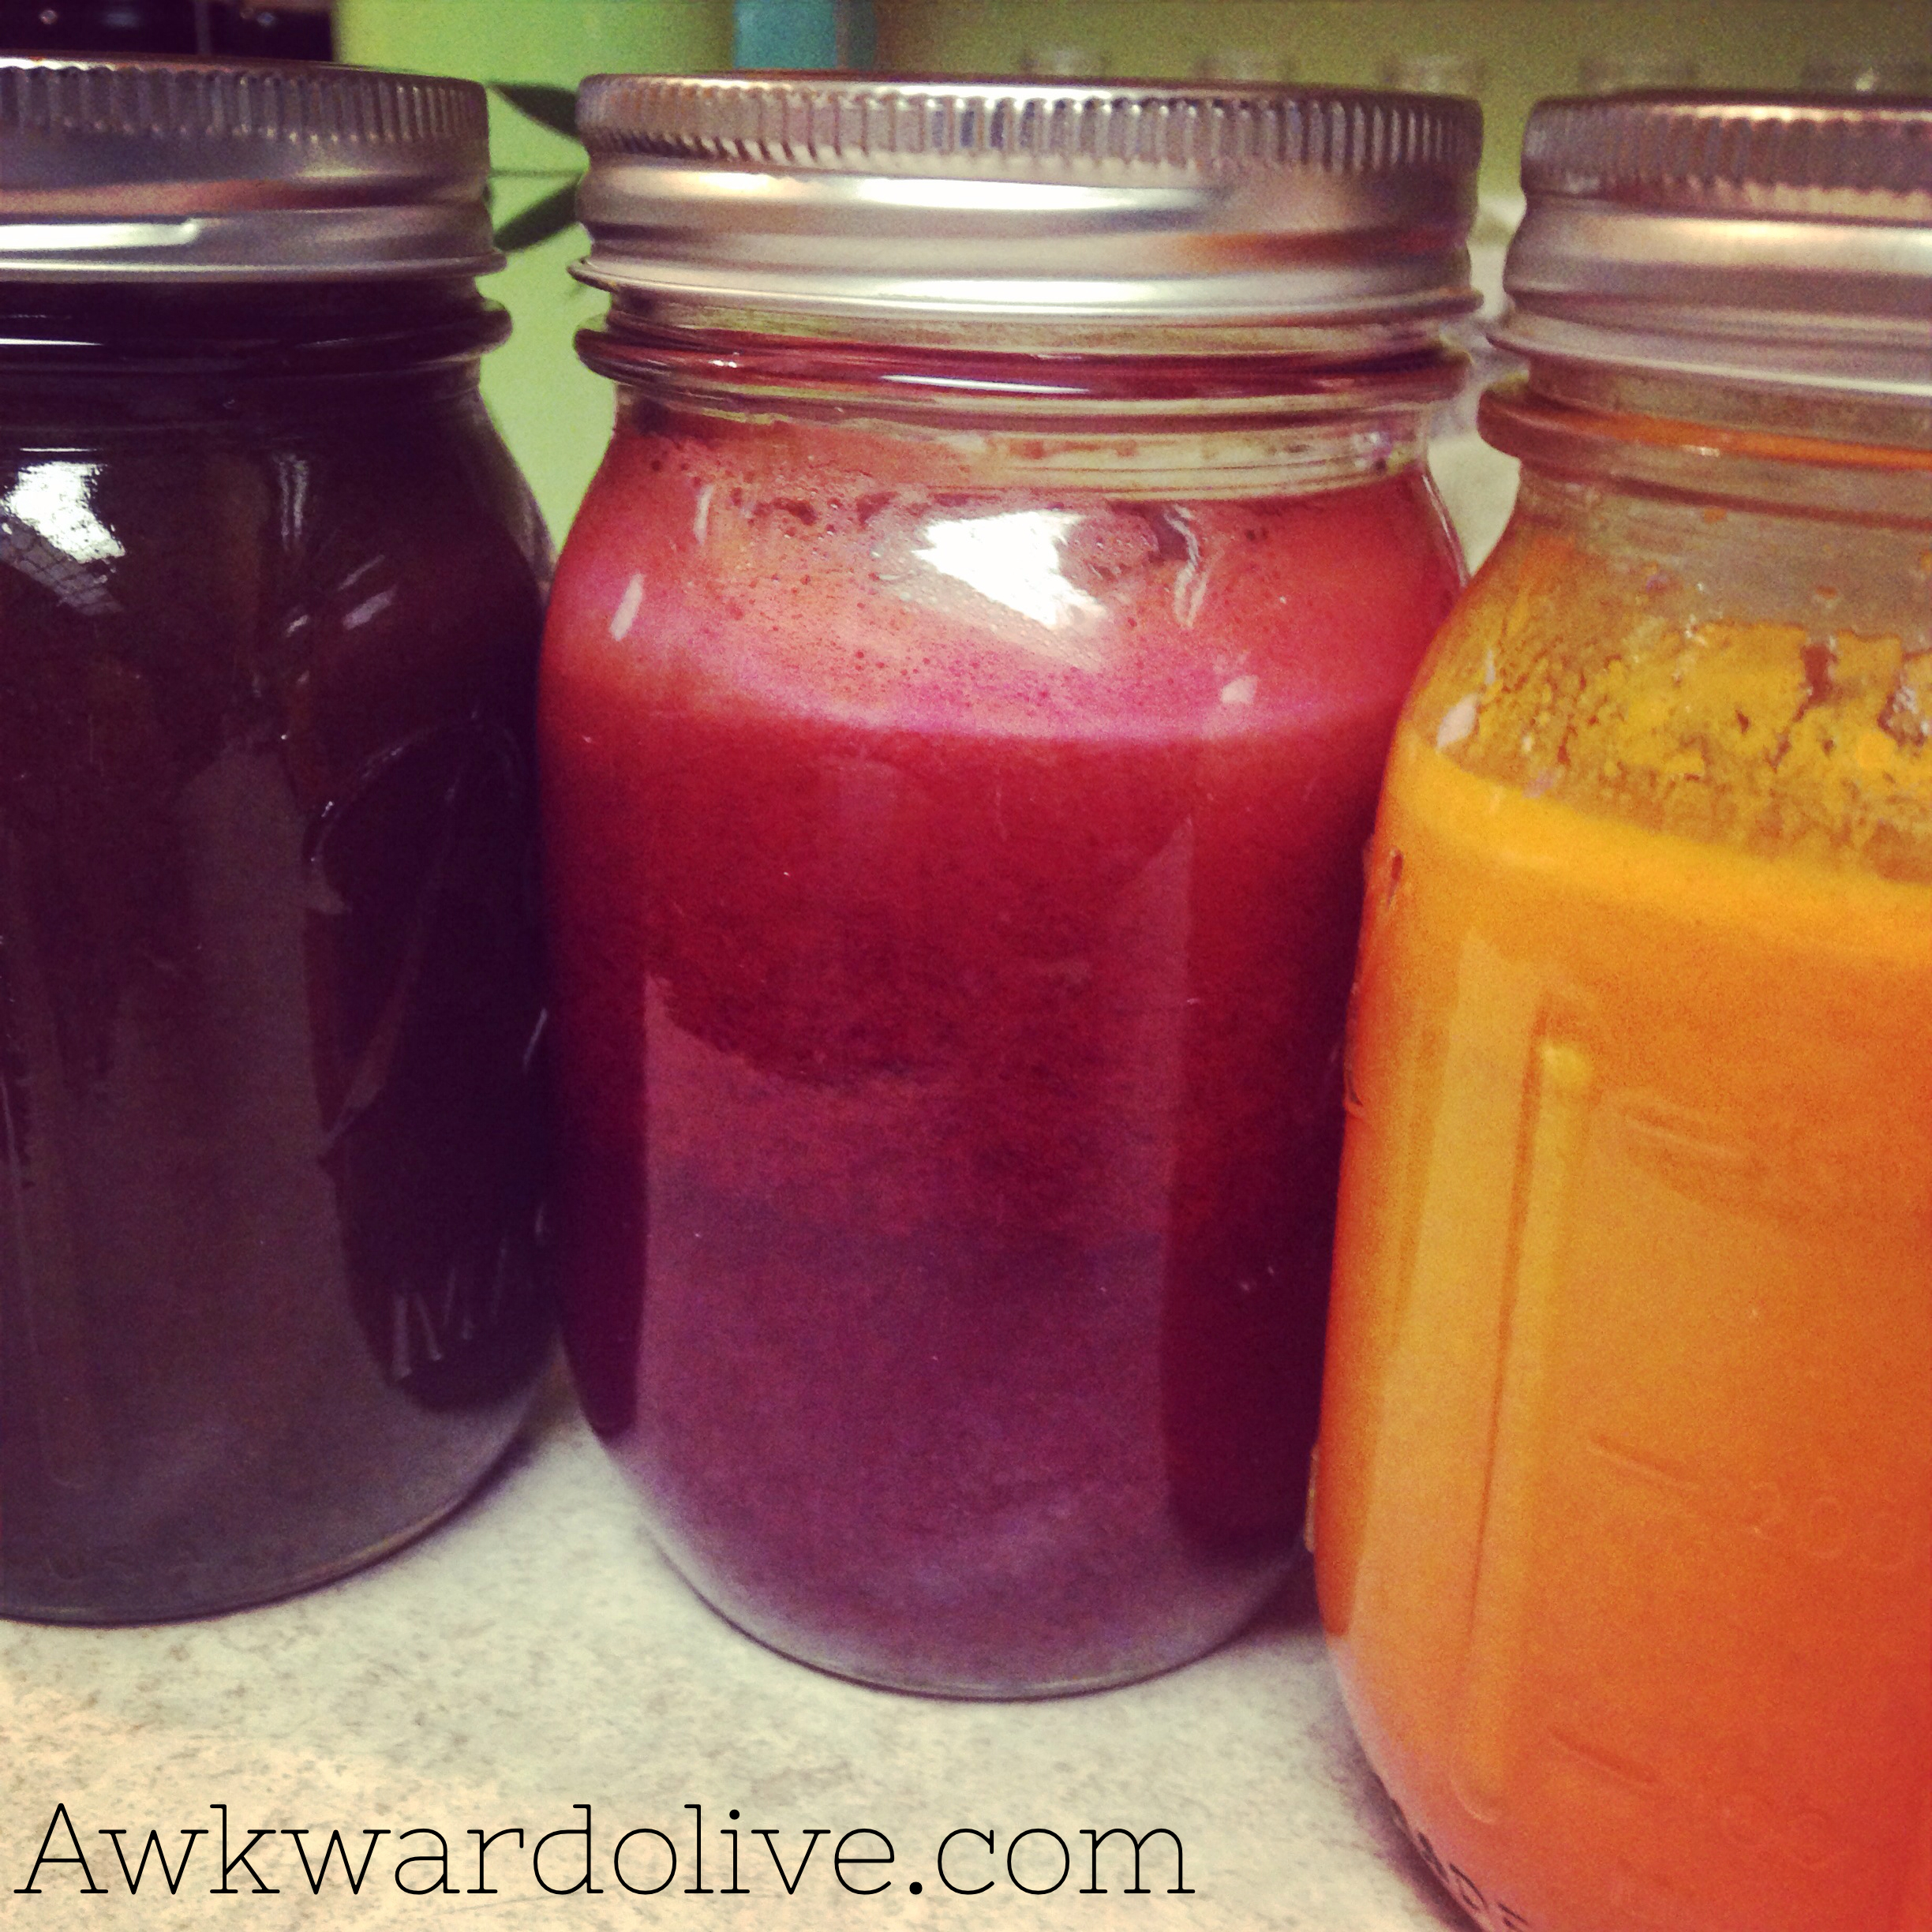
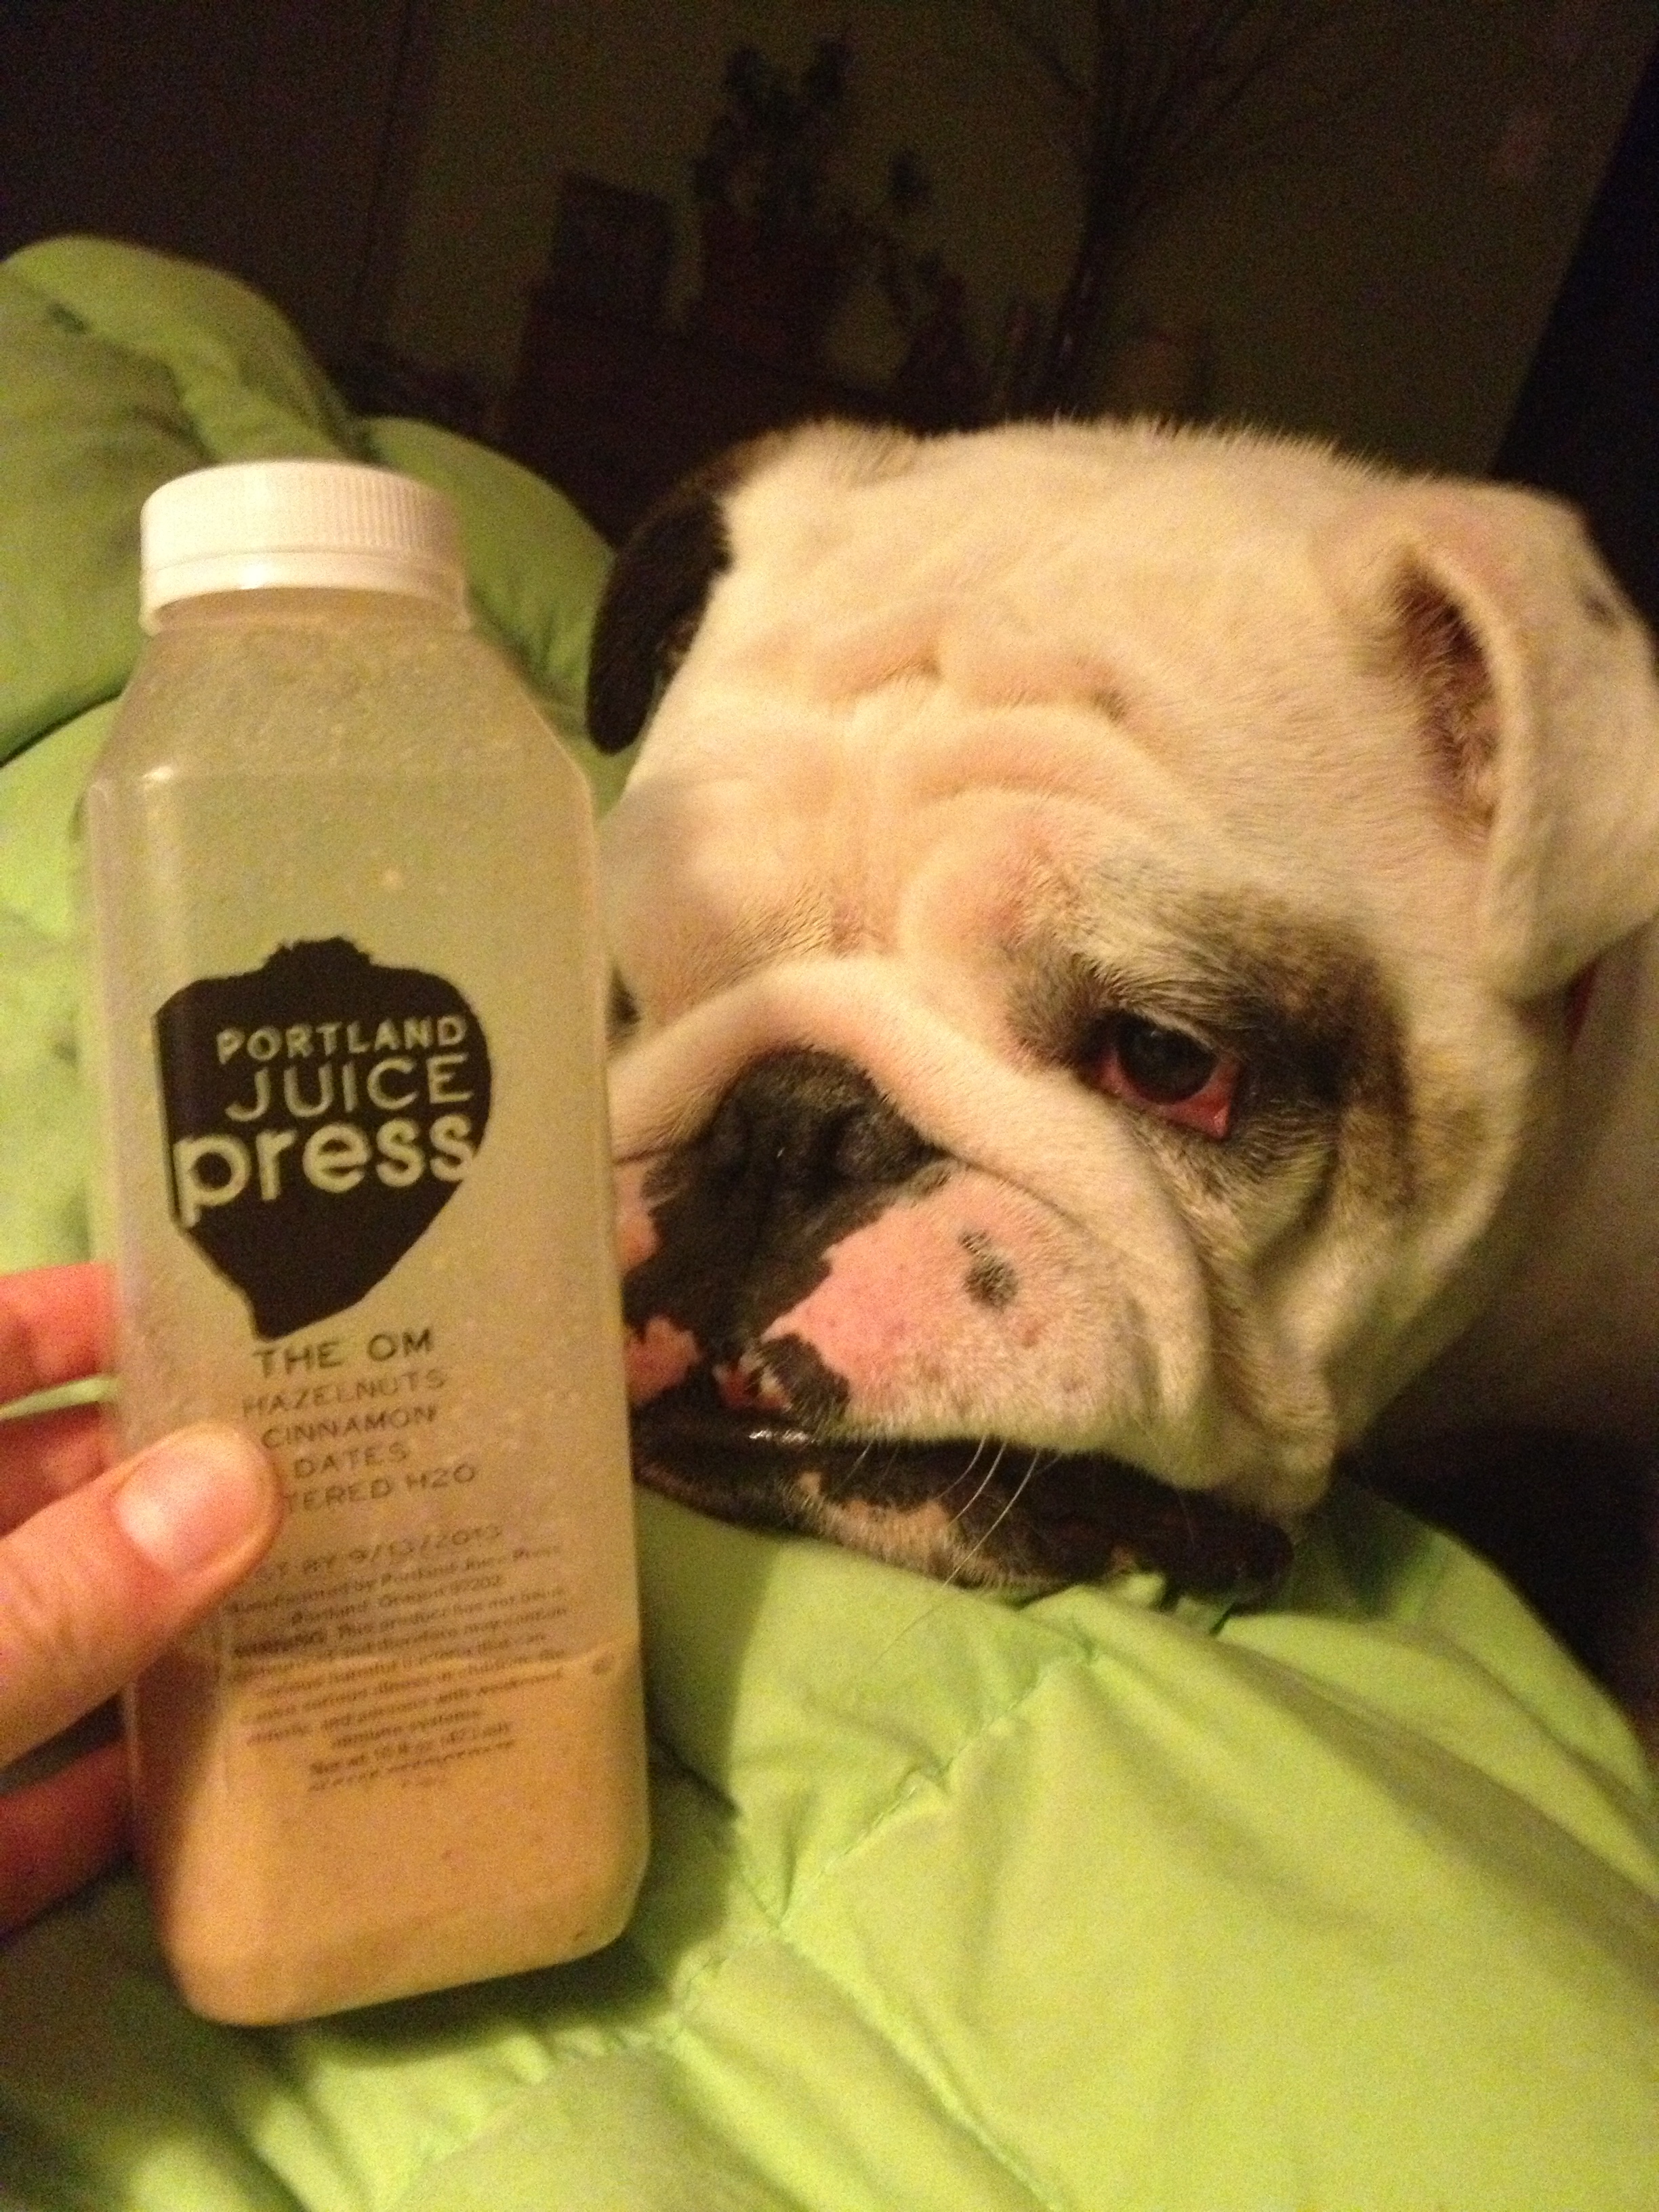
super delicious OM juice from Portland Juice Press

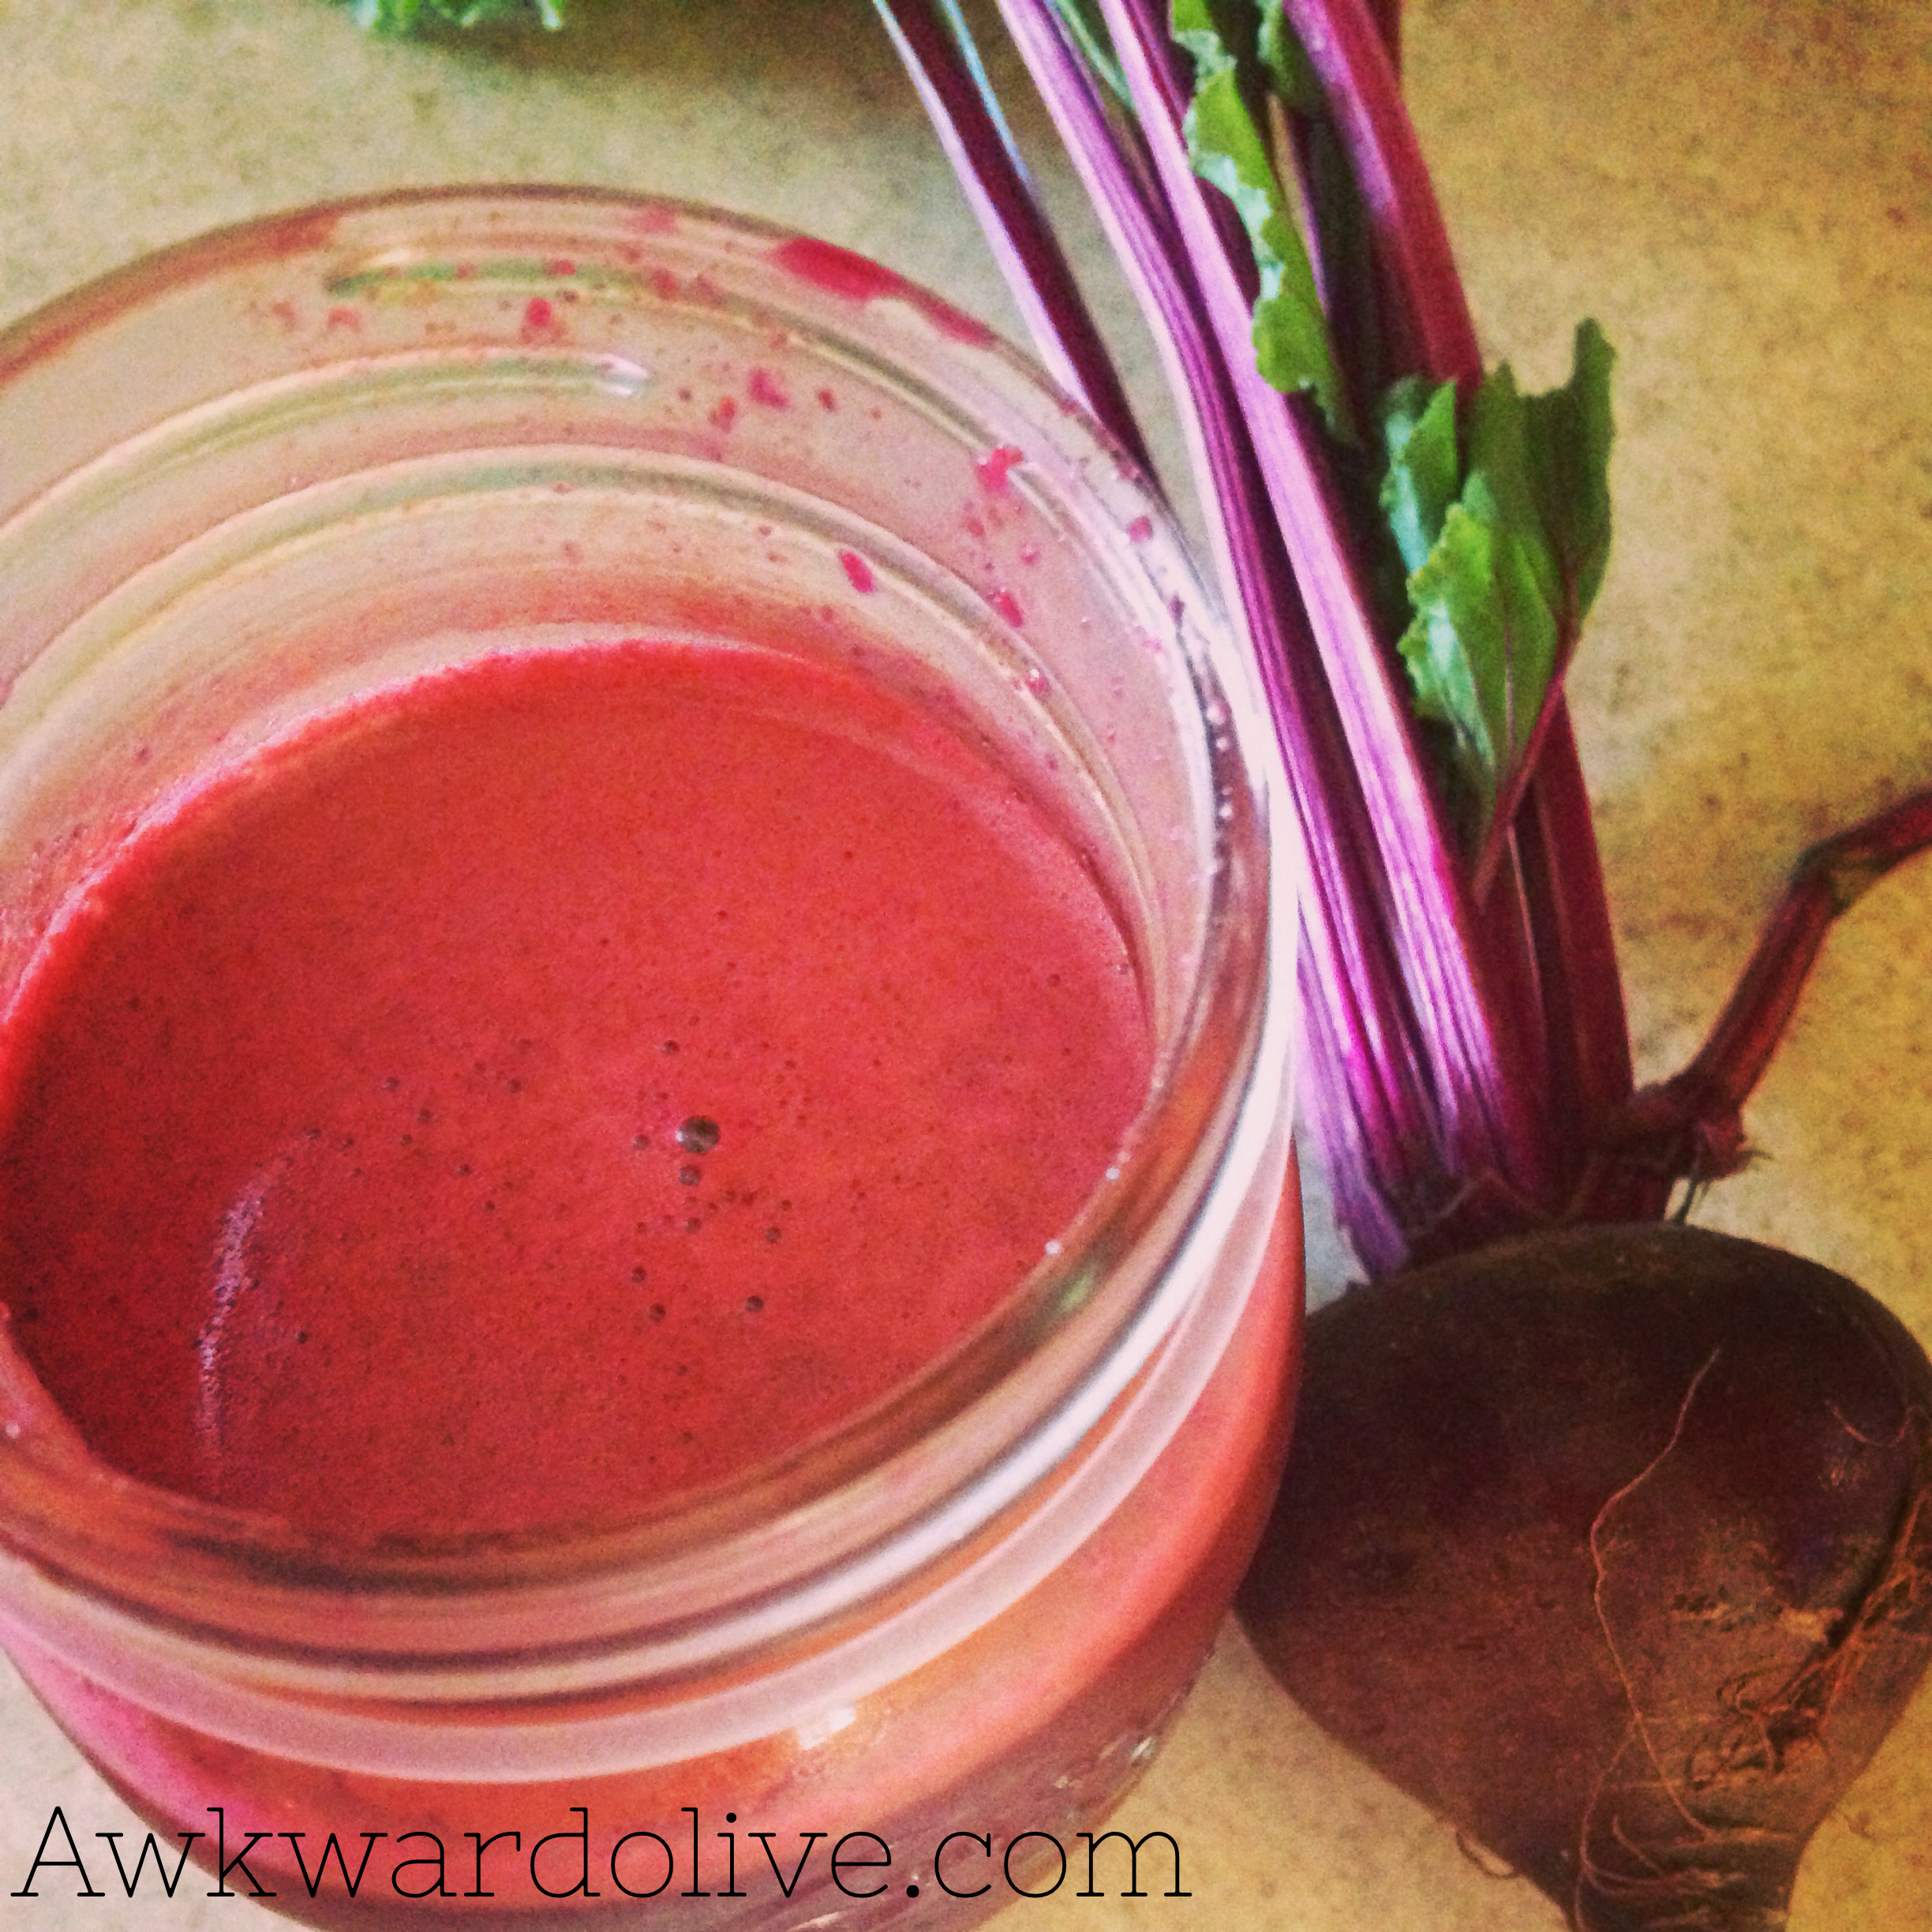
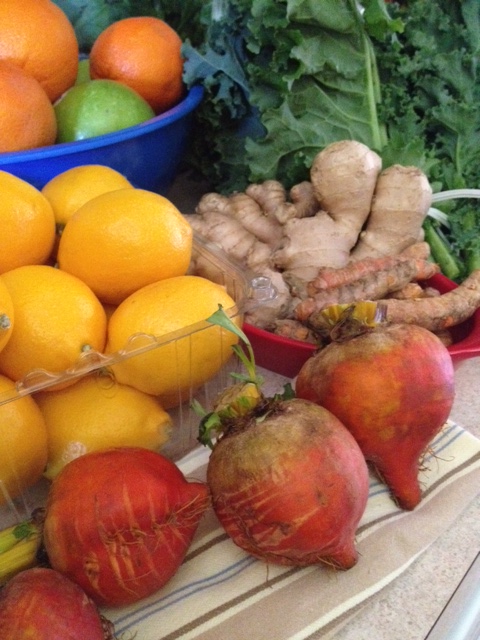
golden beets, meyer lemons, ginger and turmeric root, kale.
I’m not planning on eating anything, though I might supplement with chia seeds, coconut oil and, depending on how the first few days go, nuts. I’m also going to practice oil pulling while I’m on my cleanse. I haven’t done any research about a combination of the two, but it seems as though they would go hand in hand. (you can read more about oil pulling here.) I know that my hardest day will likely be Tuesday, since I’m working a 10 hour shift. If I can make it through a day at the restaurant, and a staff meeting where everyone is drinking beer and eating cheese, than I can make it through anything.
I thought a bit about what I wanted to say in this post, and decided that I’m not going to ramble on about how wonderful juicing is, why I’m doing it, the health benefits, the pros and cons etc. I’m not a nutritionist /doctor/health coach/ expert in any sense of the word, and there are about nine gazillion other websites and blogs you can visit to get menus, facts, benefits etc. I really like the way juicing makes me feel, and after the holidays my entire life feels like it needs a mini-detox.
I am going to offer up 5 pieces of advice for anyone who is embarking on, or thinking about embarking on a juice cleanse, and hopefully these little nuggets of information will help make your life a little easier.
1) Do your research. Whether you are going to be juicing at home, or juicing through a company, you need to spend a little time looking into things. How much will it cost? Do they deliver? what kind of juicer are you going to get? How long will the juice last? Do you have time to juice? These are all pretty basic questions, and all things you should probably have a pretty good grasp on before you commit to a cleanse. My first 3 day cleanse was through Portland Juice Press, and I really cannot say enough good things about it. They were so wonderful to work with, they offered a group rate, delivered it all the way to us in Dundee, and the best part is that there is no mess. You don’t have to spend hours a day making juice and cleaning up, you just open up your fridge every few hours and reach for the juice. They even tell you what order to drink them in. The flavors were really interesting, the juice was satisfying, and the entire process was pretty much painless. From there I became a little addicted, and since I’m an hour outside of the city, I decided to invest in my own juicer. There are countless different brands, makes, and models out there, so again you really have to know what it is you are looking for in a juicer. My priorities were juice quality, and easiness to clean. I ended up with the Omega 8006 juicer, and I’m so in love. A little on the pricey side, but it has 15 year warrantee, is super easy to clean, and it is what they call a masticating juicer. Essentially it crushes the juice using a very slow rpm, which helps keep the juice from oxidizing, and it maintains more of the healthy enzymes and benefits. Juice from a masticating juicer also has a longer shelf life, so you have up to 72 hours to drink your juice (other types they recommend consuming the juice right away or within 24 hours) This type of juicer is perfect for doing a cleanse because you can make juice for a couple of days in advance. Once you know what you are wanting out of a juice cleanse/ juicer it is easier to commit. Also keep in mind that juicing is not a quick process. You are going to need to block off some time to make the juice (its like cooking) you have to chop everything, juice it, clean the juicer etc… If you are going to be juicing for the entire day, it could take up to two hours ( including all the prep and clean up…masticating juicer do go a little bit slower, but they also extract more juice.)
2) Make a Plan: sit down and write a menu. Seriously, treat it like you would a dinner party. List out all the days and exactly what juices you are planning on making (you can always switch it up) and from there make a grocery list. Its easy to see exactly what you are going to need once everything is listed out, and once the grocery list is made its easy to write out notes about where you are going to look for each item. Spending 15 minutes making a menu and grocery list will make it so easy once you are actually out shopping, especially if you have to go to multiple stores, you will know exactly what you need to get.
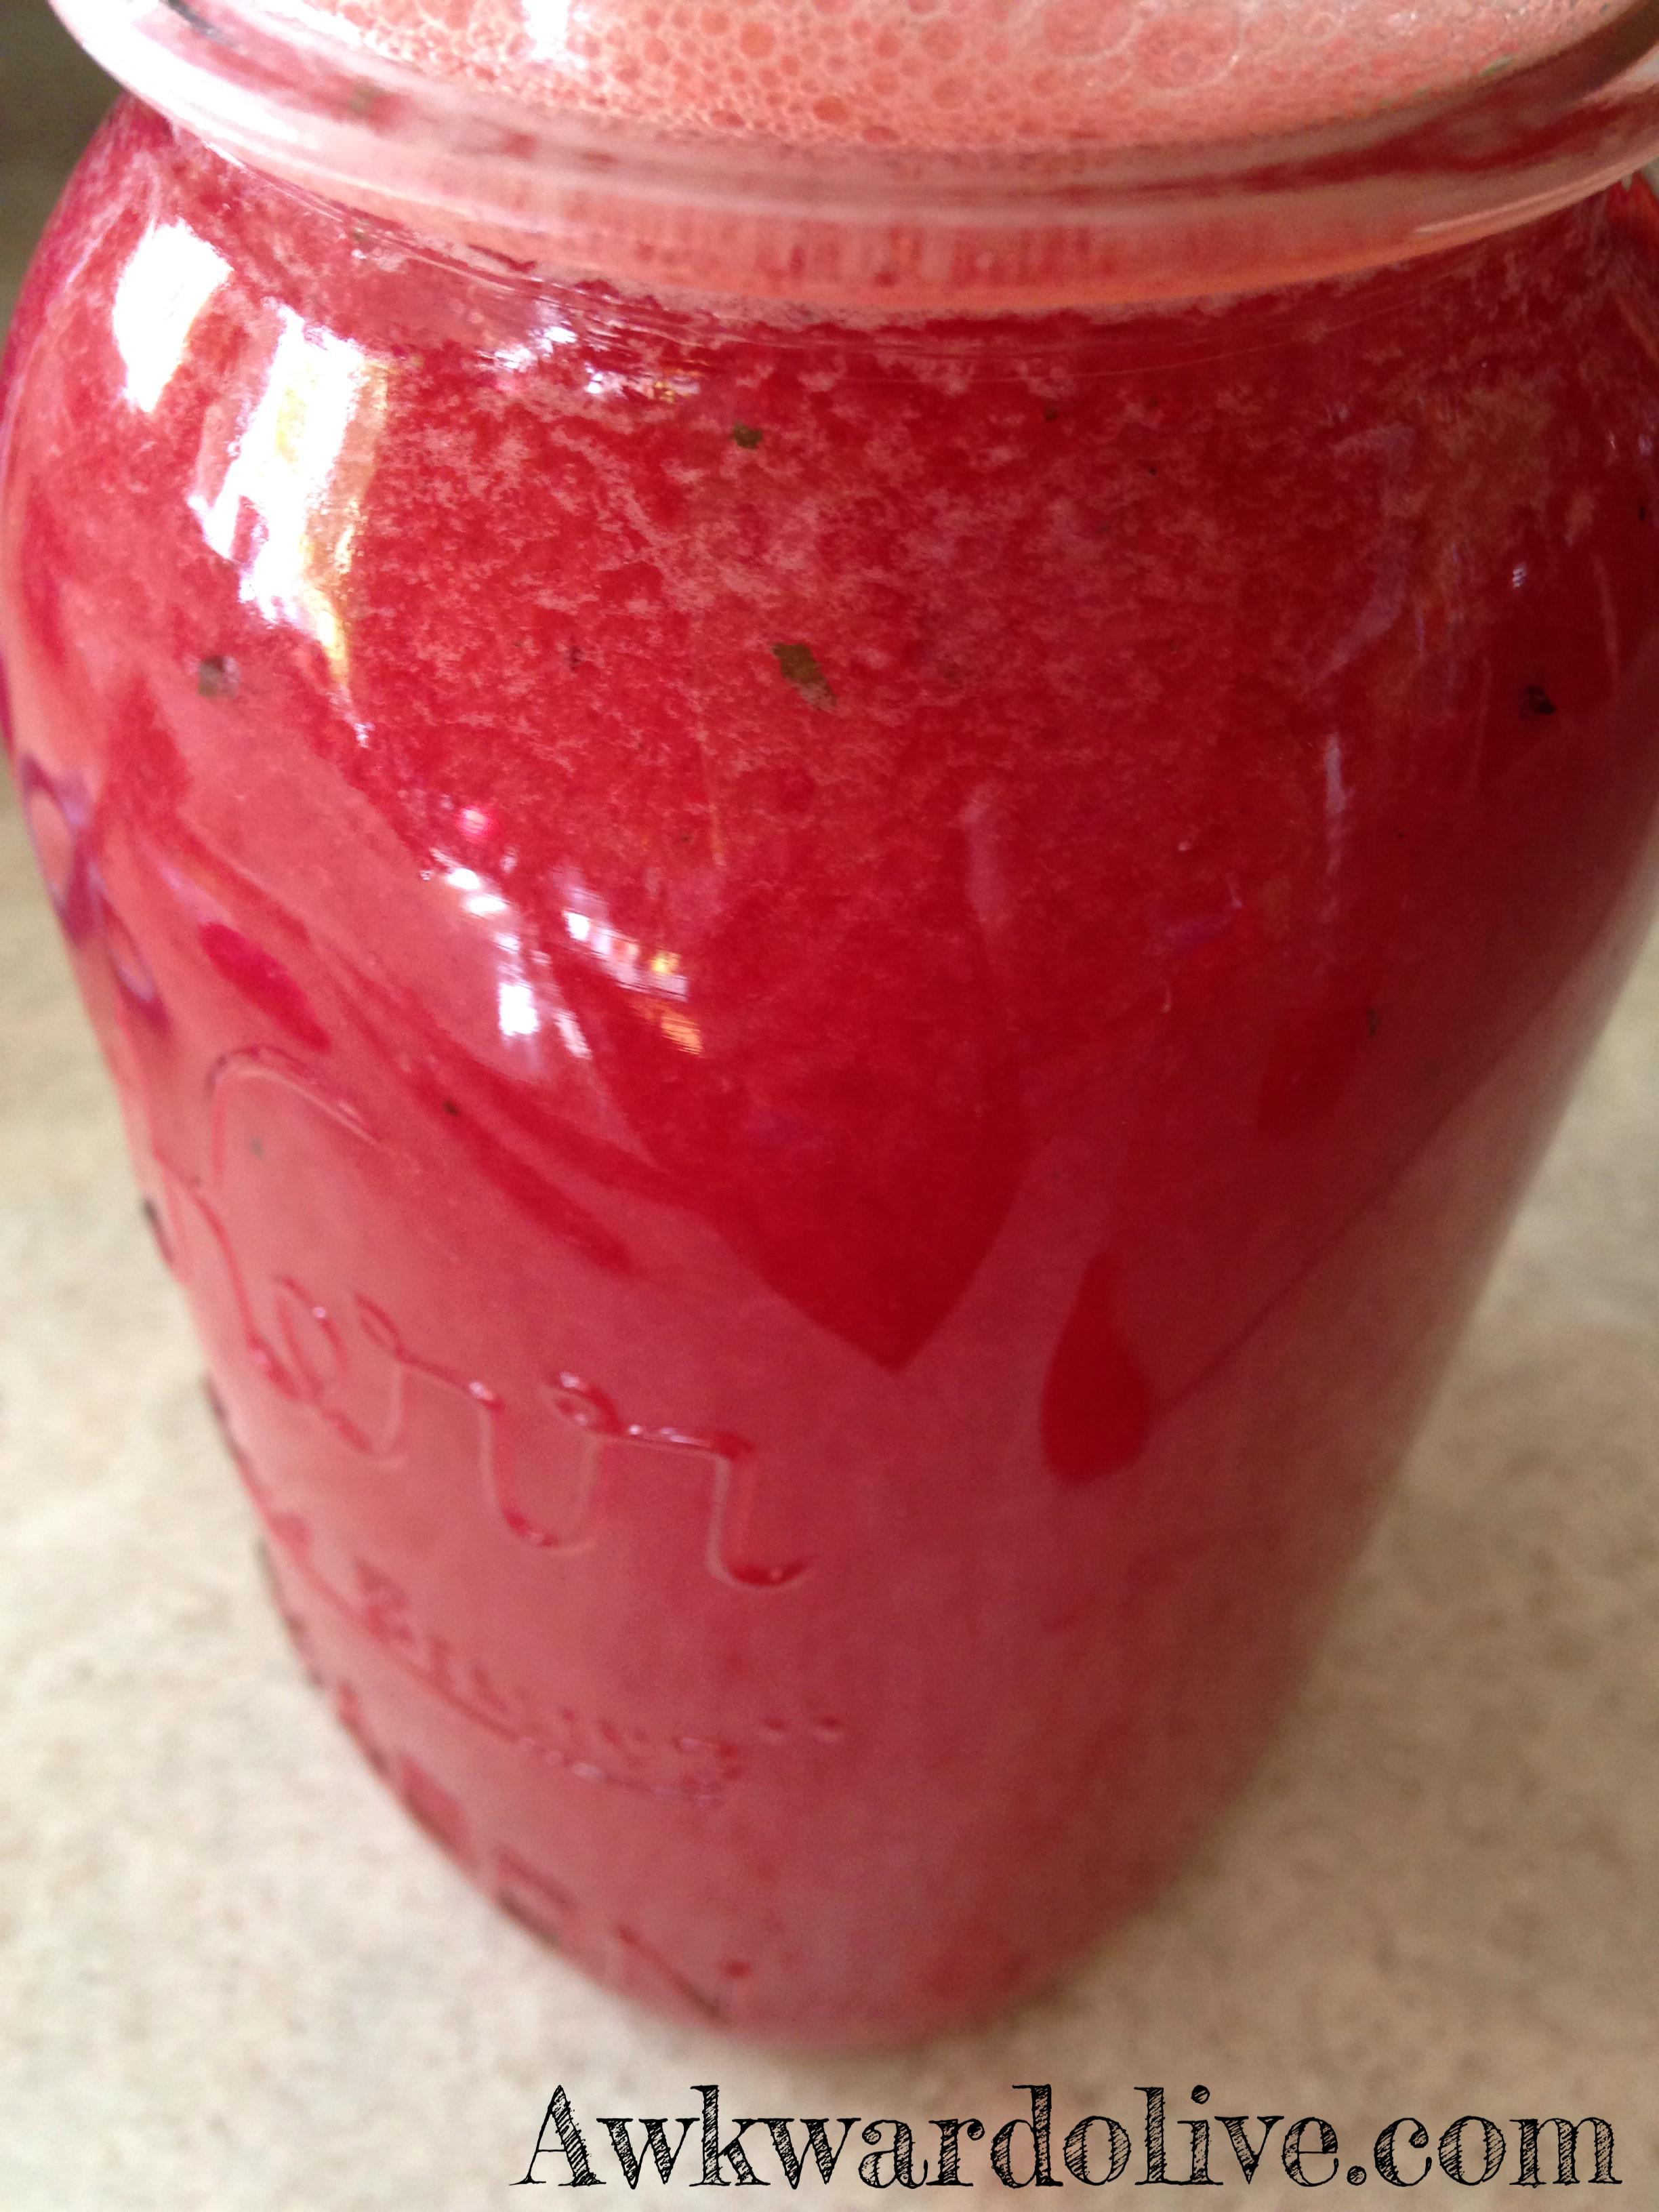
3) Plan Ahead (this goes hand in hand with Make a plan). Though I’m sure there are people who just jump into a detox like this, I think you will be a lot happier with the results and the entire process if you take a little time before and after the cleanse to make some minor changes to your diet and lifestyle. For me the biggest things to cut out in advance are alcohol and caffeine.( Of course it is recommended to cut out dairy, meet etc. beforehand, and to try and eat a clean and unprocessed diet at least a few days in advance) All I know is that I drink a lot of coffee, and the last thing I want to do is be on a juice cleanse while suffering from caffeine headaches. Save yourself the headache (sorry, couldn’t resist) and get off caffeine a few days before you start. I switched to tea about a week ago, and stopped caffeine entirely two days before. Look at your calendar, because the last thing you want is to be in the middle of a juice cleanse while you are out at a birthday party, wedding, or other social engagement. I mean its fine, its not like you are on house arrest when you are juicing, but if everyone around you is drinking, eating, and having a grand old time, you will probably hate your life a little bit, and be tempted to cheat. Also, clean out your refrigerator before you go shopping. You are going to need to place to store the produce, and all the juice, and it takes up quite a bit of space. How are you going to store your juice? (I personally use mason jars, they are the perfect size for one 16ish oz serving, and they fit well in the fridge) Are all your jars clean?
4) Drink so much water. Seriously. Drink it. You are essentially releasing a ton of toxins from your body, and they need to be flushed out. They are looking for any way to get out of your body, and chances are they are going to be flooding out of your pores (breakouts, and bad breath are common side effects of juicing because of this) drink water, drink water, drink water. (this is probably the hardest part for me. Especially when I’m at work, and literally have to get someone to cover my station every time I go to the bathroom. Its not like I can discretely slip away and have no one notice, I actually have to tell someone, sometimes multiple people “hey I’m going pee, cover the front” On normal days this is fine, but on busy days there are lines out the door, and sometimes abandoning your post, even for a 2 minutes bathroom break, just isn’t happening. )
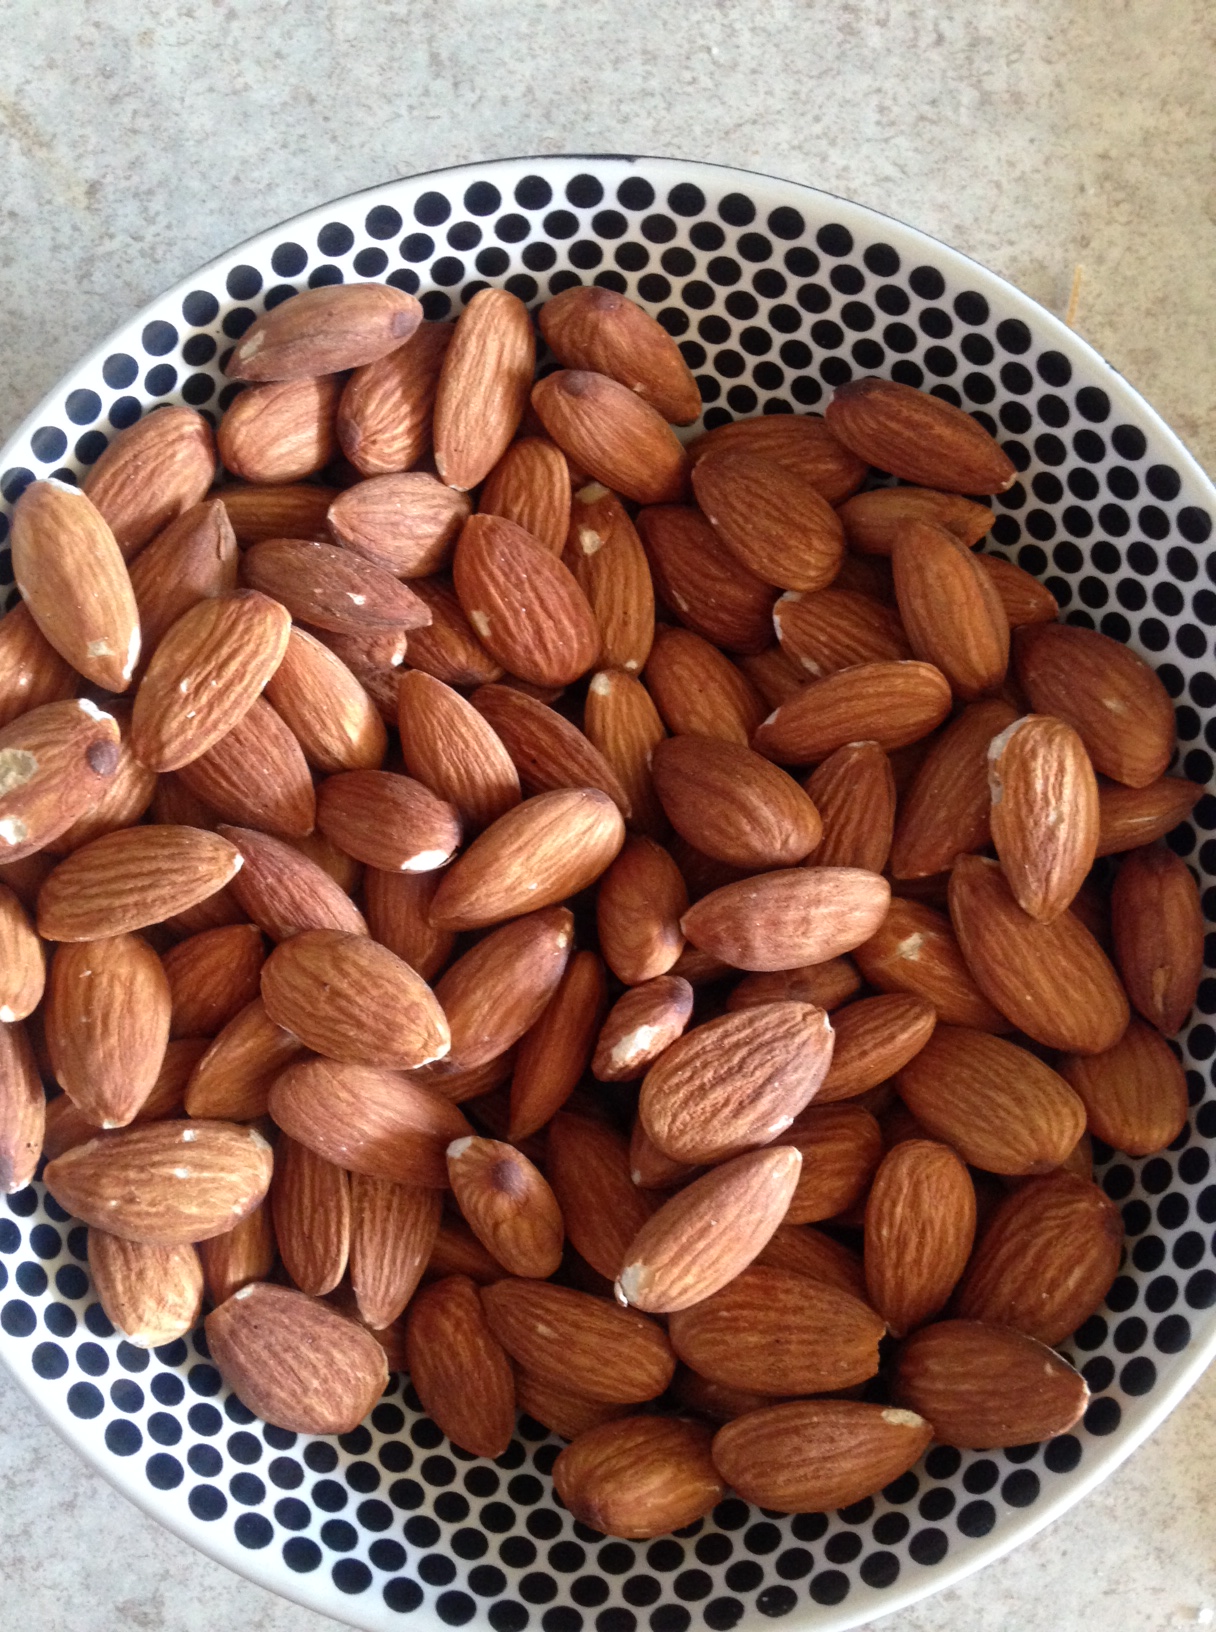
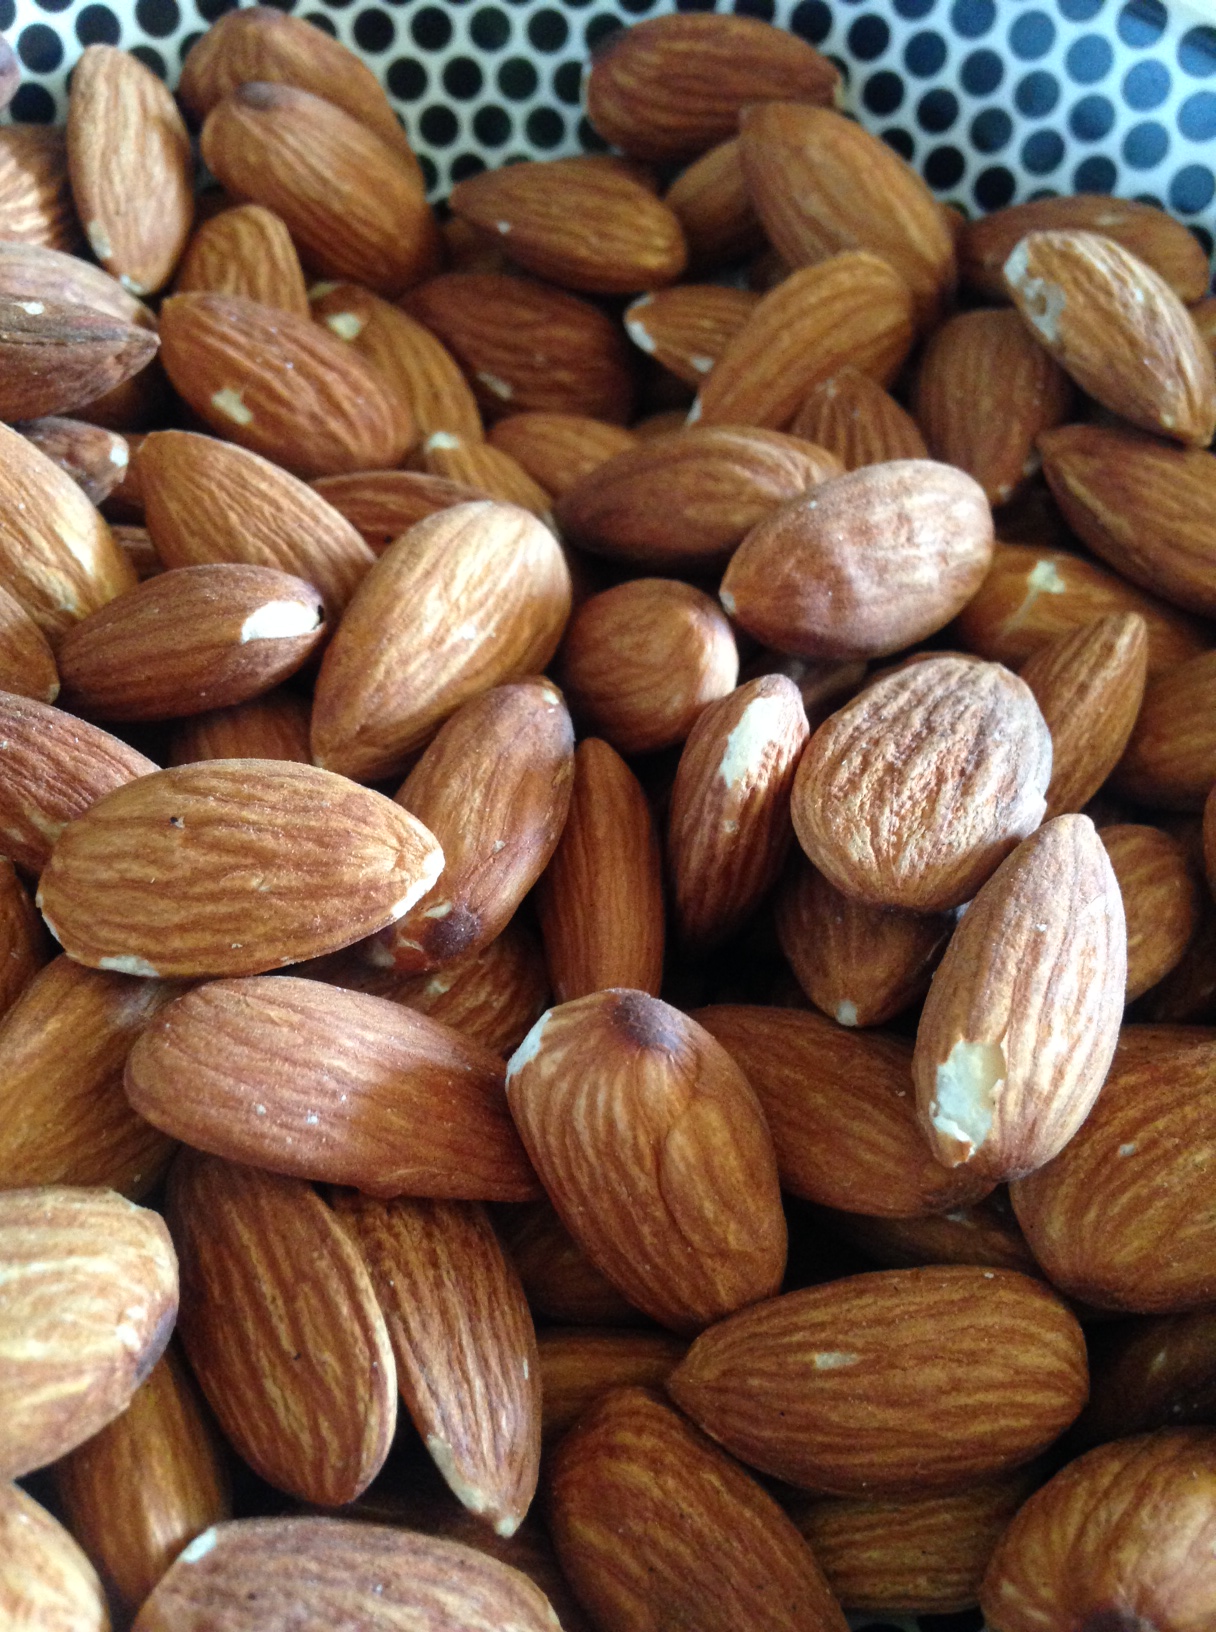
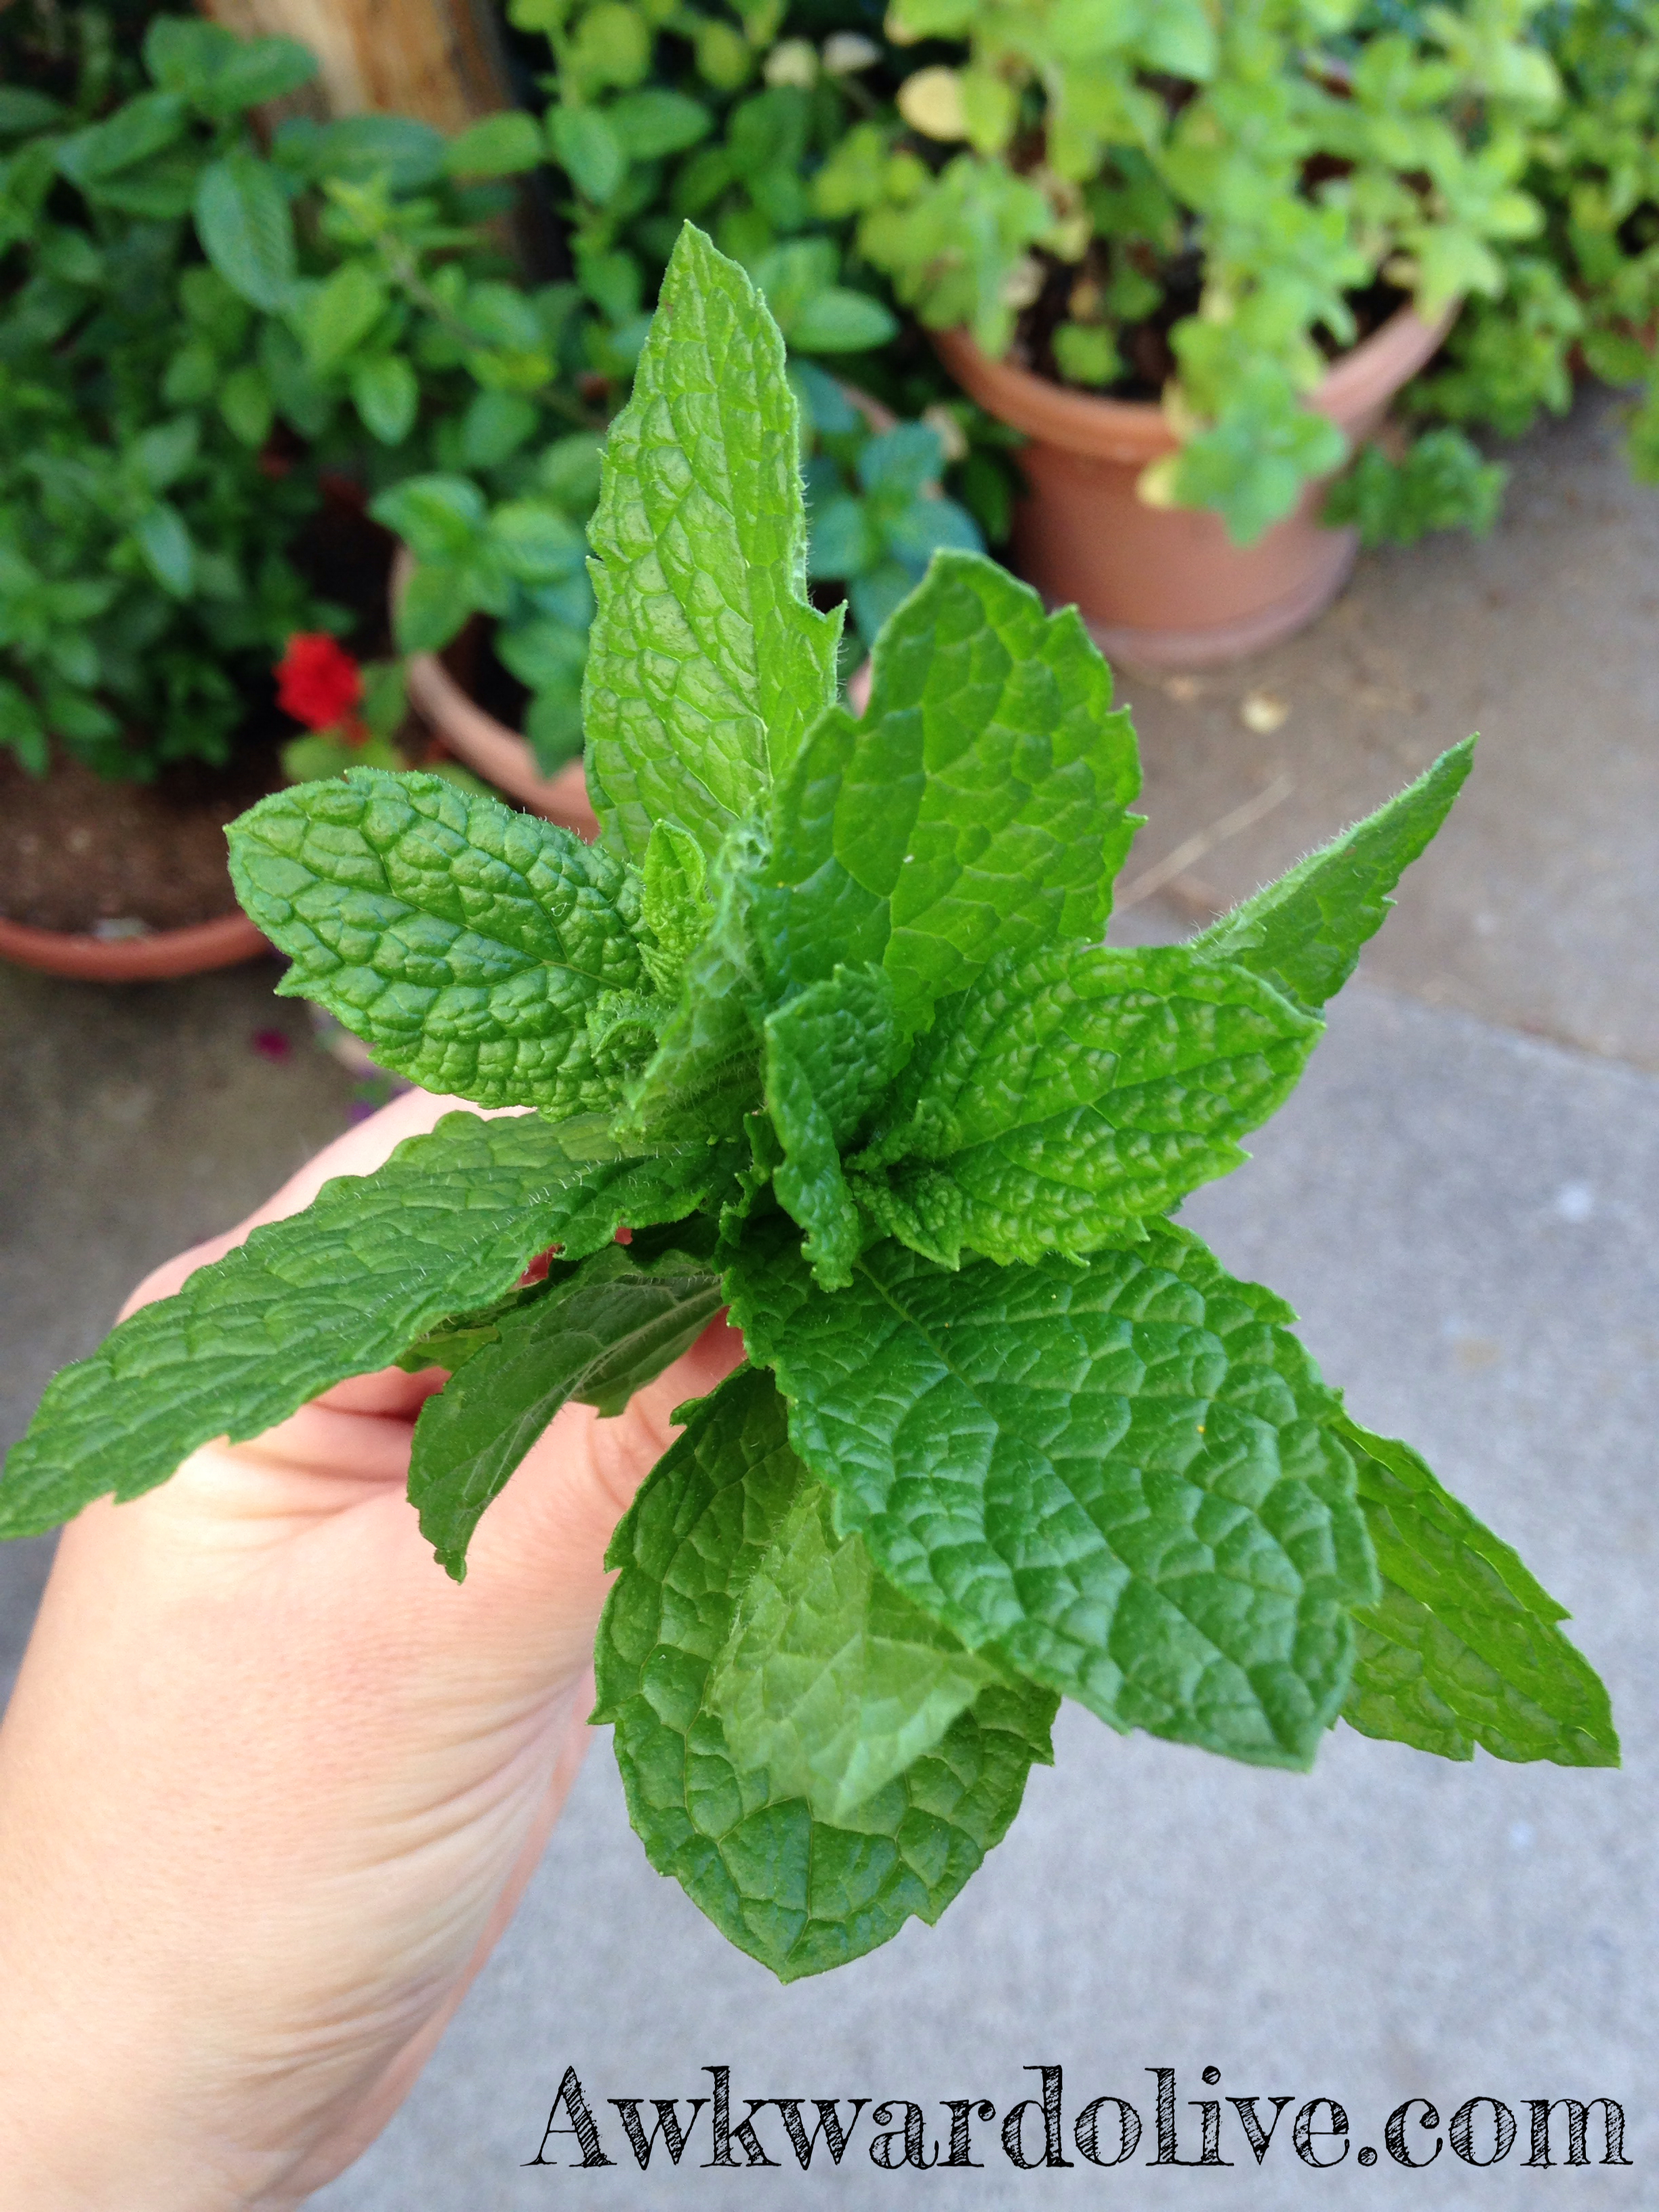
5) Make your own rules, and give yourself a break. Juicing is hard, and you know your body. If you need to eat, then eat. You have just stocked up on all this great stuff to put in your juice, if you absolutely need a snack, then eat one of the oranges, have a handful of nuts, do what you need to do, and don’t judge yourself for it. I always carry a handful of almonds in my bag when I’m doing a juice cleanse, just incase I need a little boost of texture and protein. Maybe on your juice fast you juice during the day and have a healthy meal at night. Maybe you eat nuts and solids all day. Maybe you are just juicing as a supplement. Find what works for you. Also have fun, try some new ingredients! Have you juiced asparagus? Tumeric root?
*Side Note: Because I feel like it has to be addressed, because everyone always asks me in person: Does a juice cleanse make you poop a lot/ give you the runs? Though it seems of-putting to be talking about brown-towning in a blog about juicing/ being healthy, I get why people ask that question. My simple answer is: everybody poops. Lets just think about it… you are drinking liquid for days… what do you think that would do to your bowel movements? Everyone’s bodies and eating habits are different, and I think if you eat enough fiber on a regular basis you aren’t going to really notice a big difference. Some days were looser than others, and I’m just going to leave it at that. I never felt like I had to stay close to a restroom, or like I couldn’t go out and do things, there were no emergencies.
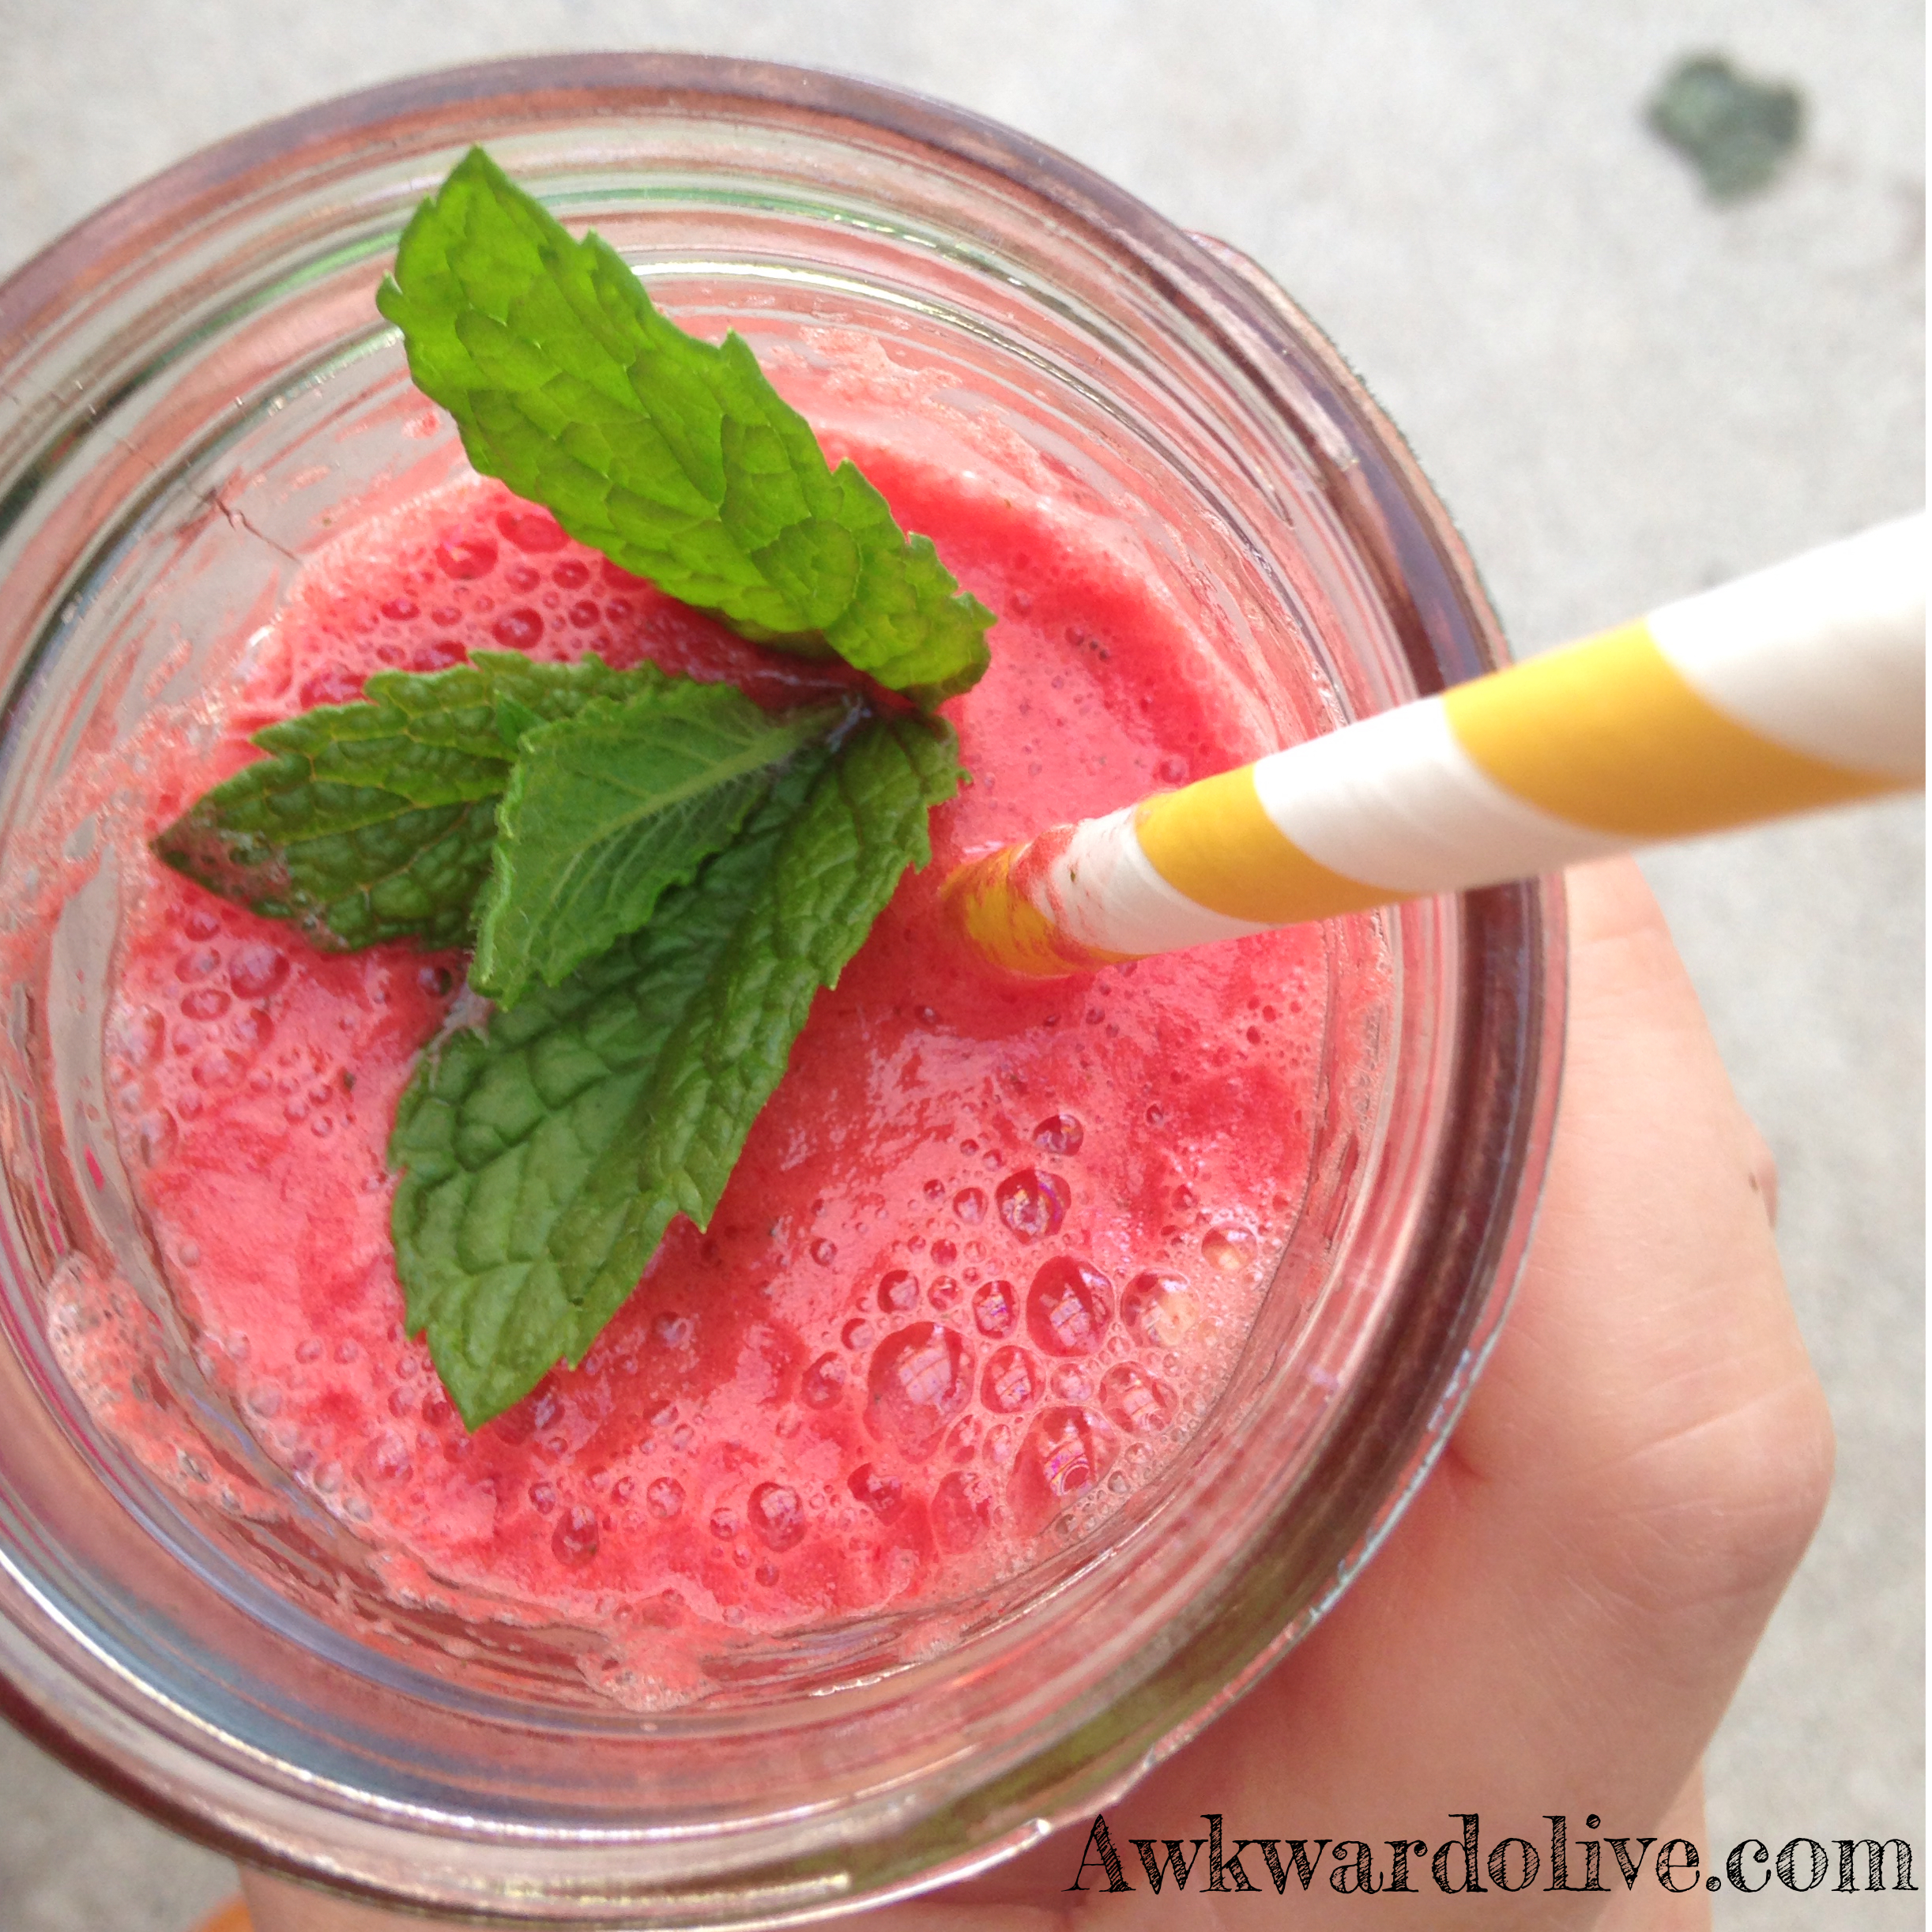
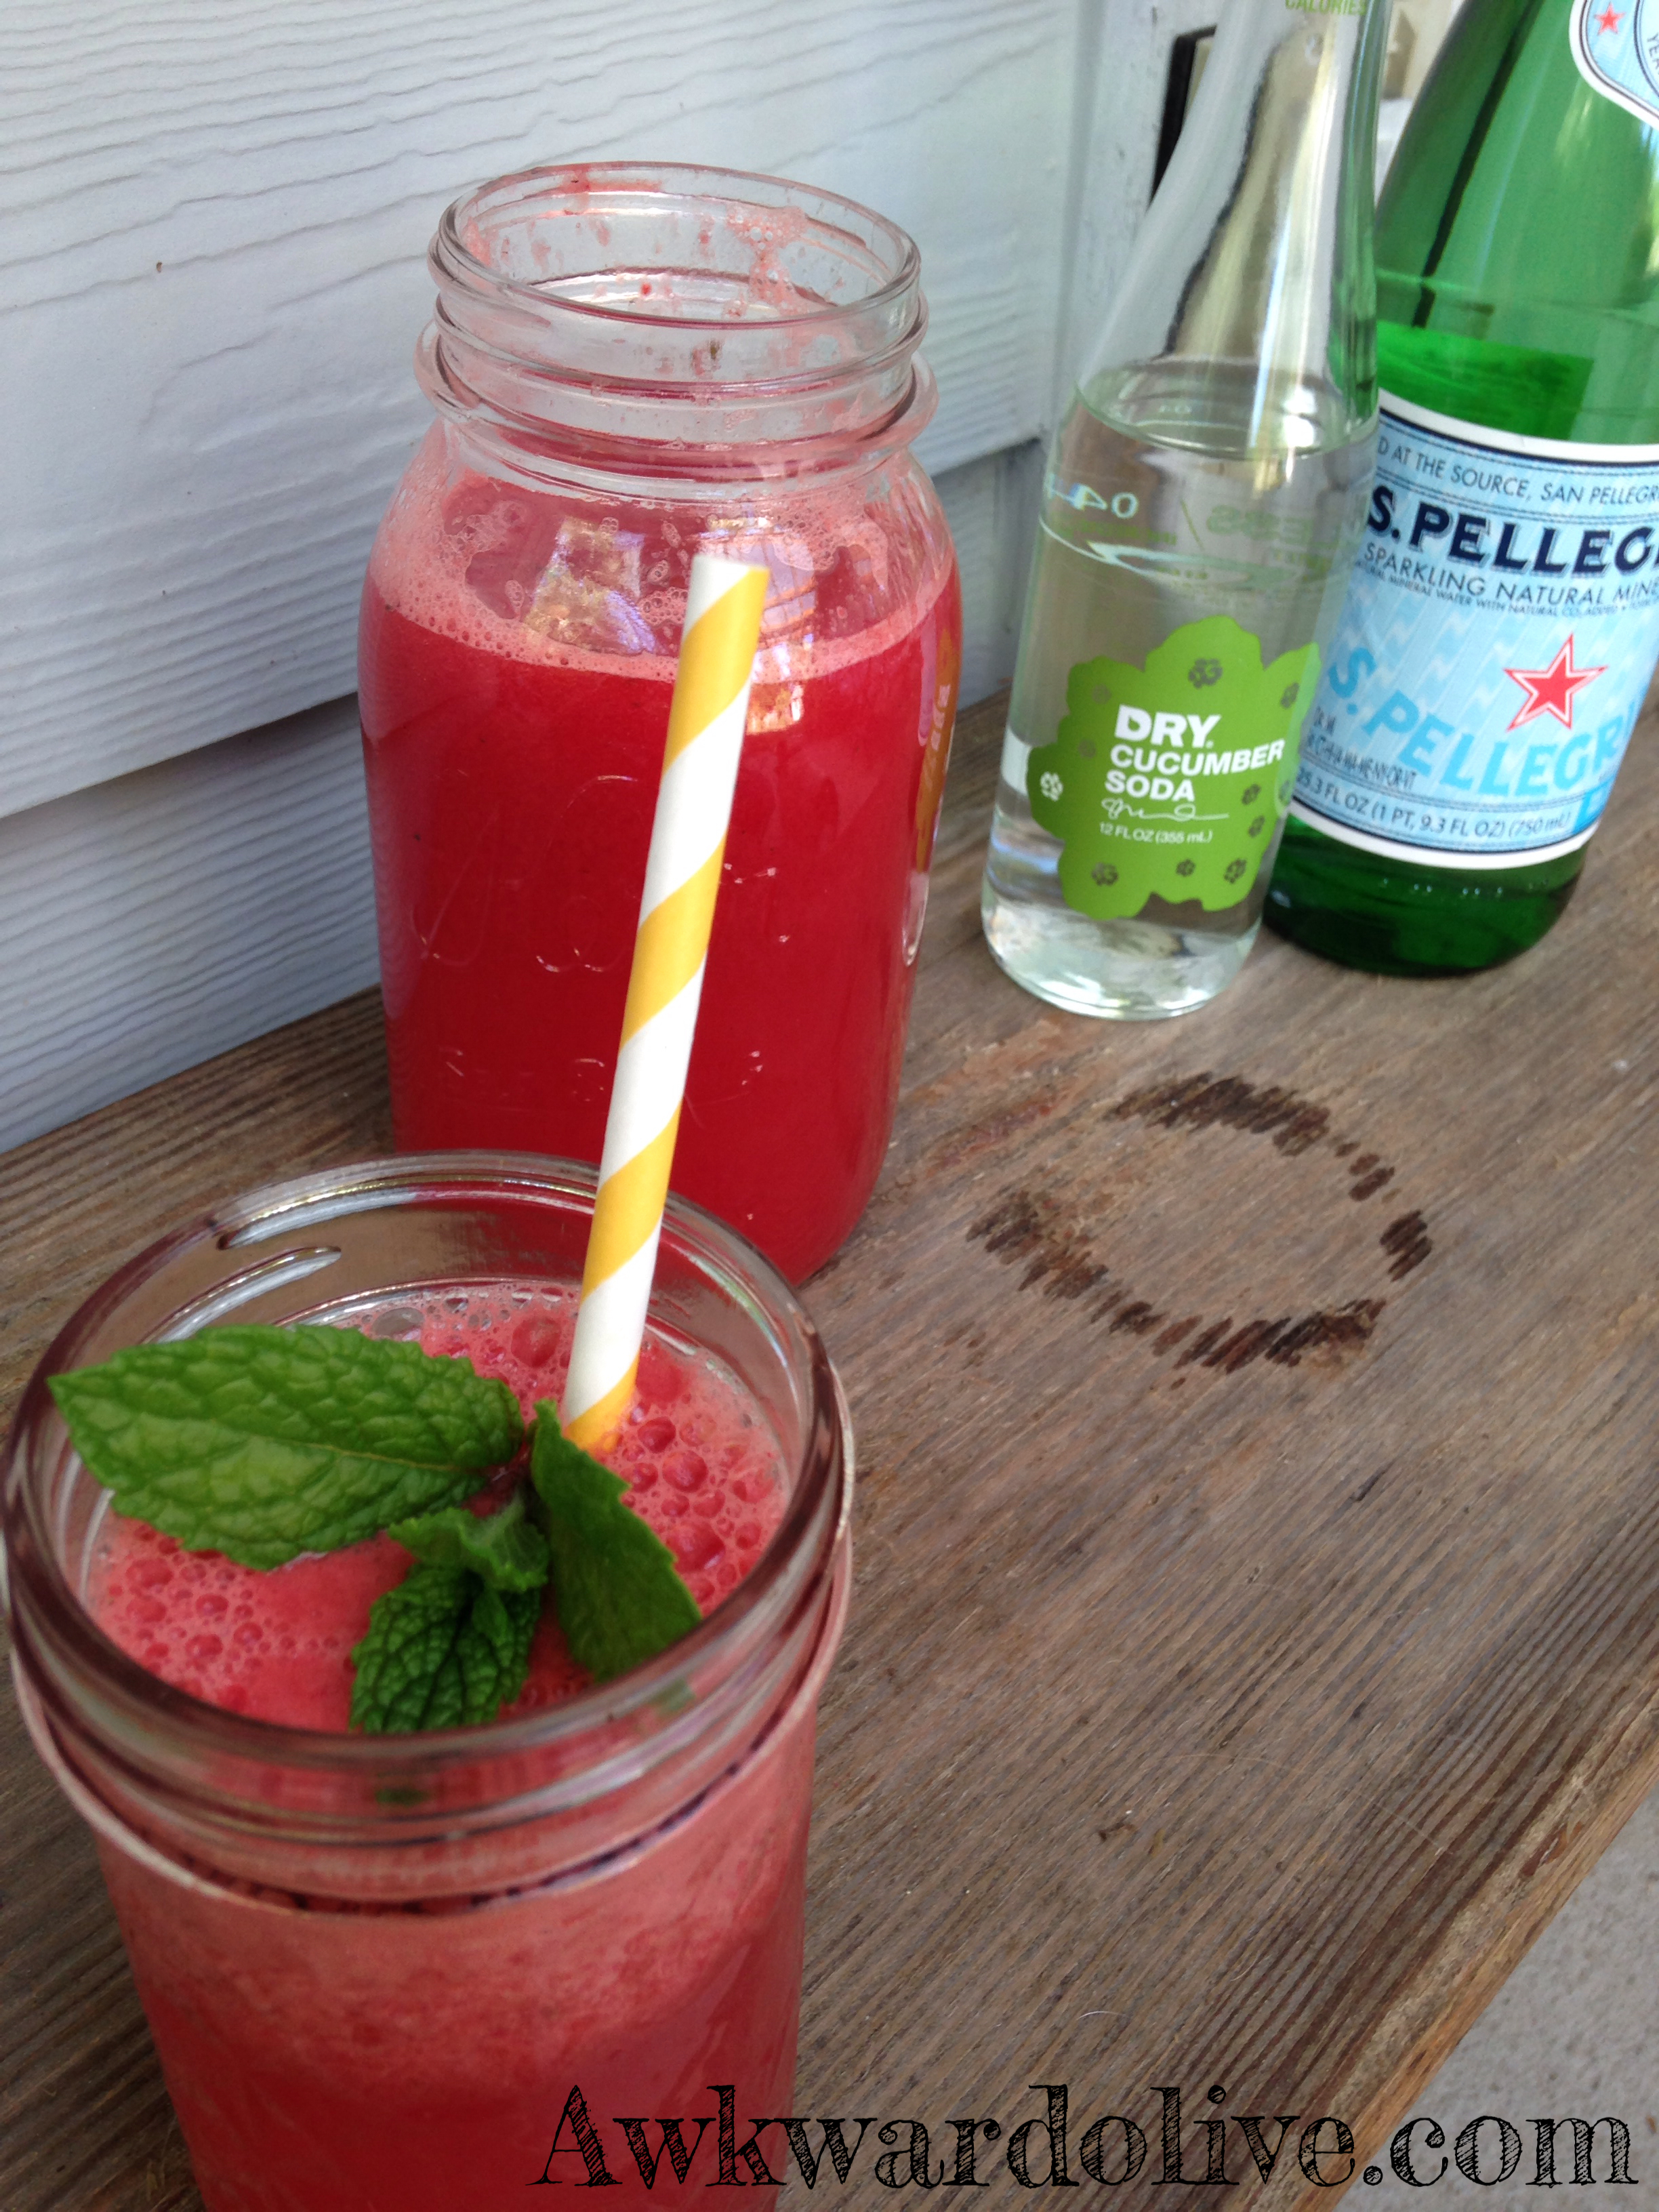
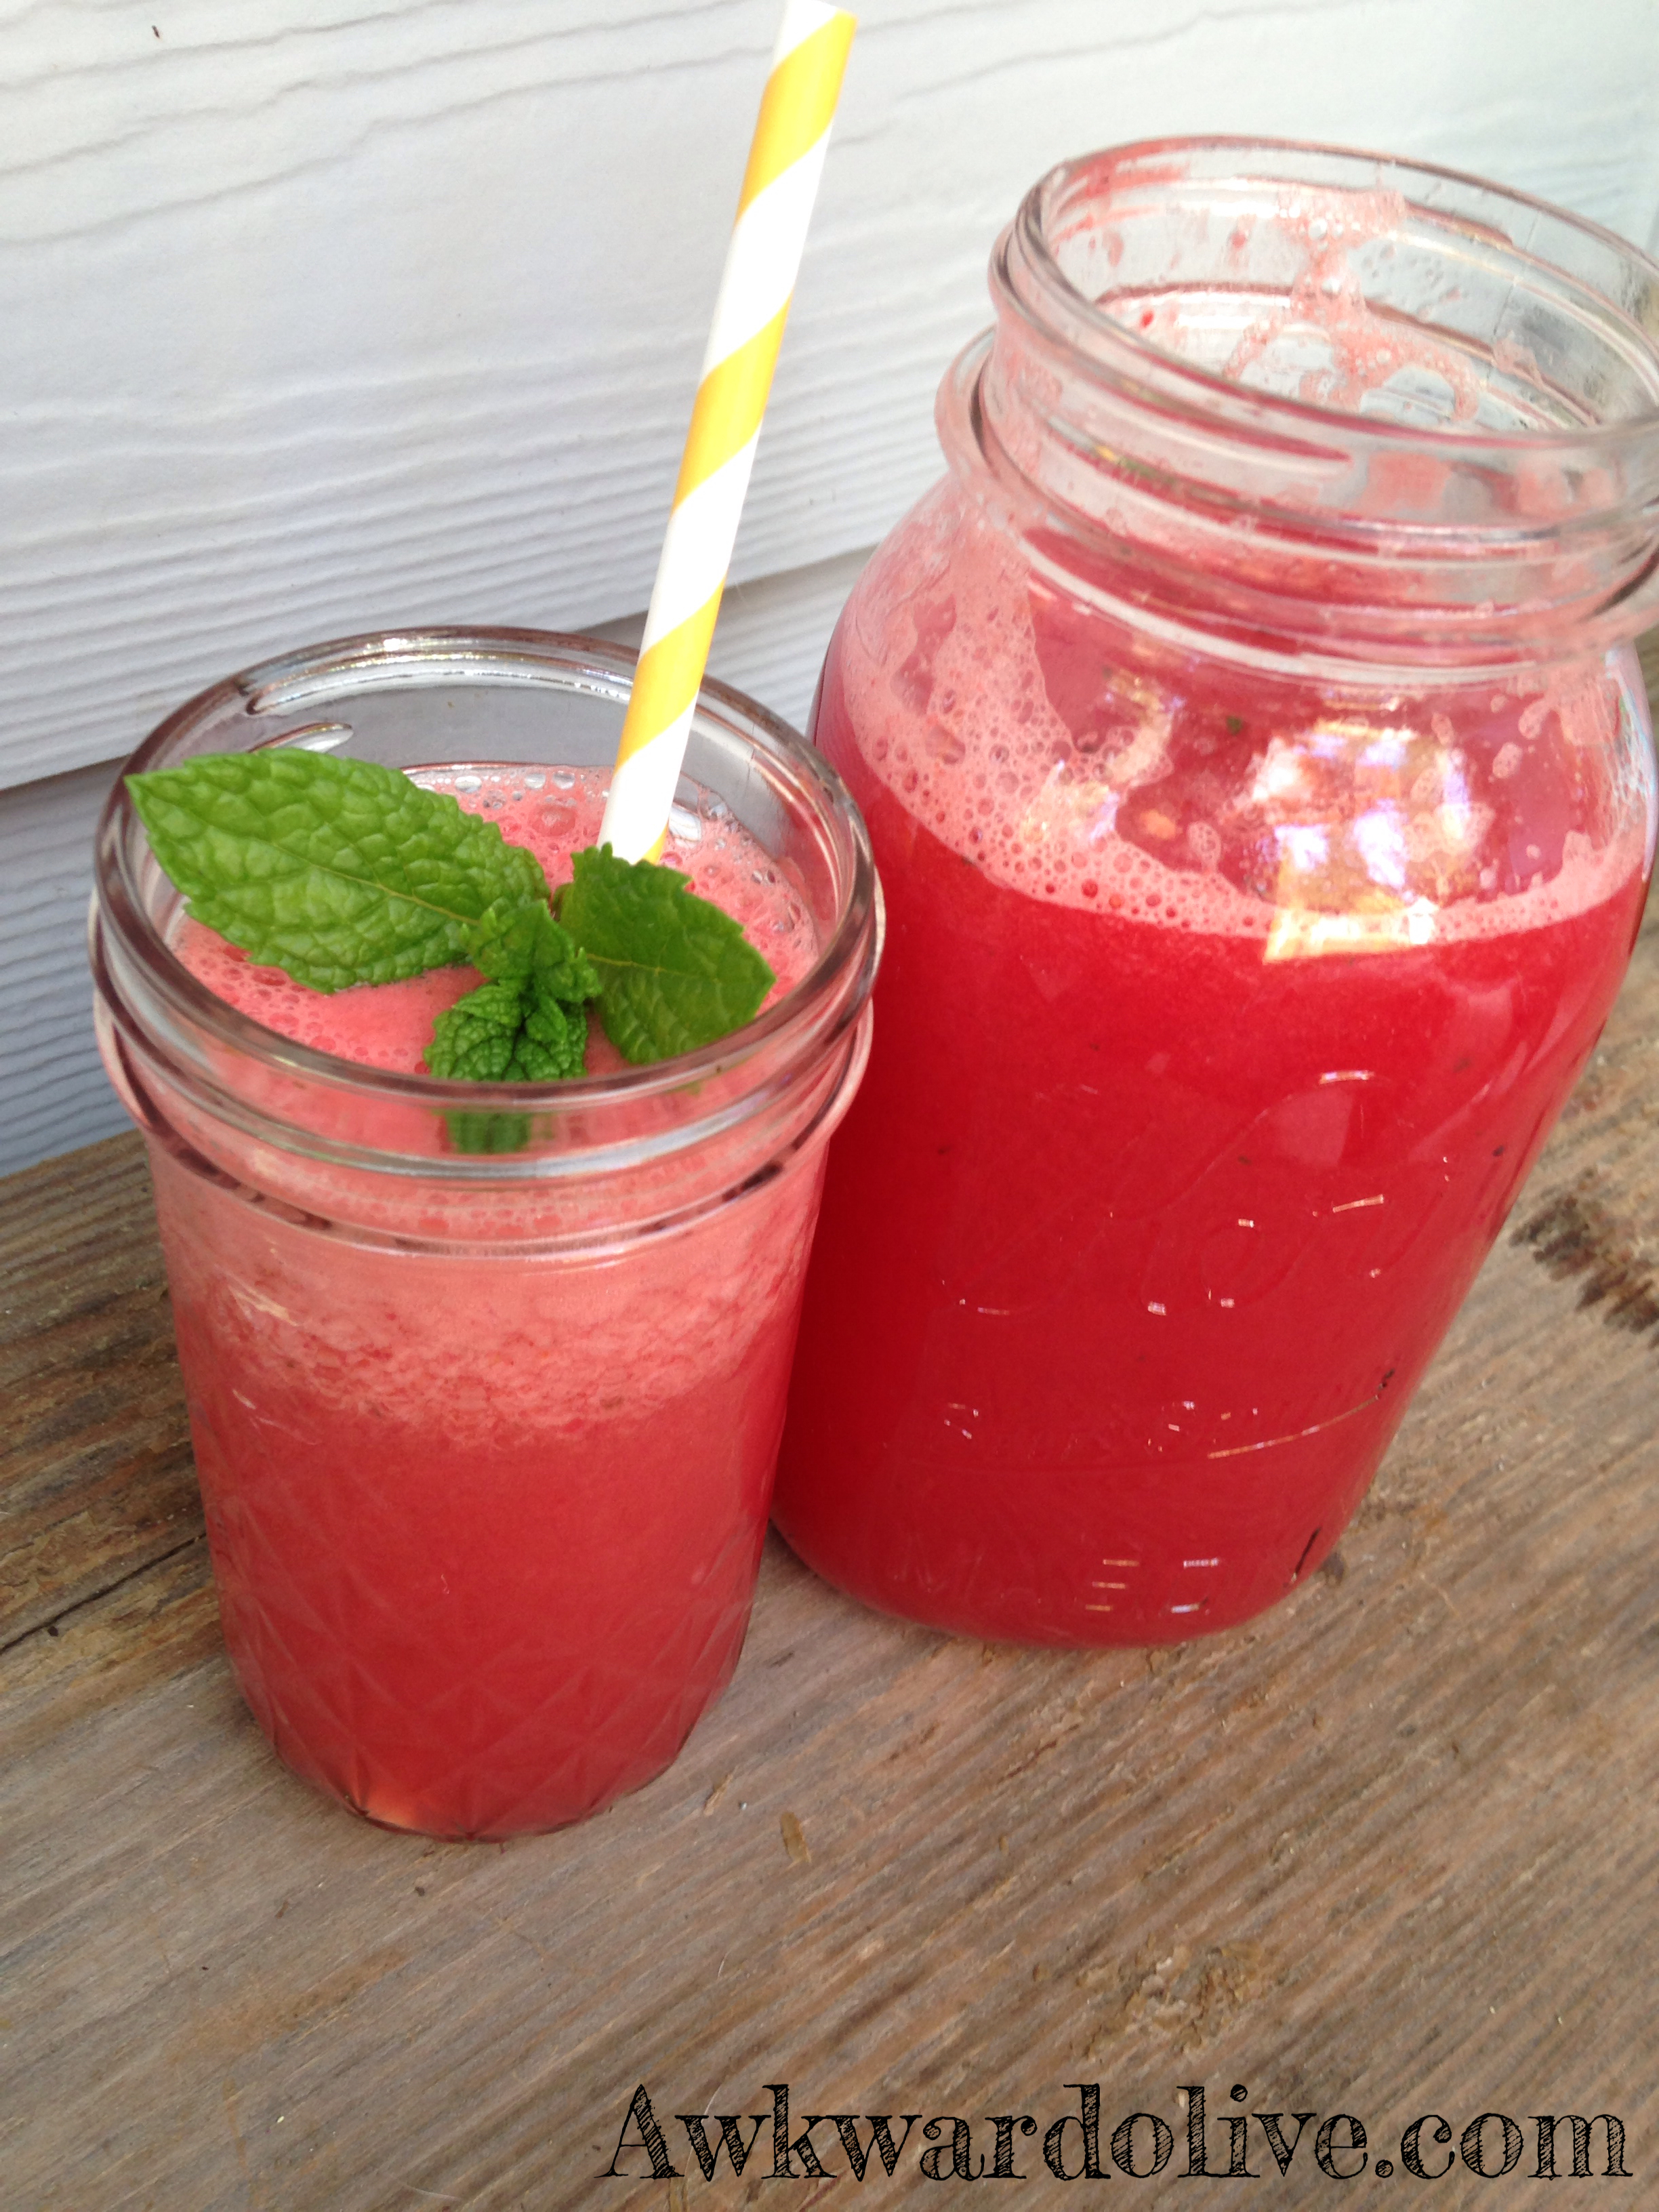
And just because I don’t want to end a blog post with everyone thinking about bowel movements here is a recipe for one of my favorite juices .
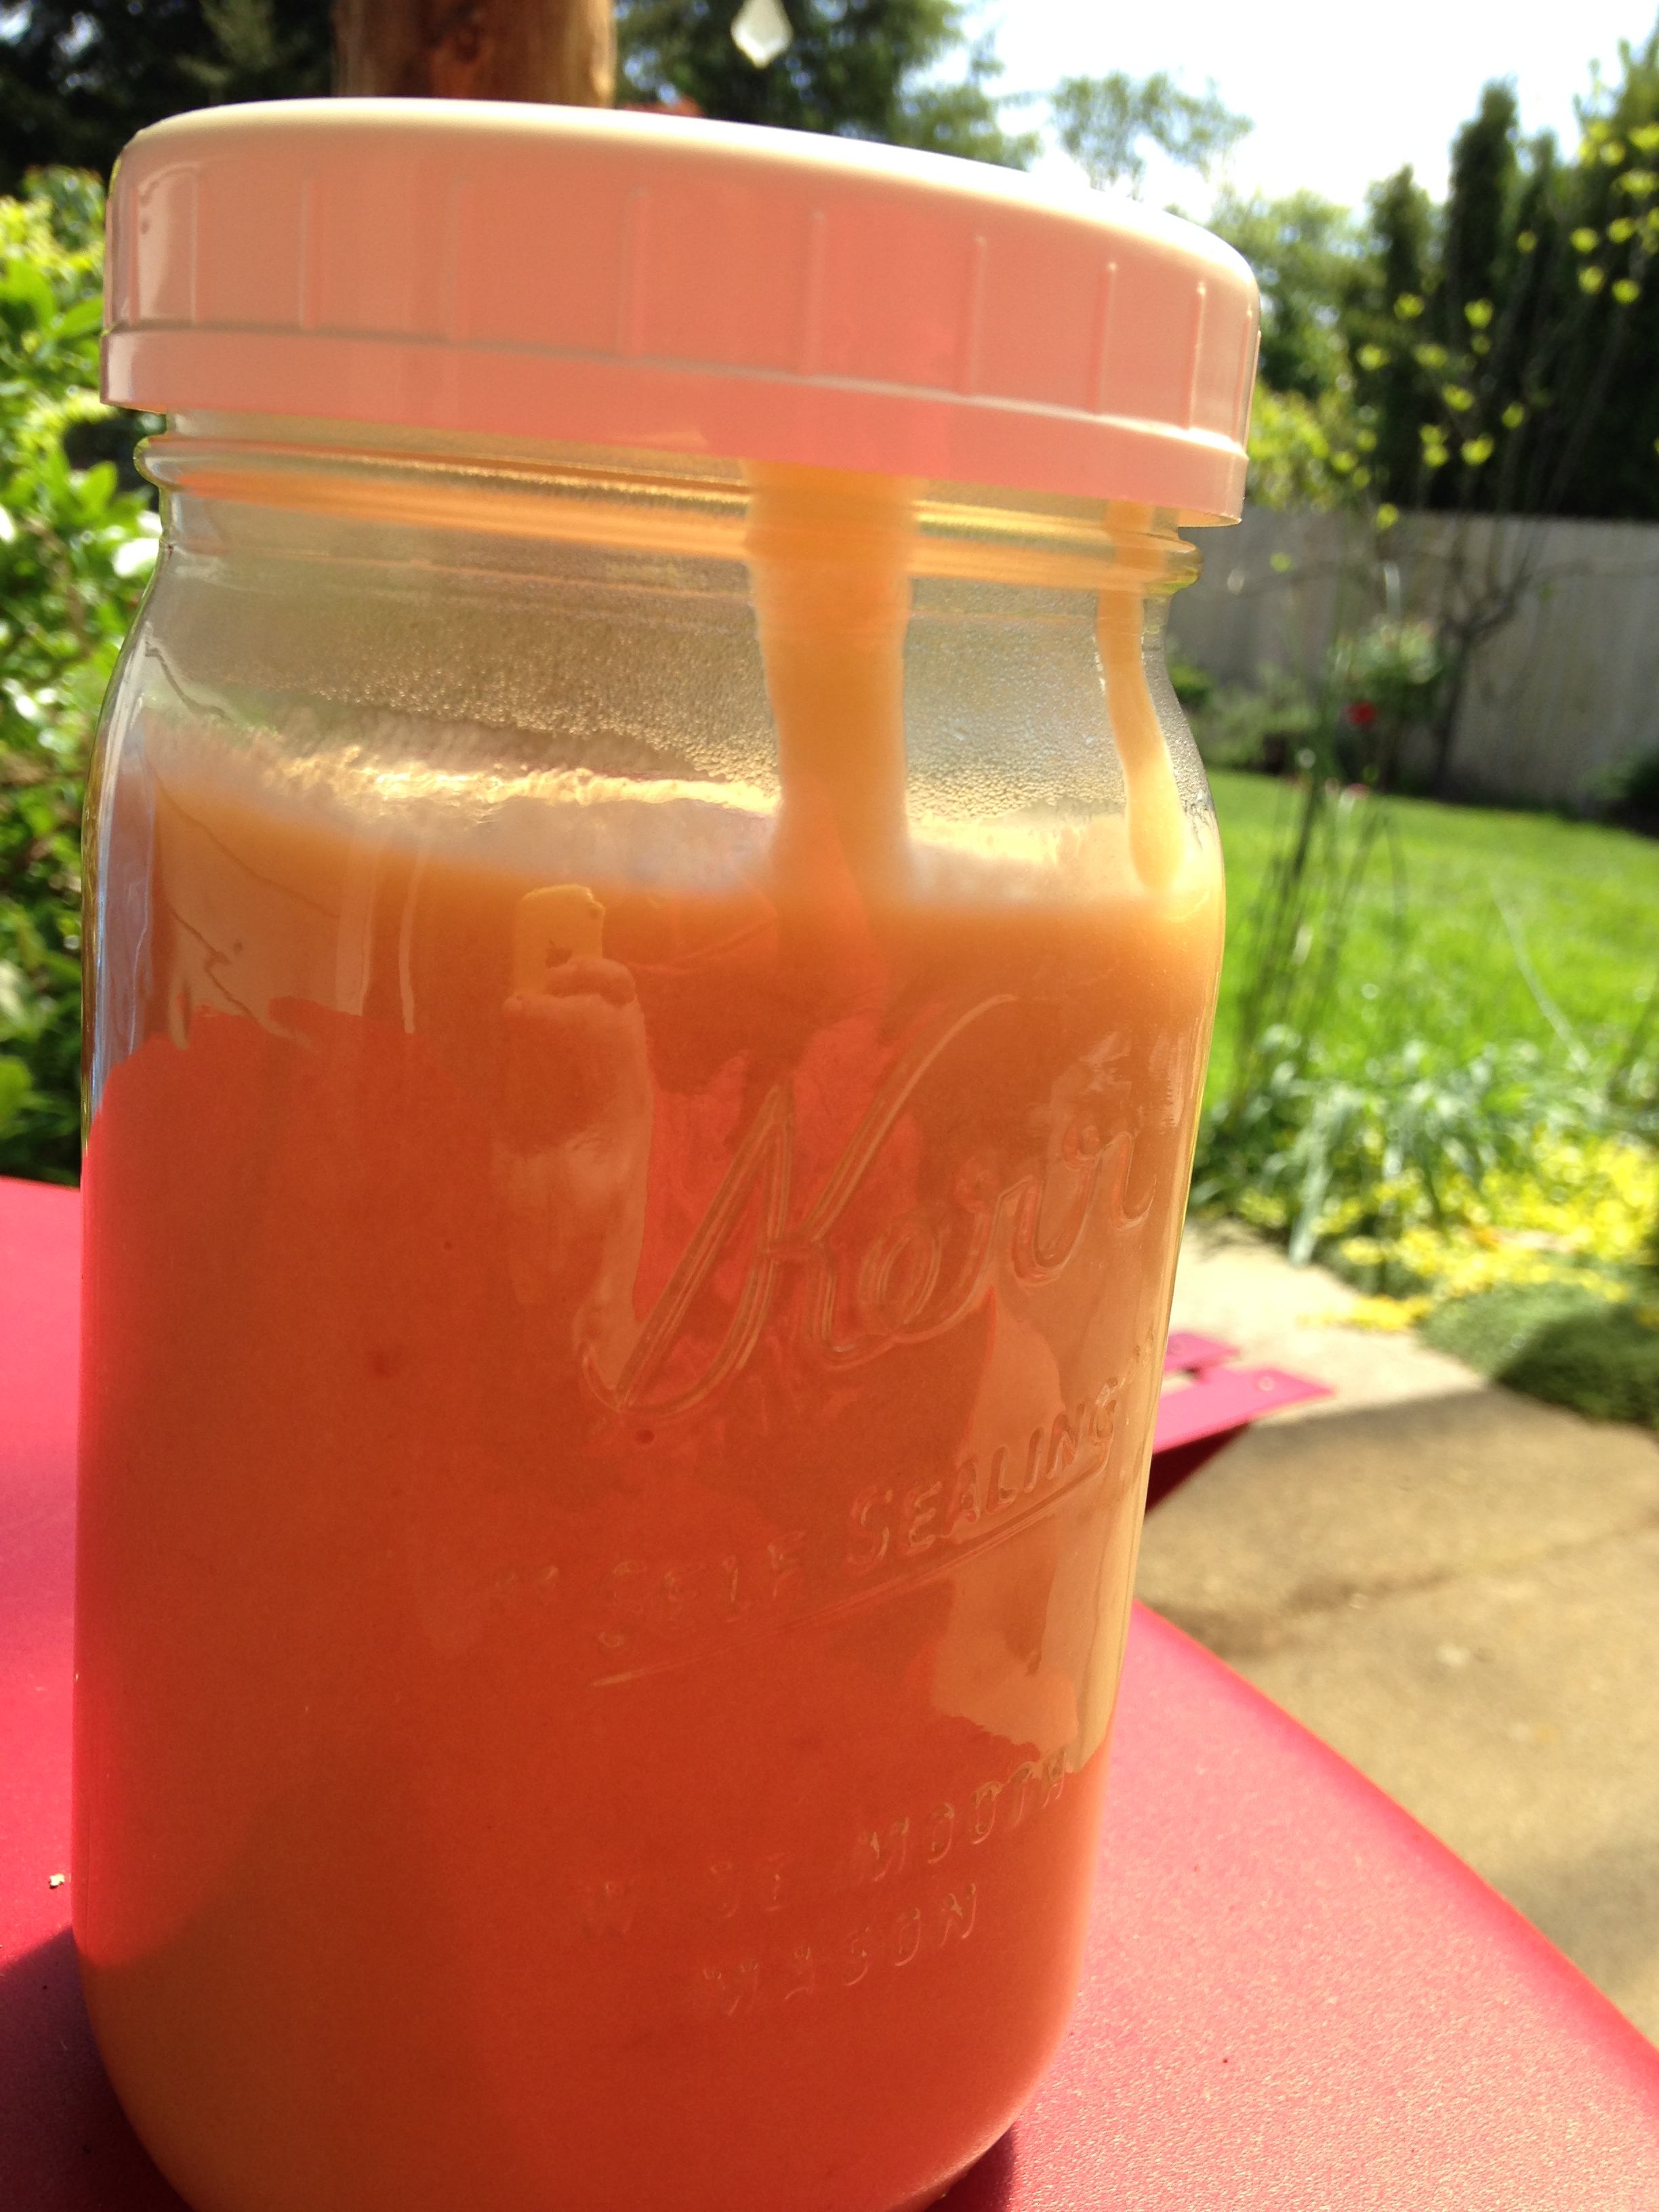
5 carrots
¾ of a red bell pepper
1 apple
1 inch of turmeric root

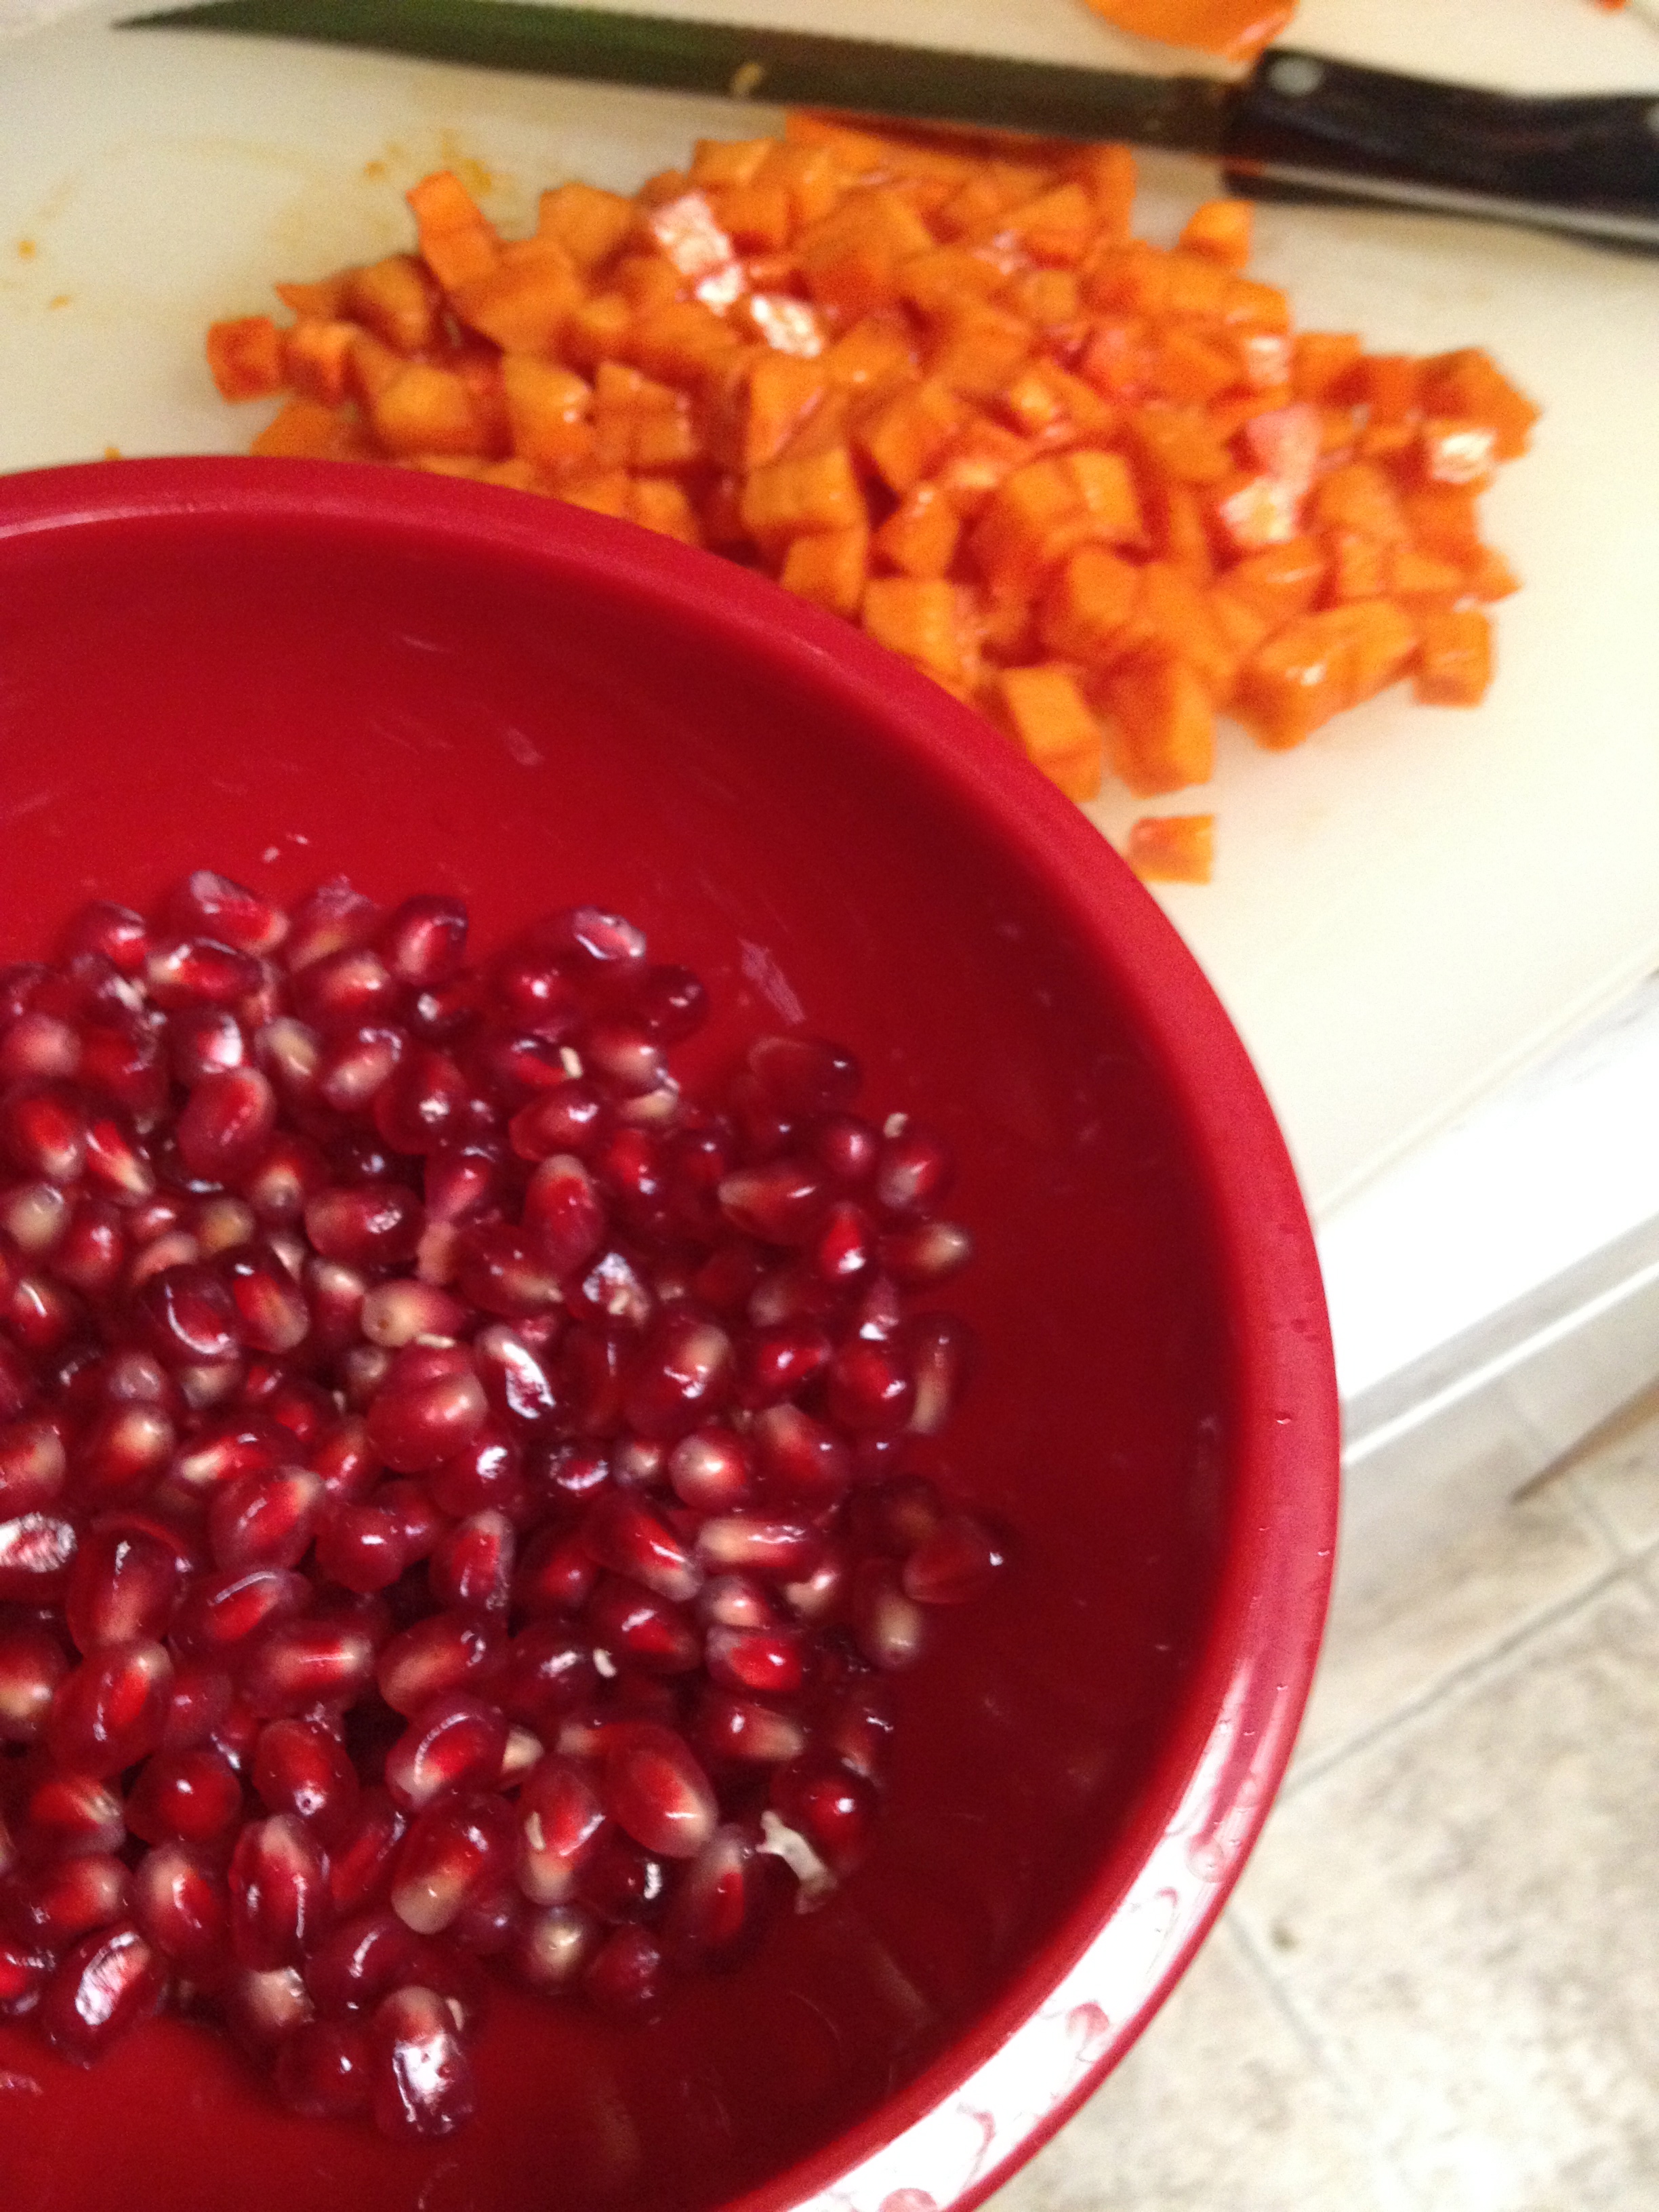
cranberry, orange, fennel bulb, pomegranate

golden beet, carrot, orange, fennel bulb and ginger juice