Saucy Lady: a social media inspired look into my meal prep

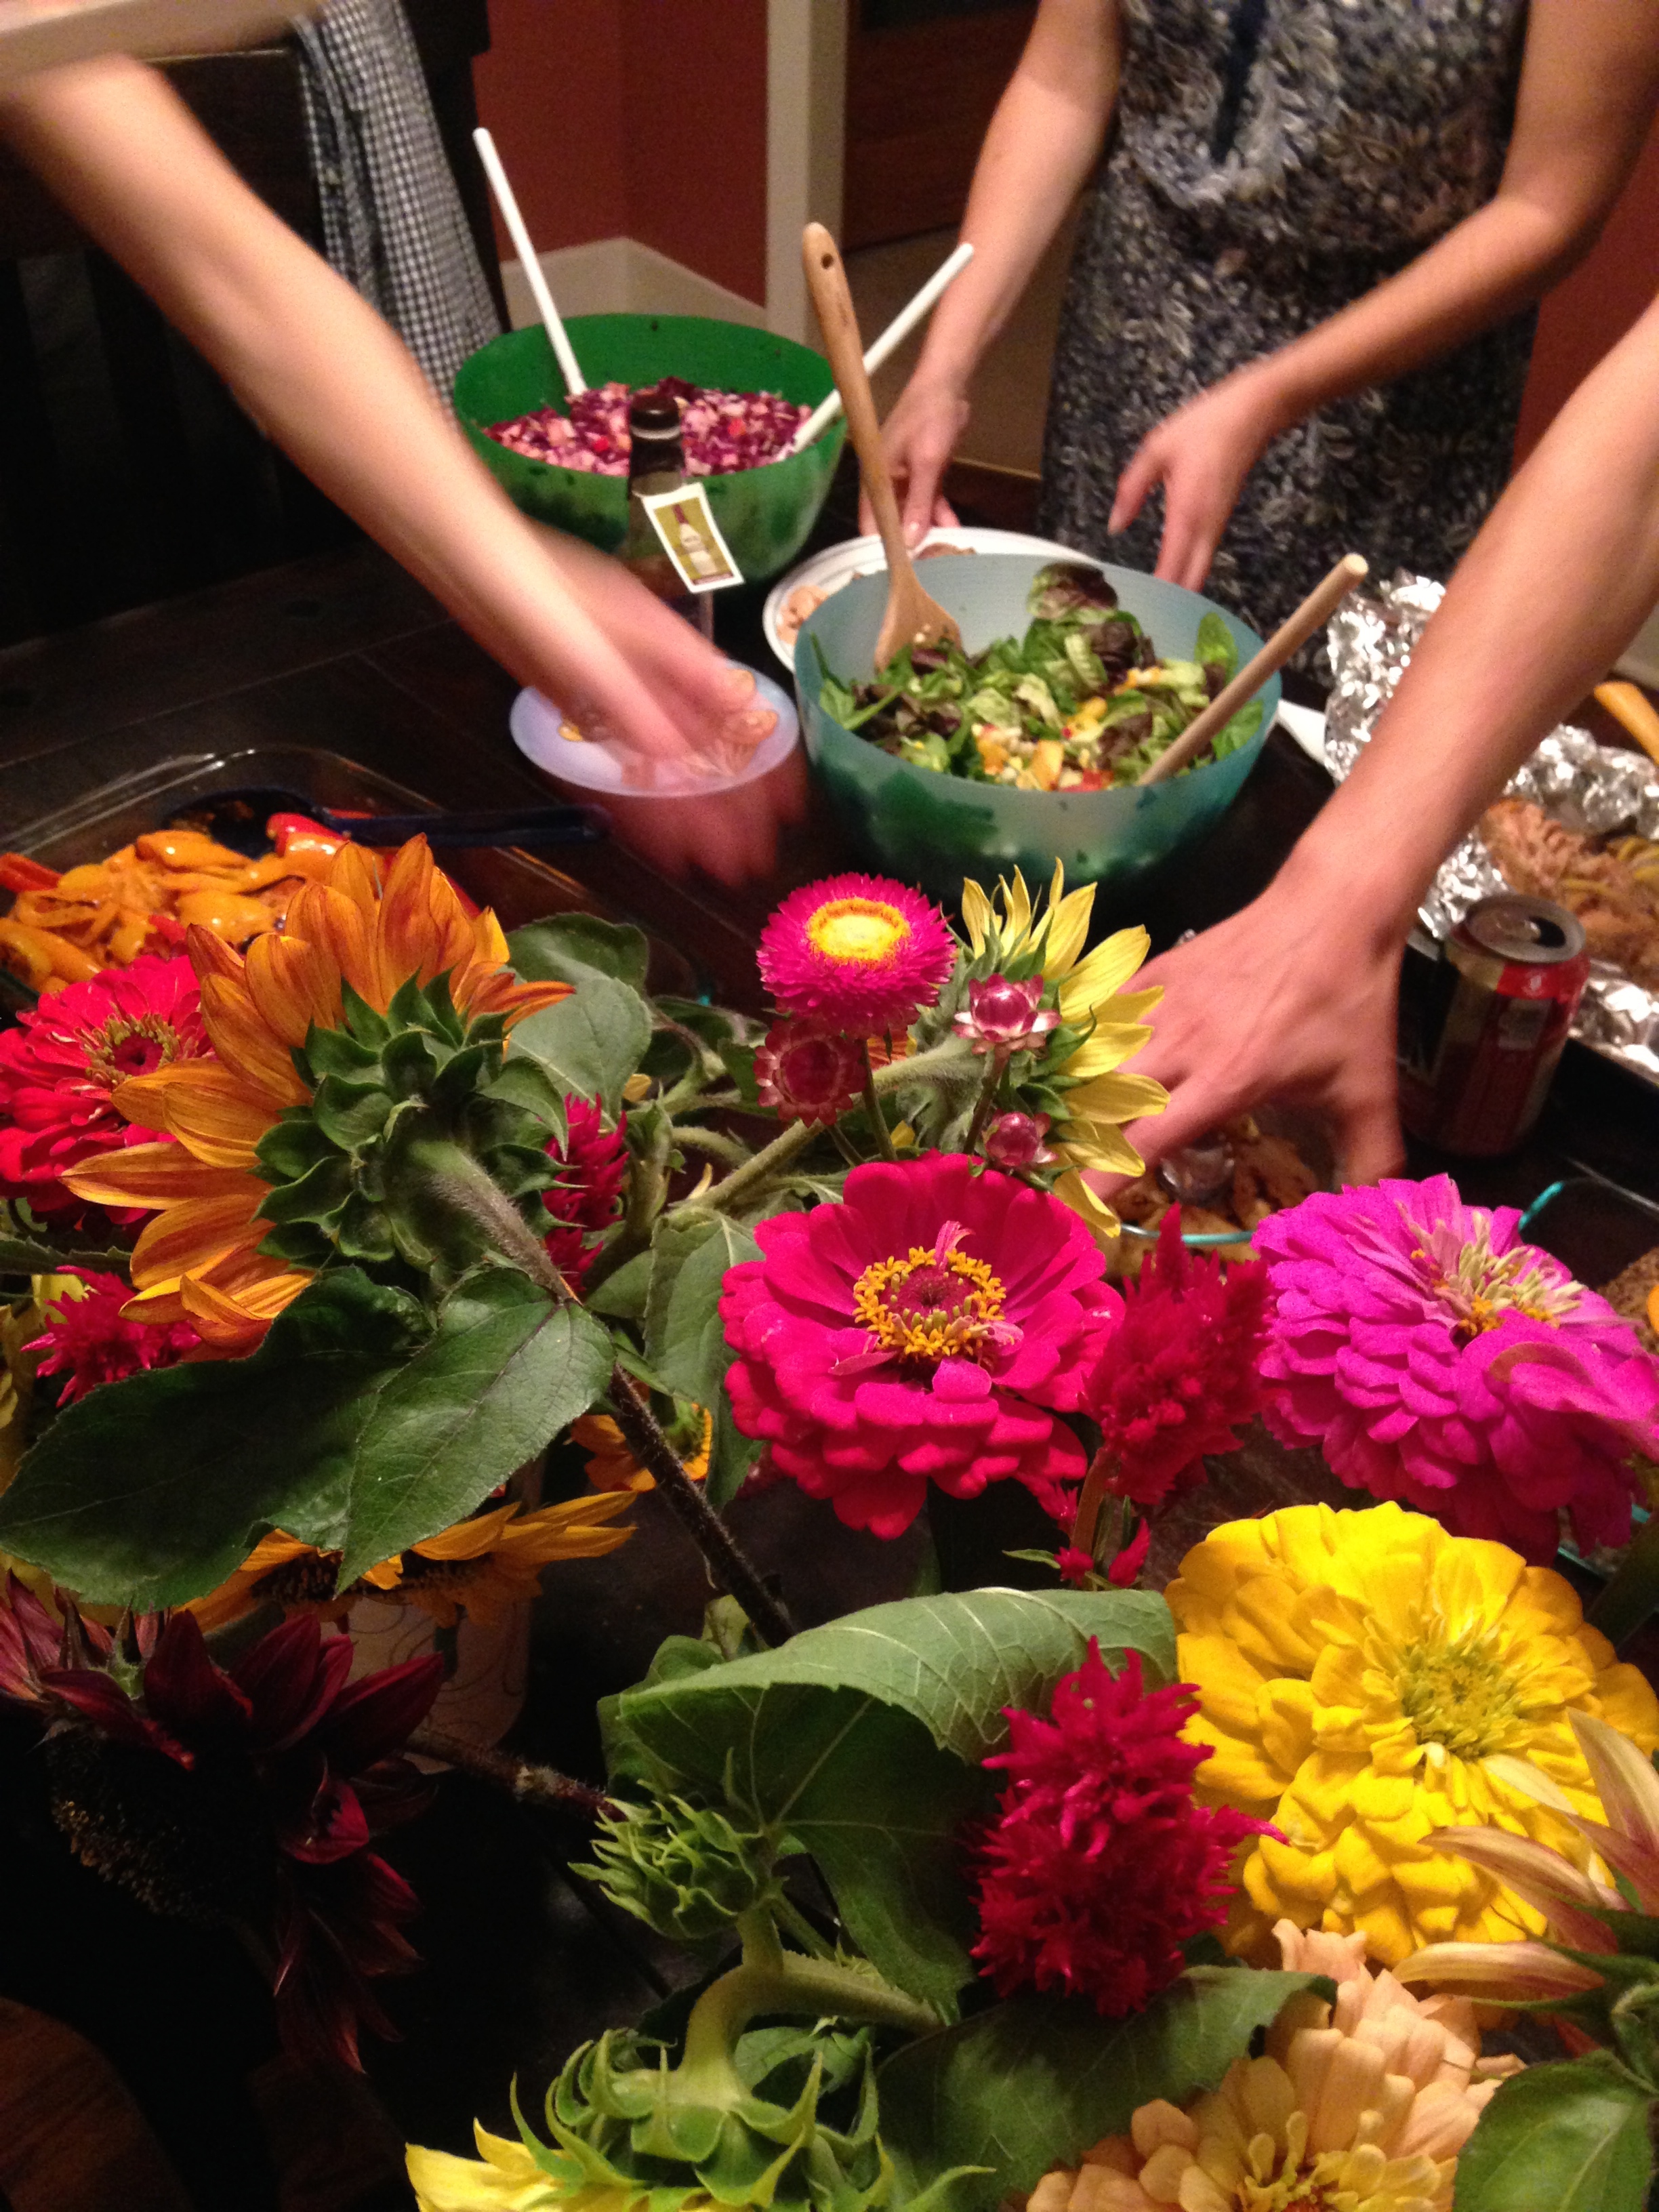
I’m not sure how to start this post. I was going to try and make this connection about being more un-plugged, and then loop it back to the merits of social media, and I’m not entirely sure how it is all going to work. One thing I can say for certain is that, even though I am trying to cut back on my screen time (she says while writing a blog she hopes you will read adding to more screen time for everyone involved), I have found a real value in social media. I’ve met people through instagram that I am now friends with in real life. I use it as a tool to connect with friends all over the country and the world. Not only do I use social media to find inspiration for yoga sequencing, barre moves, recipes and craft projects,  but it is a greay way stay connected with events happening in my own communty and to get a glimpse into the every day lives of people.

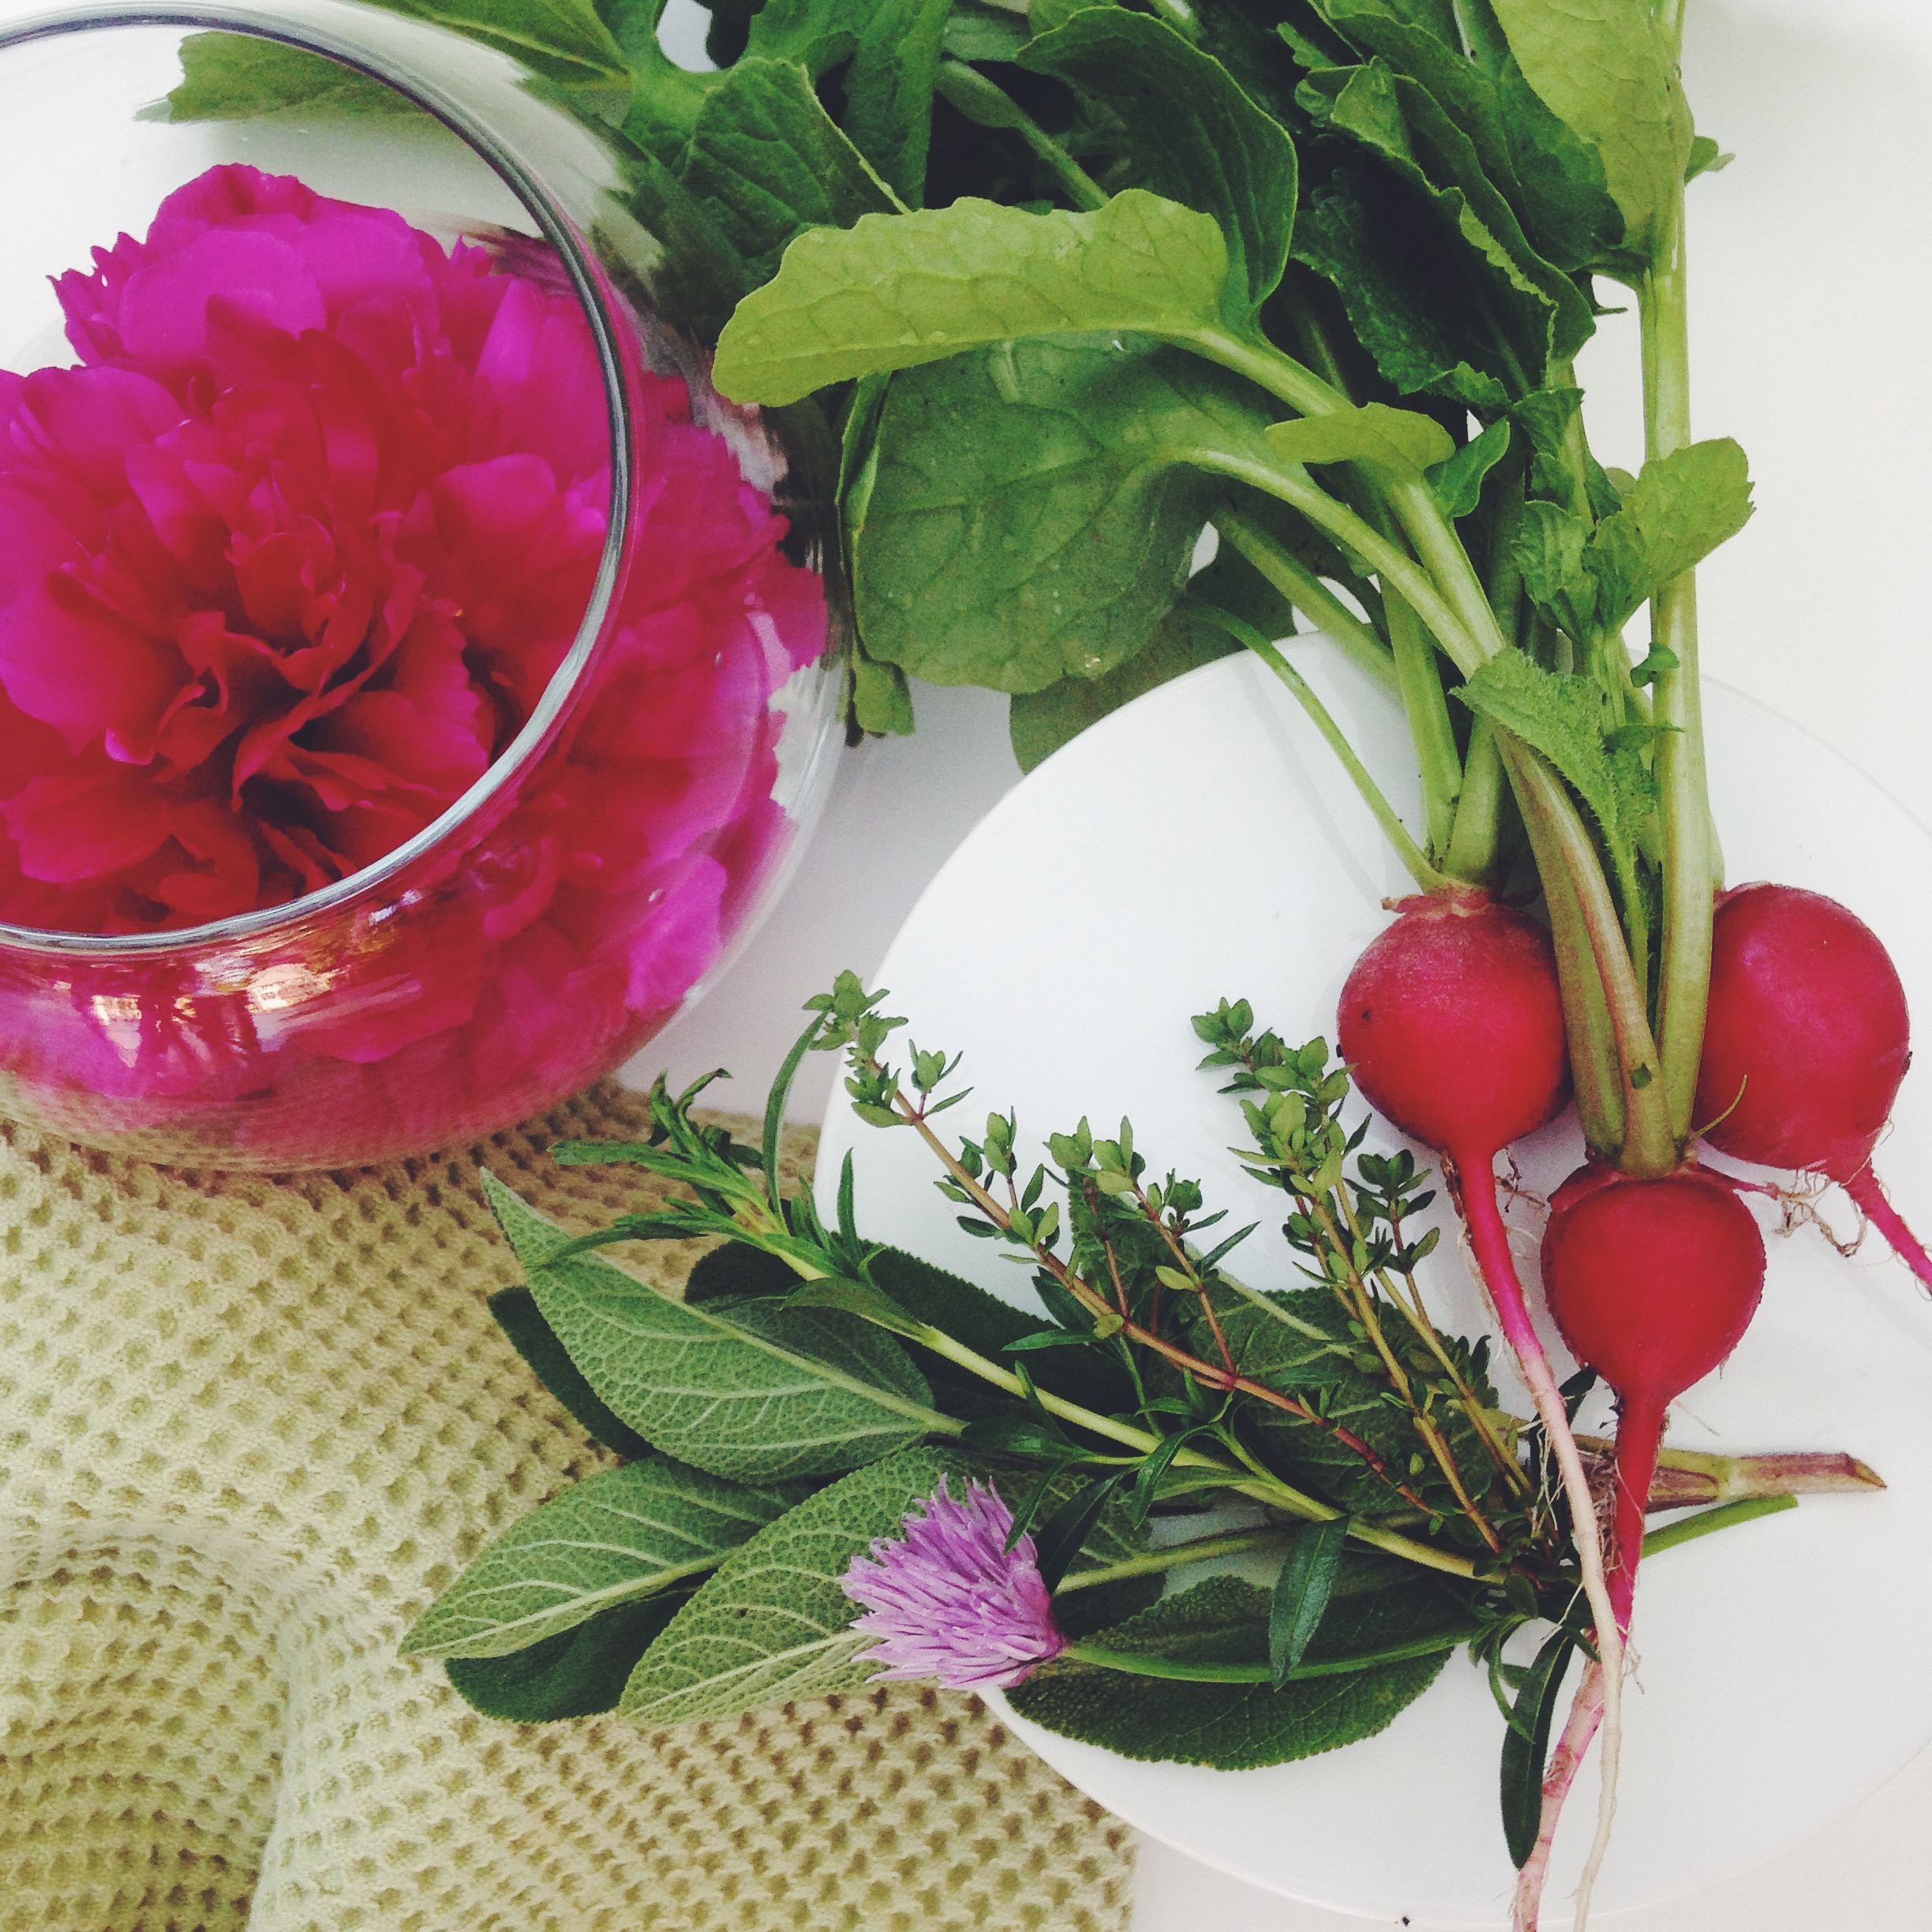
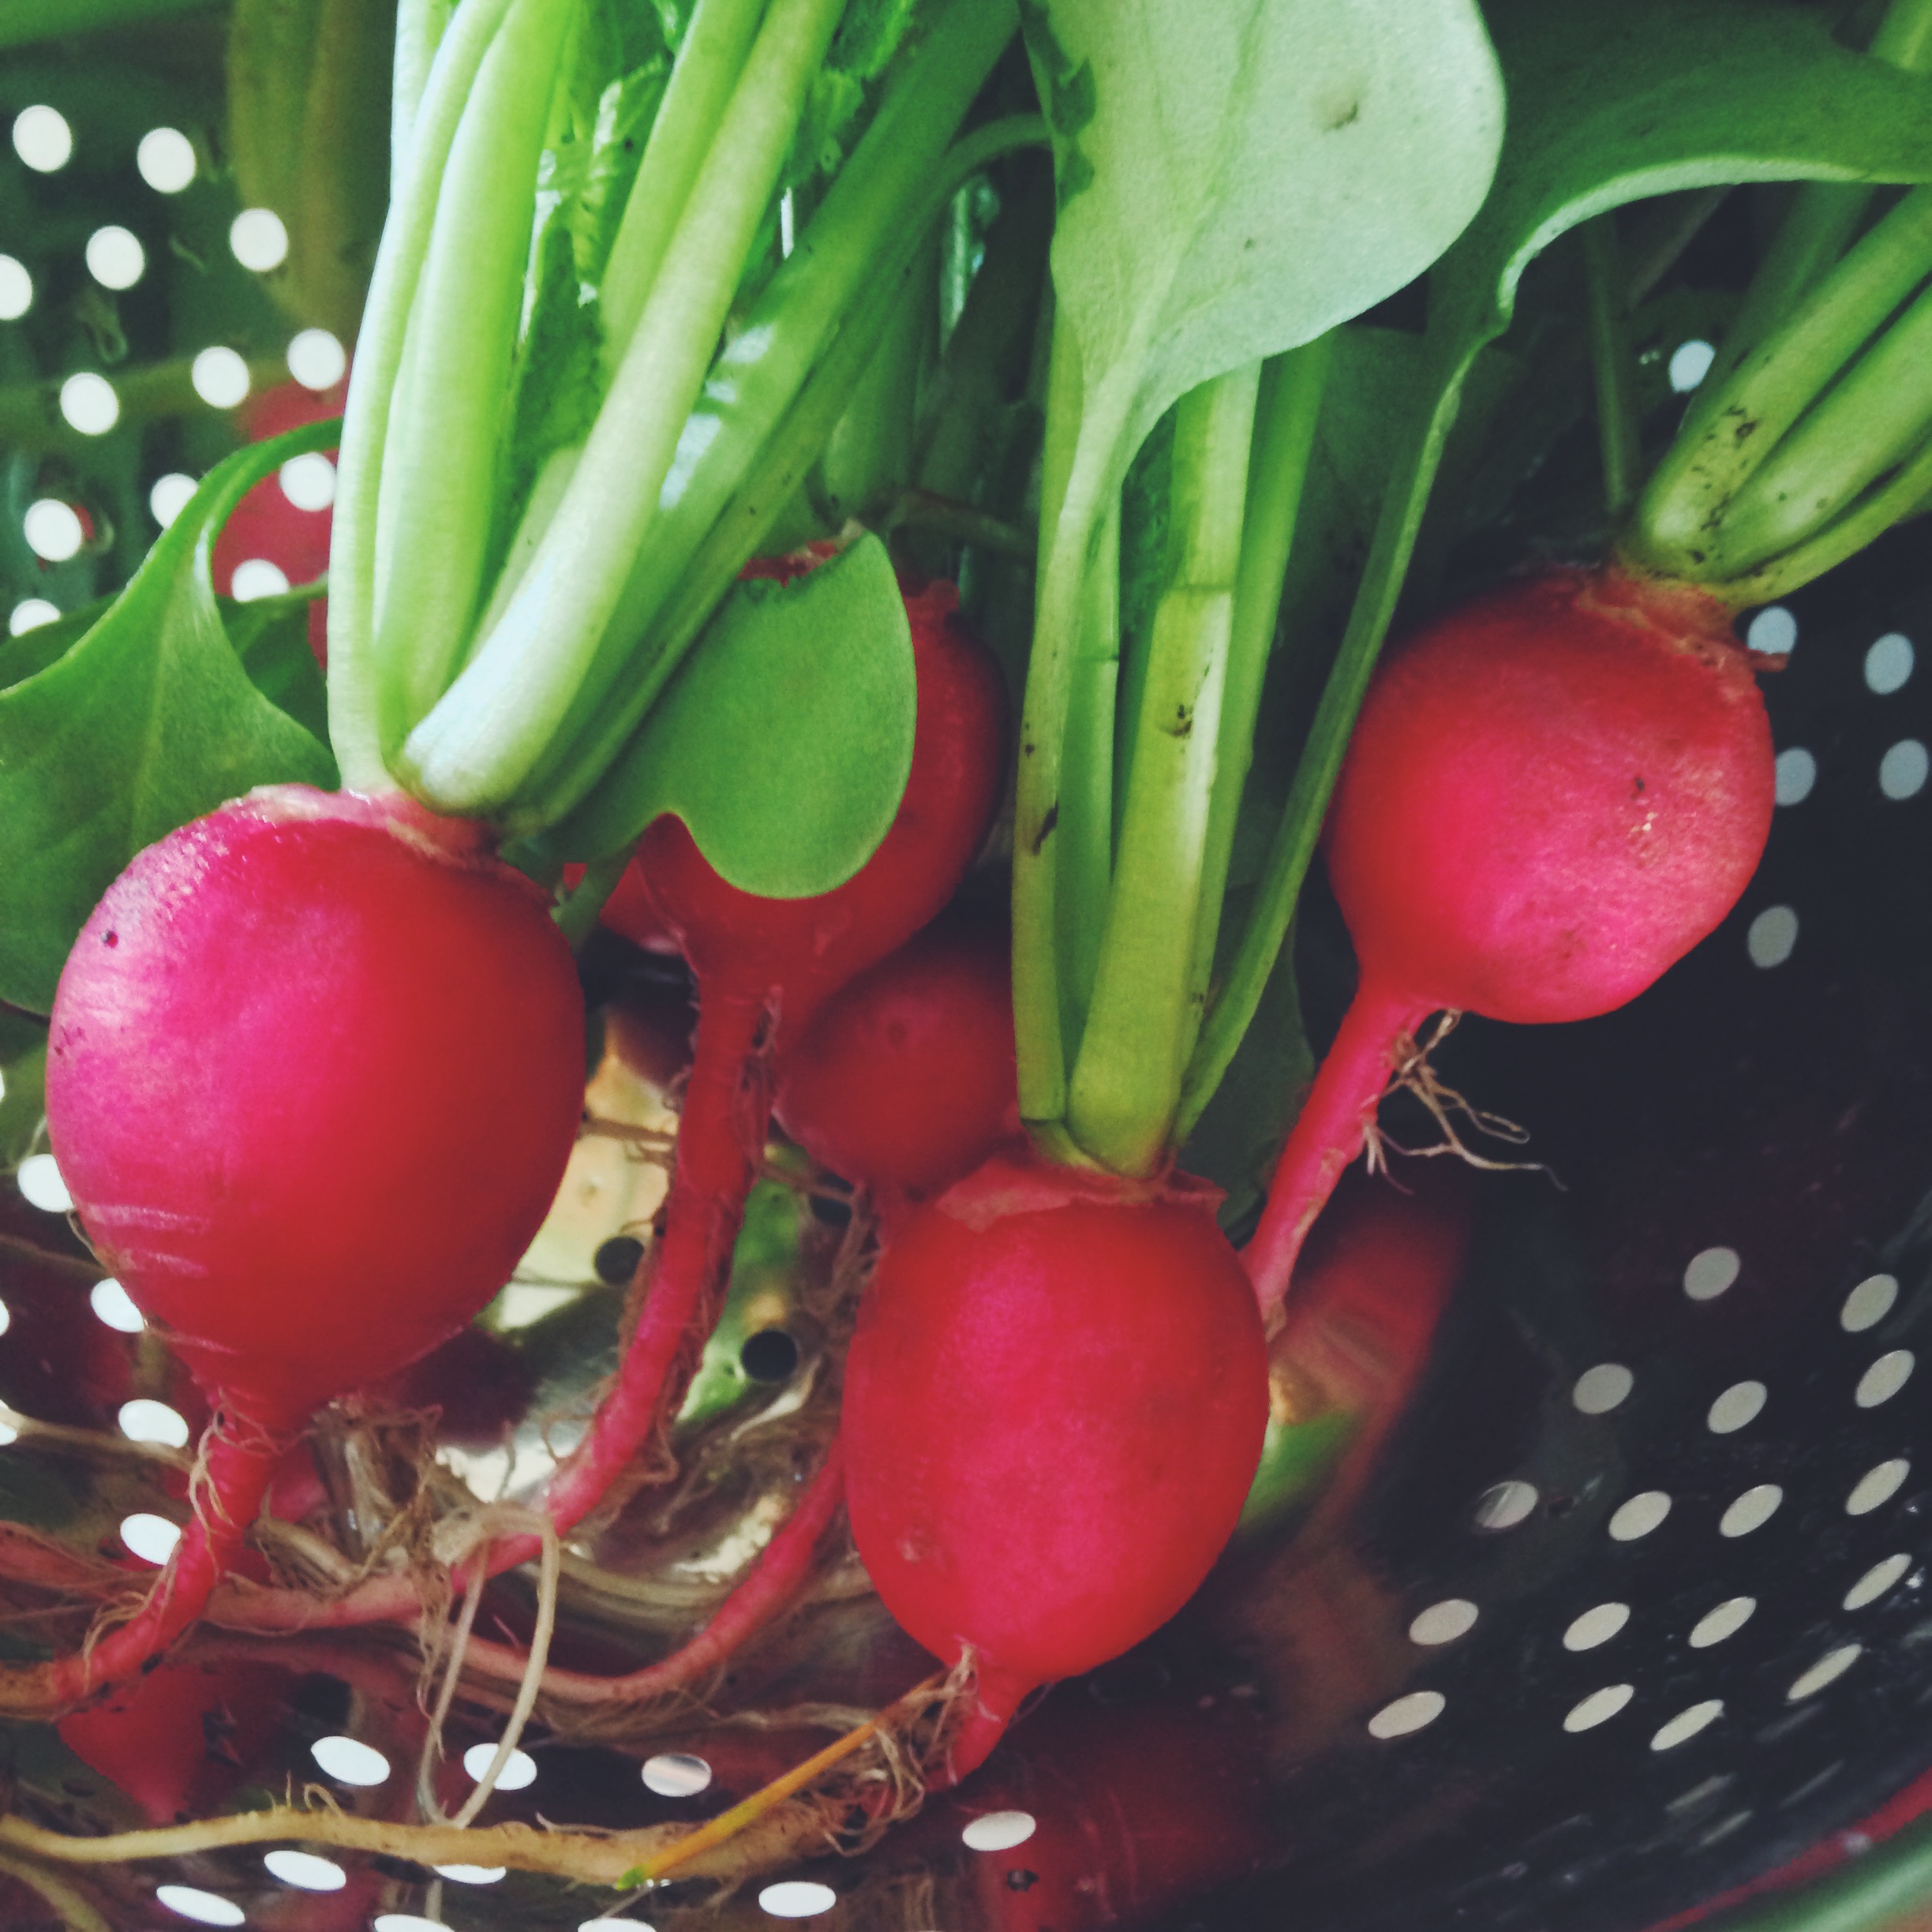
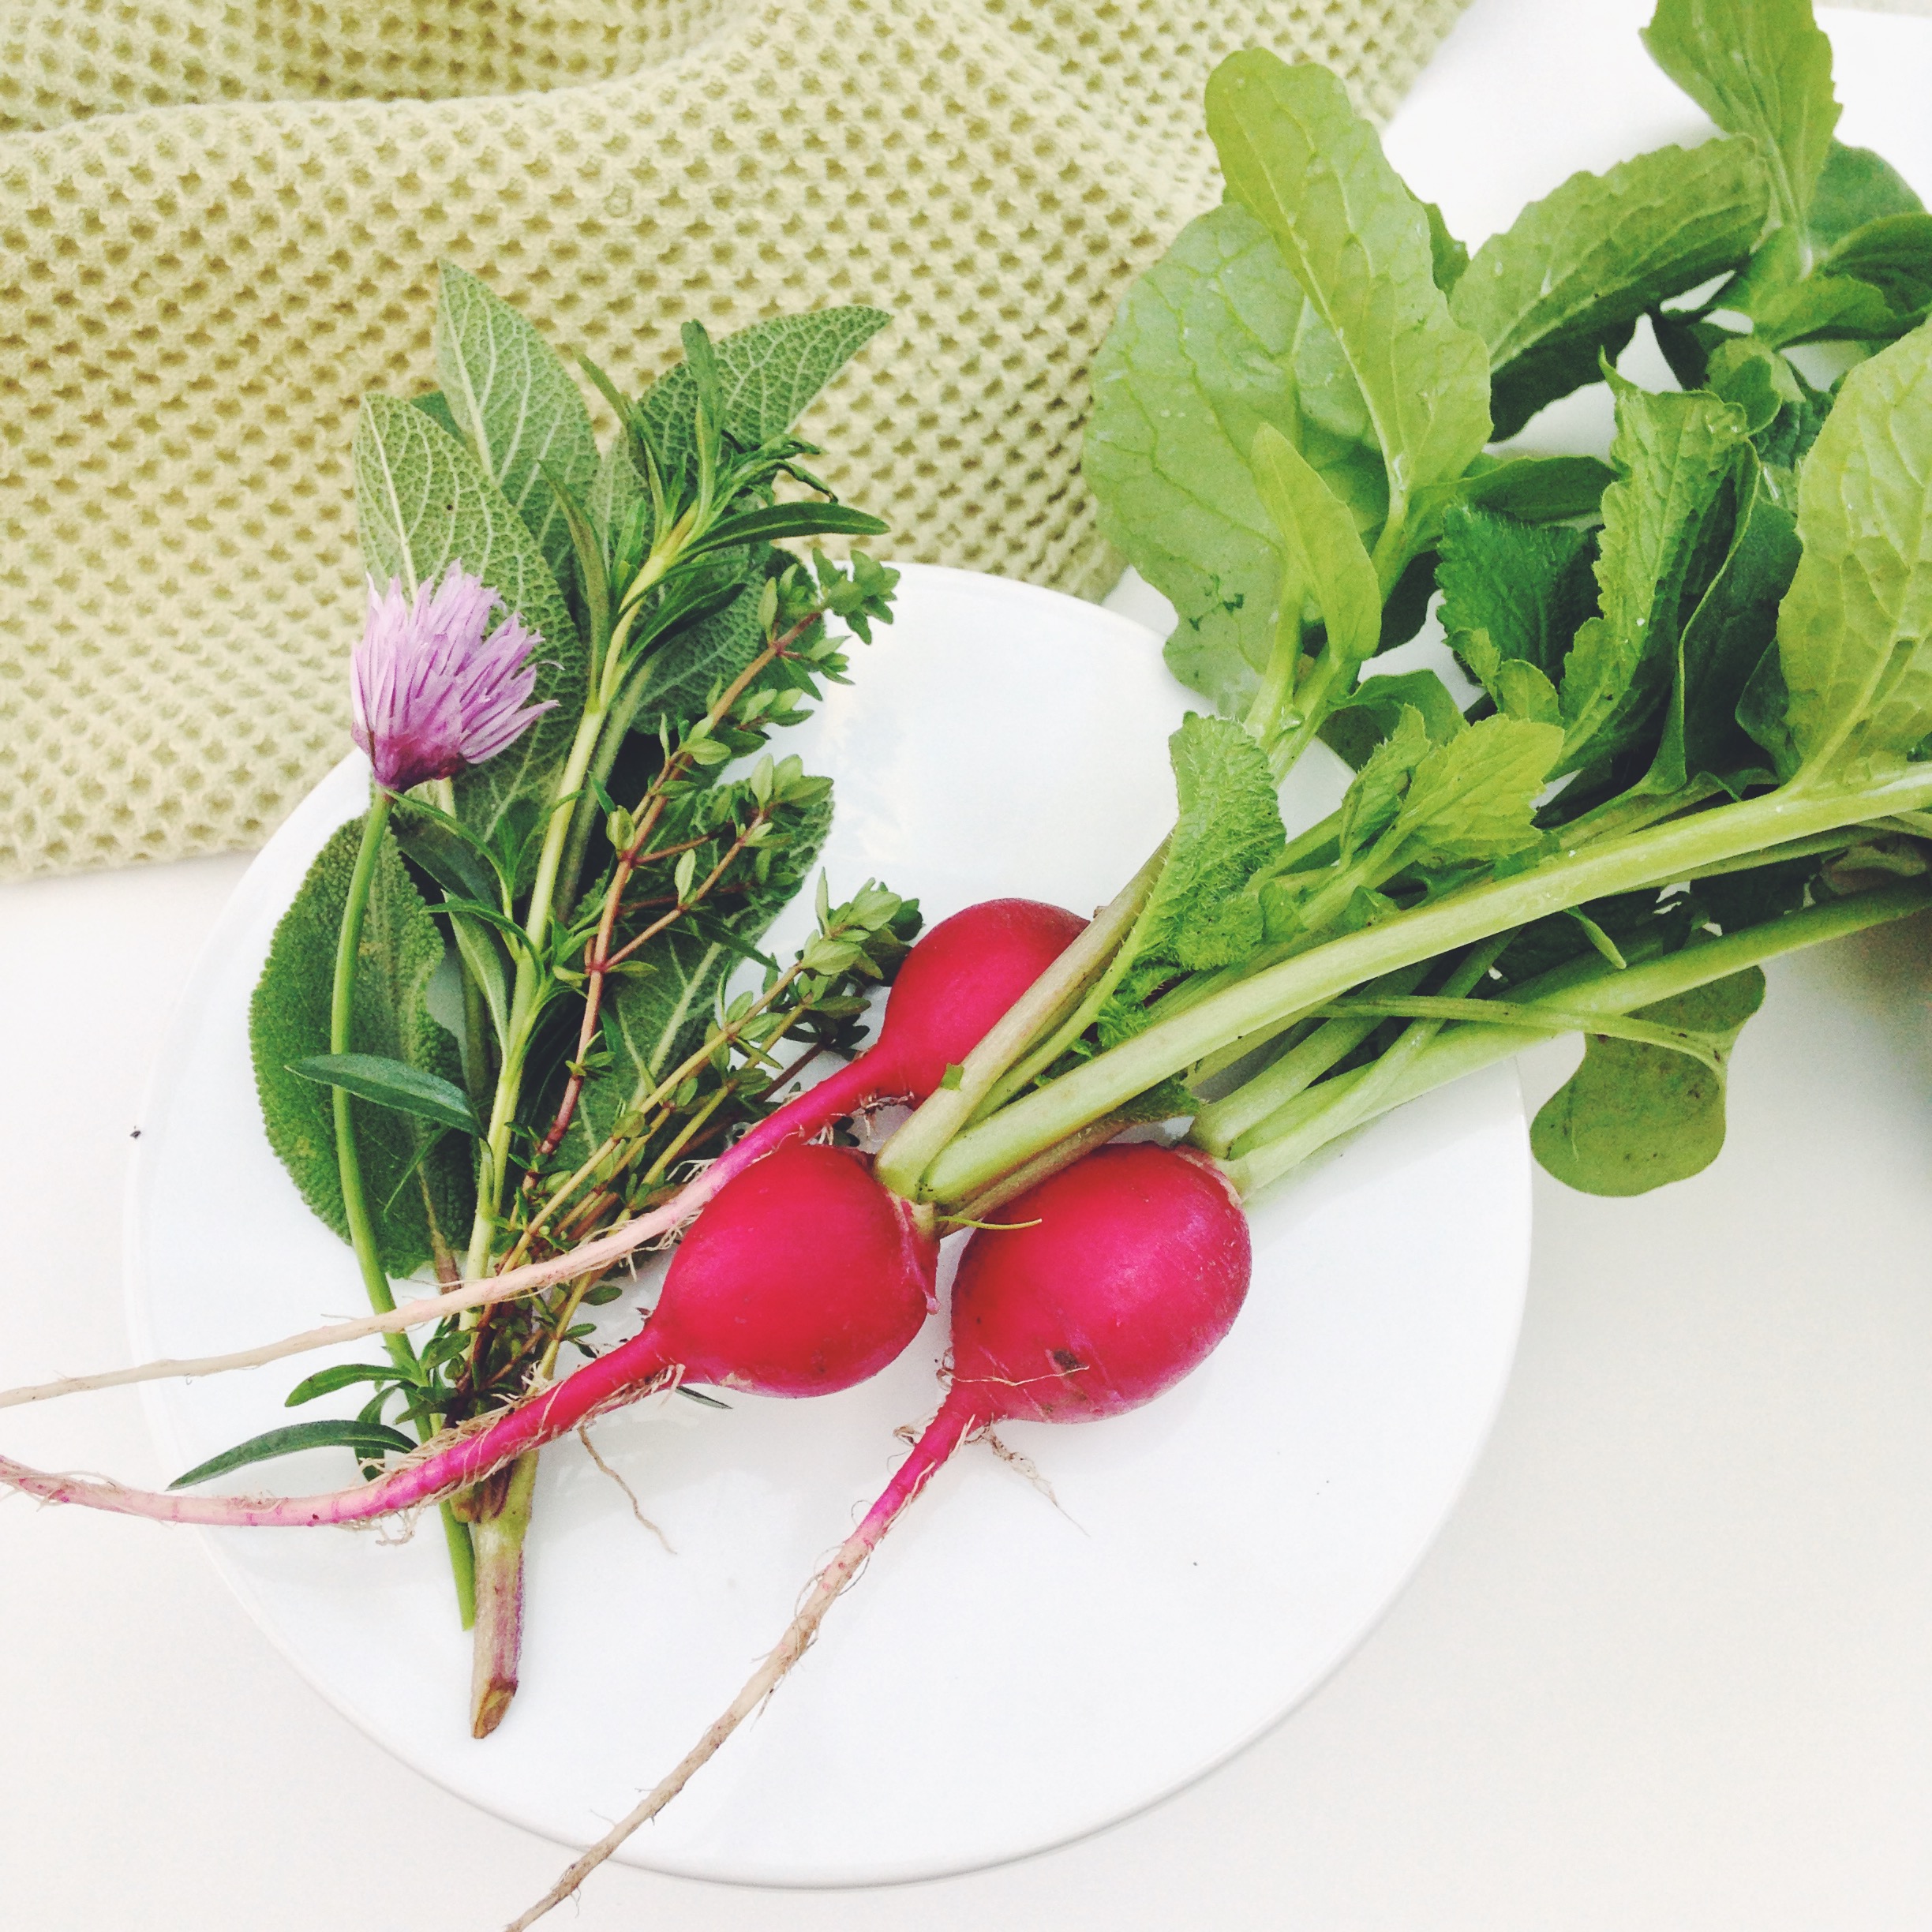
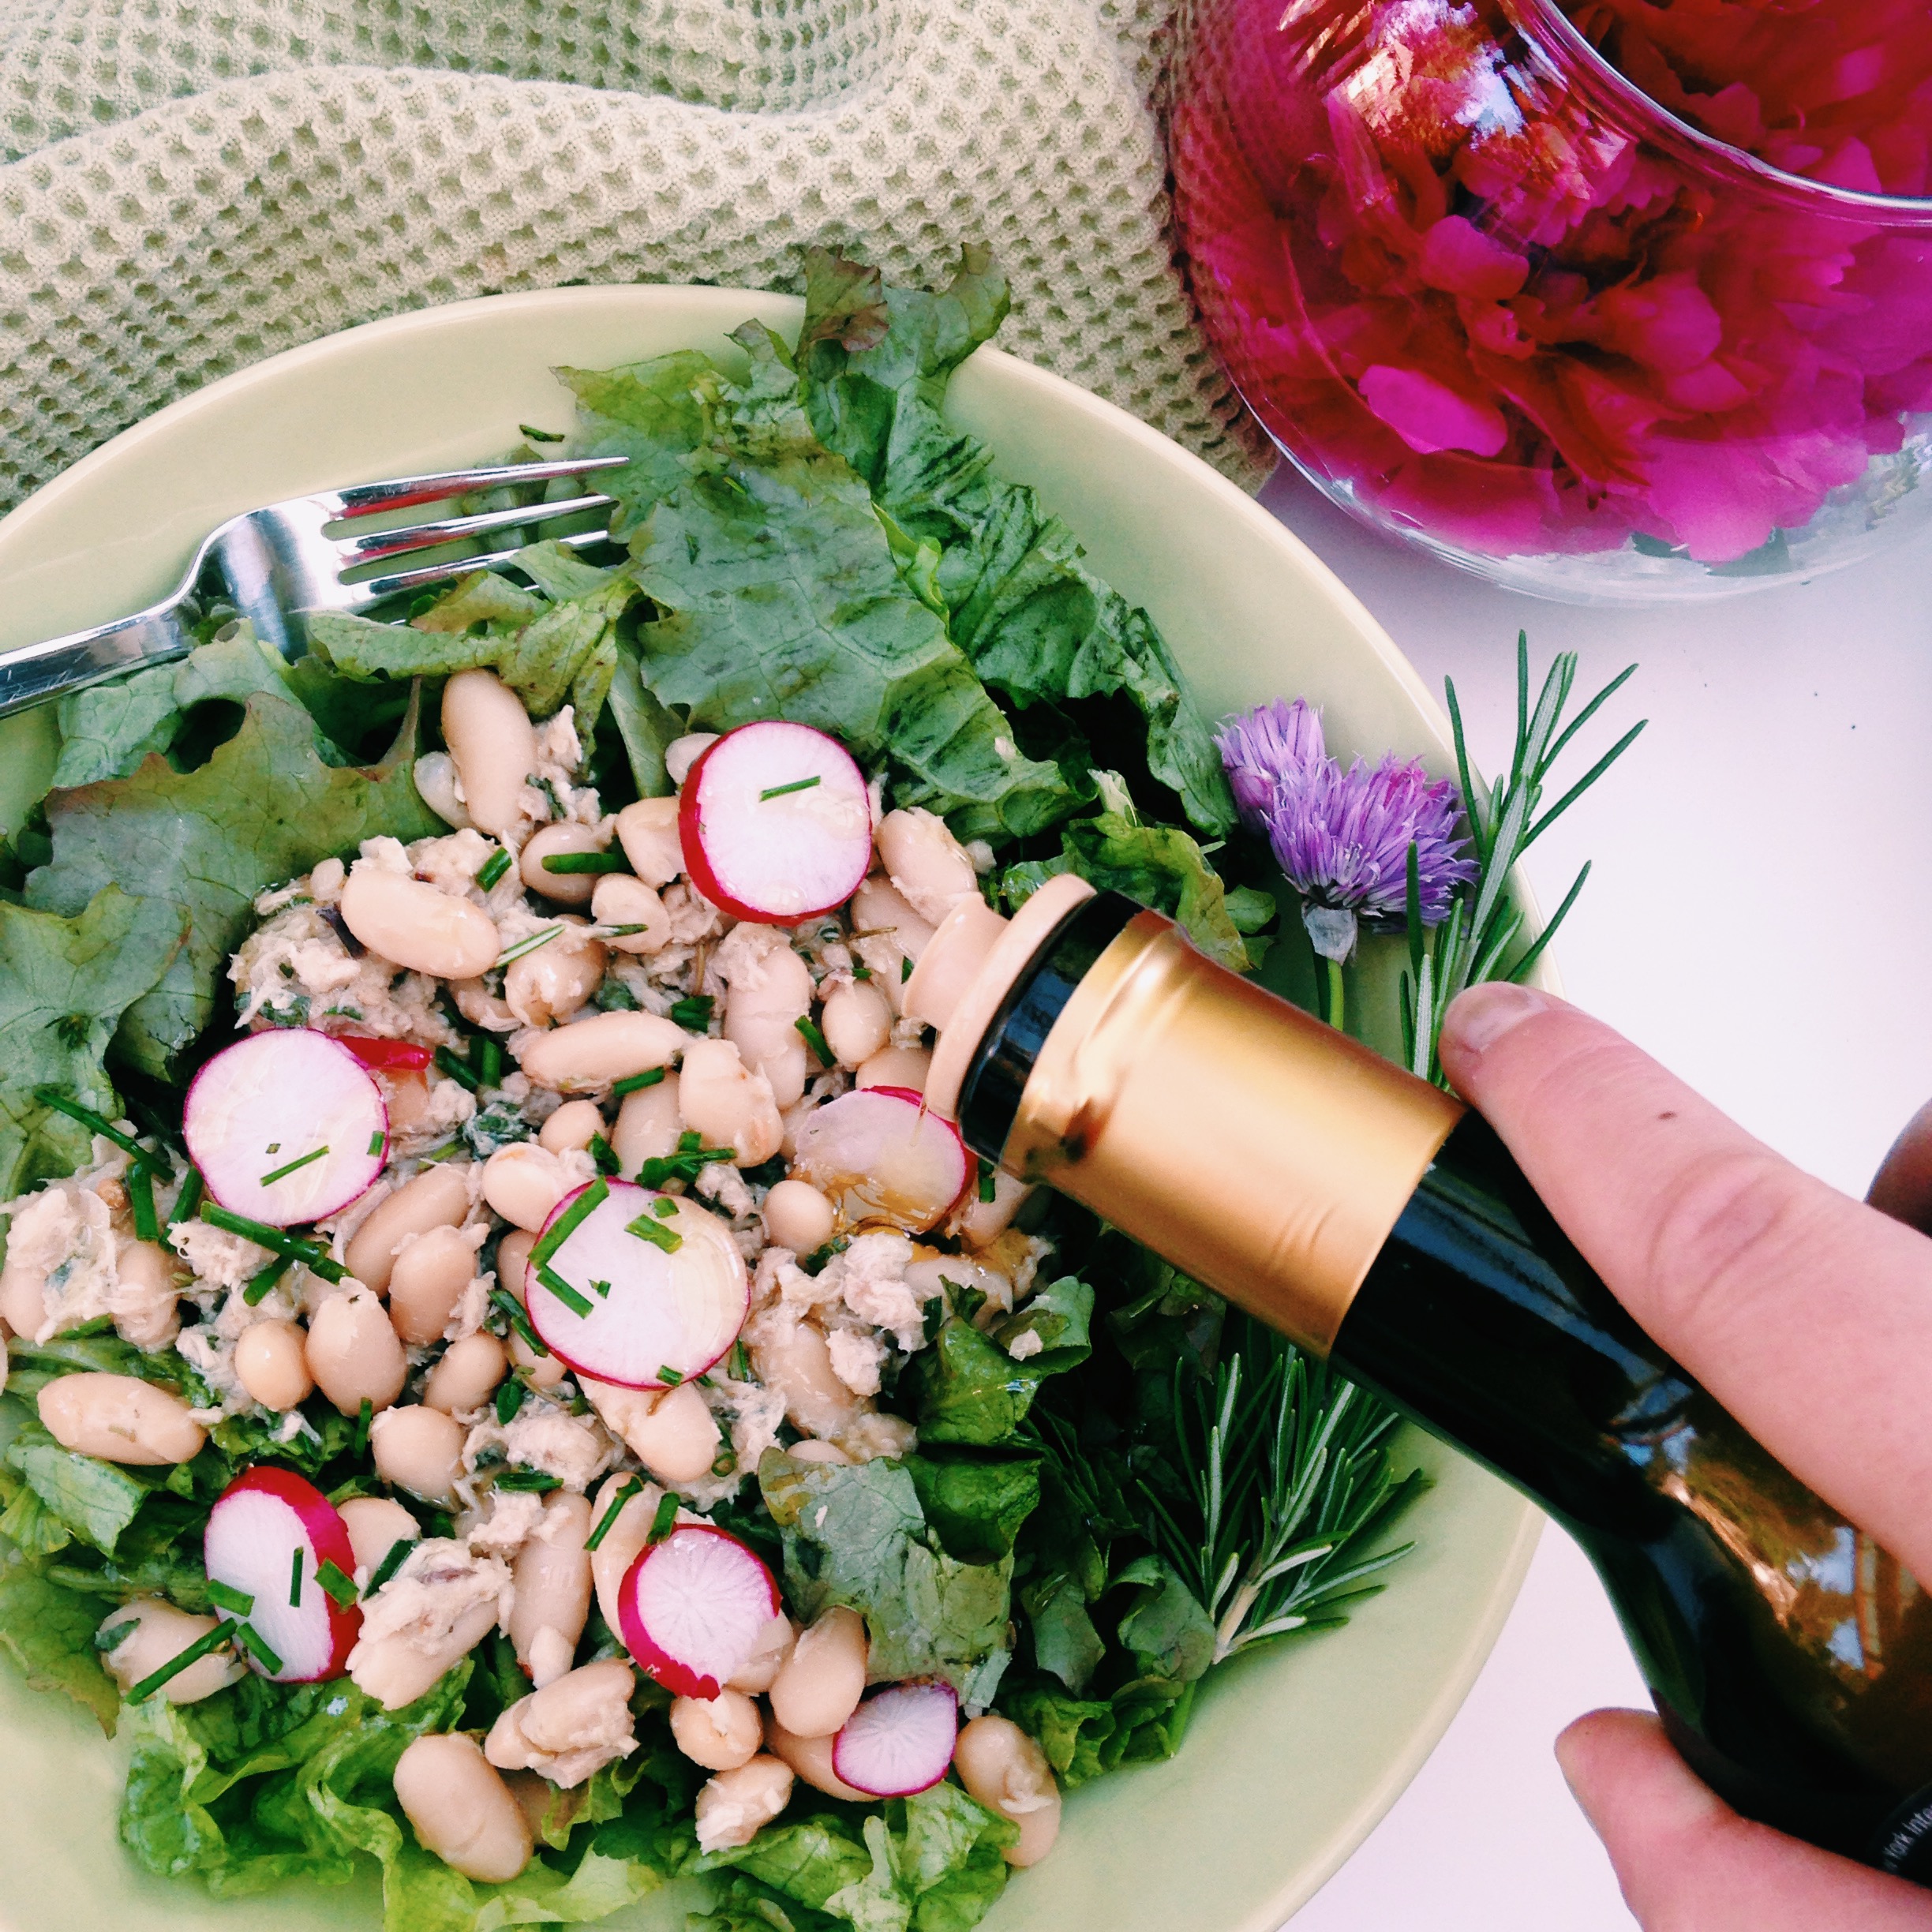
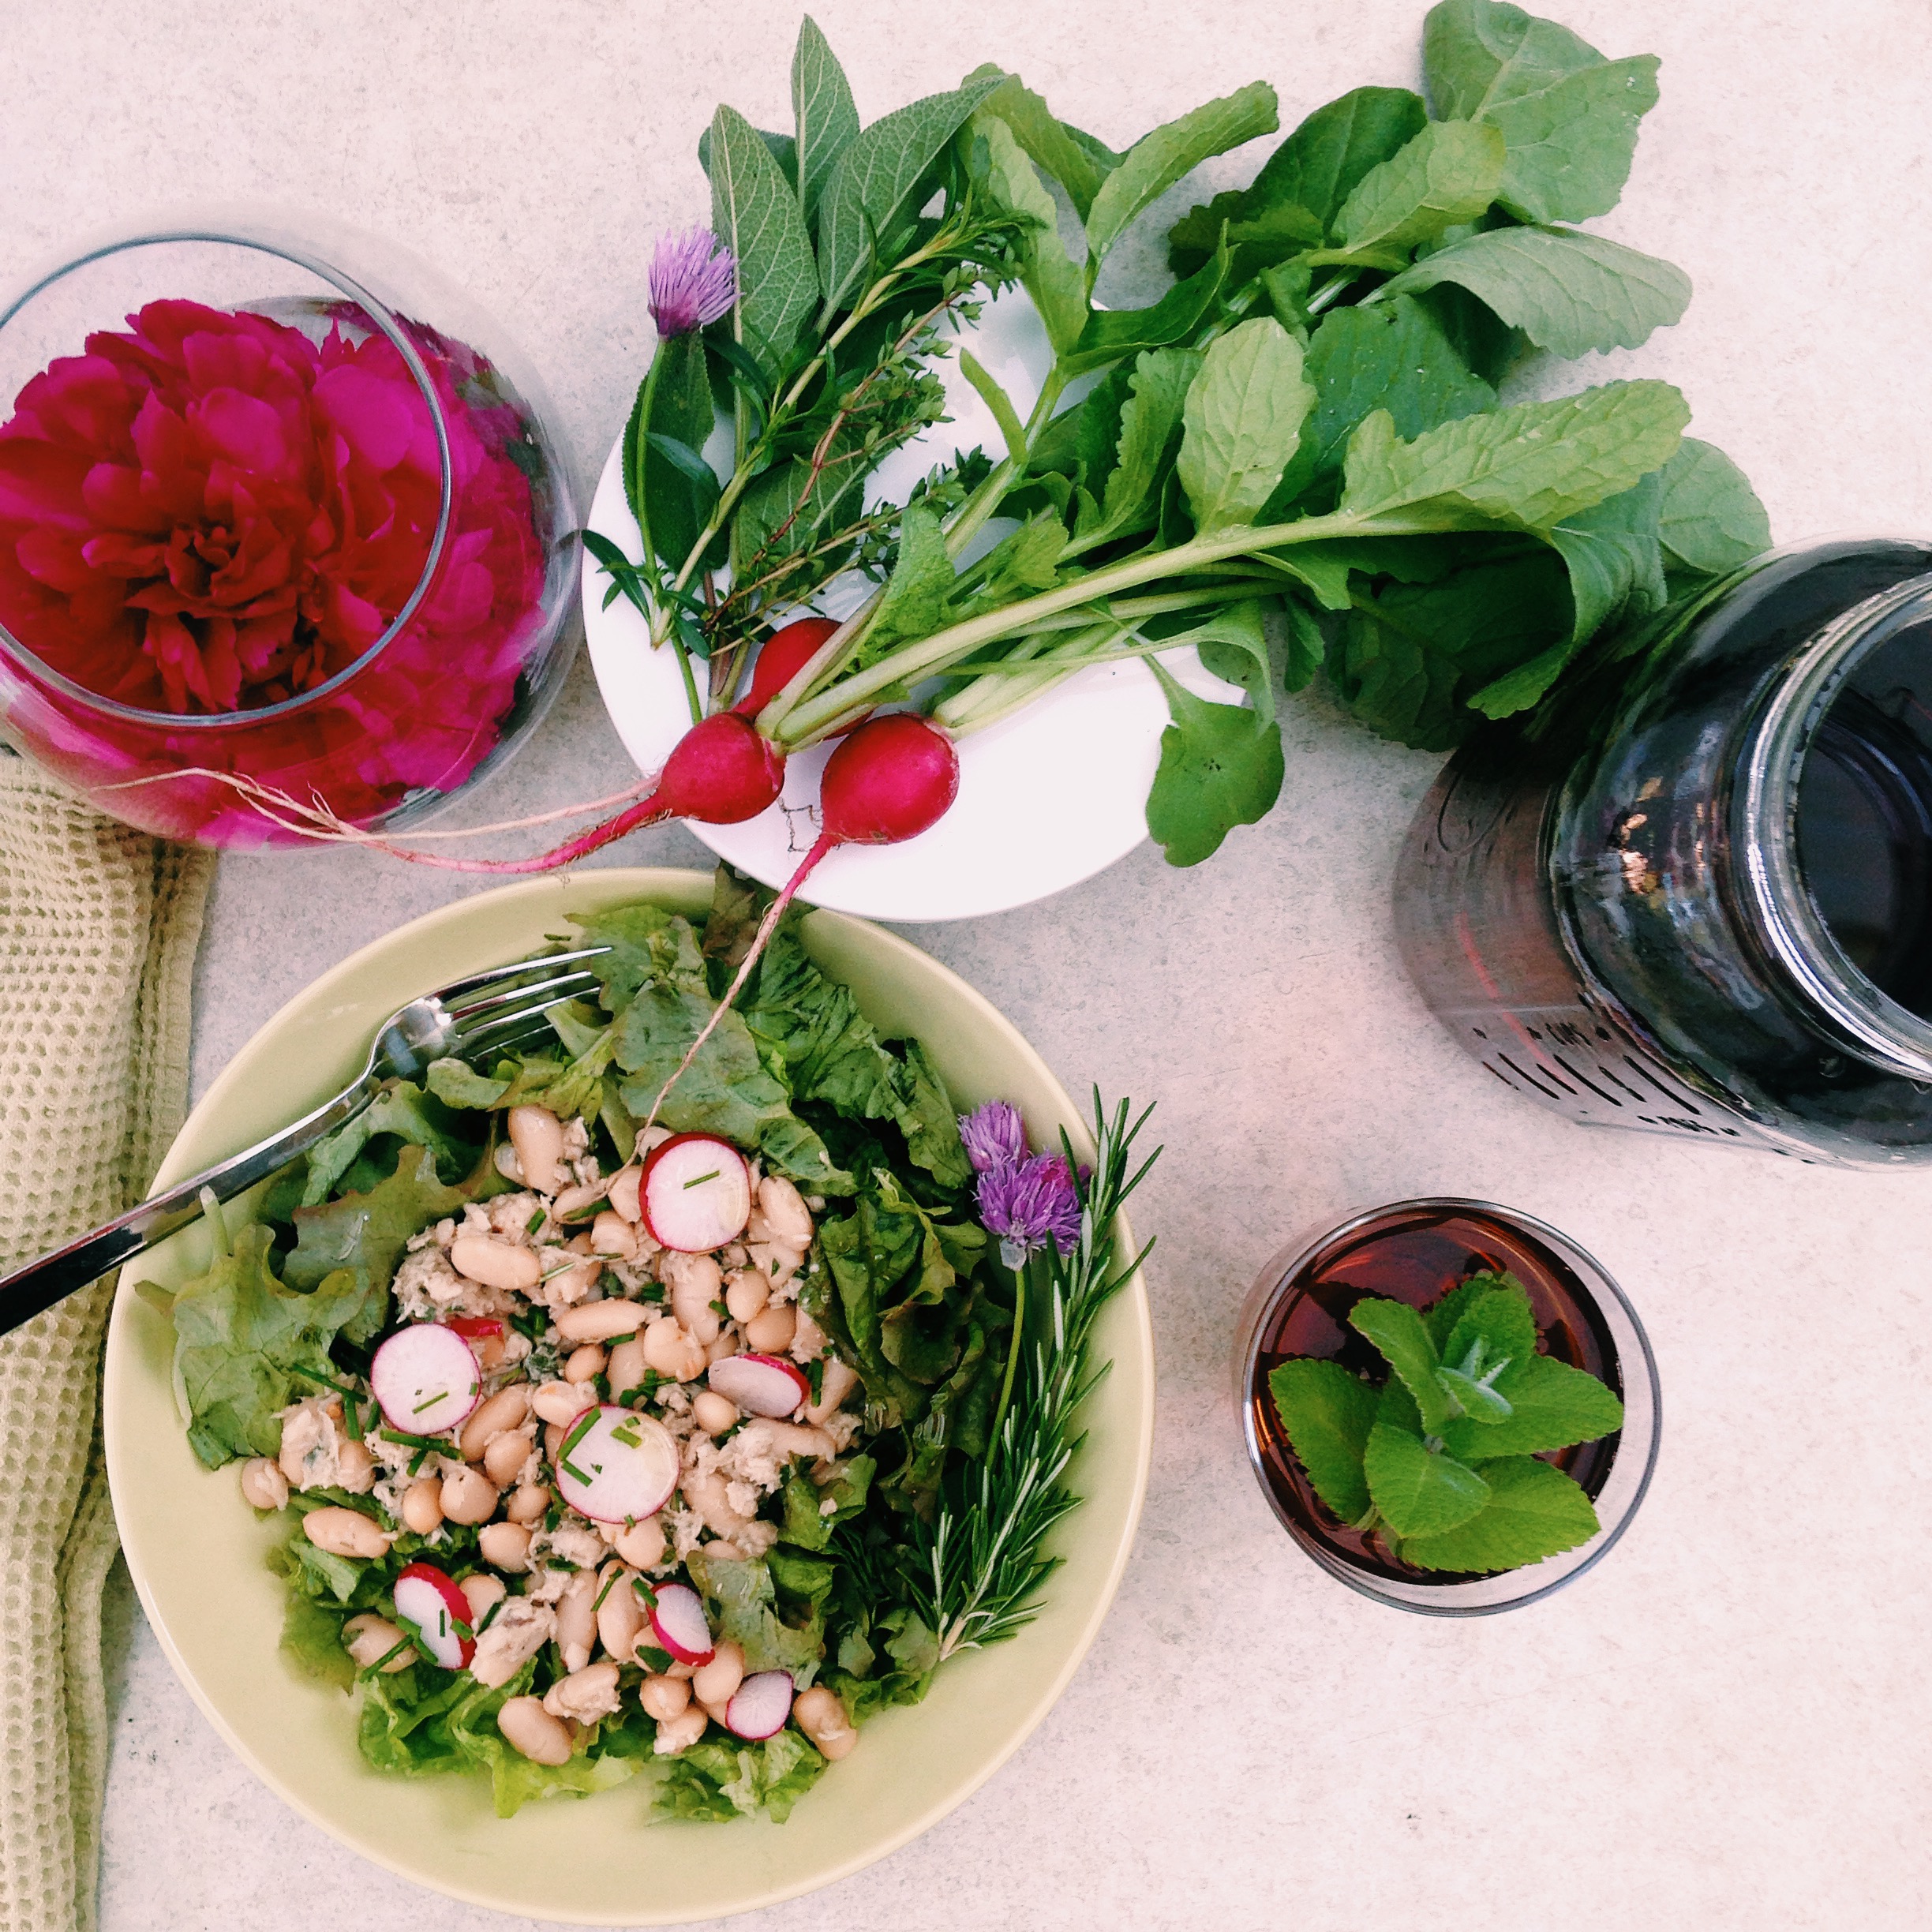
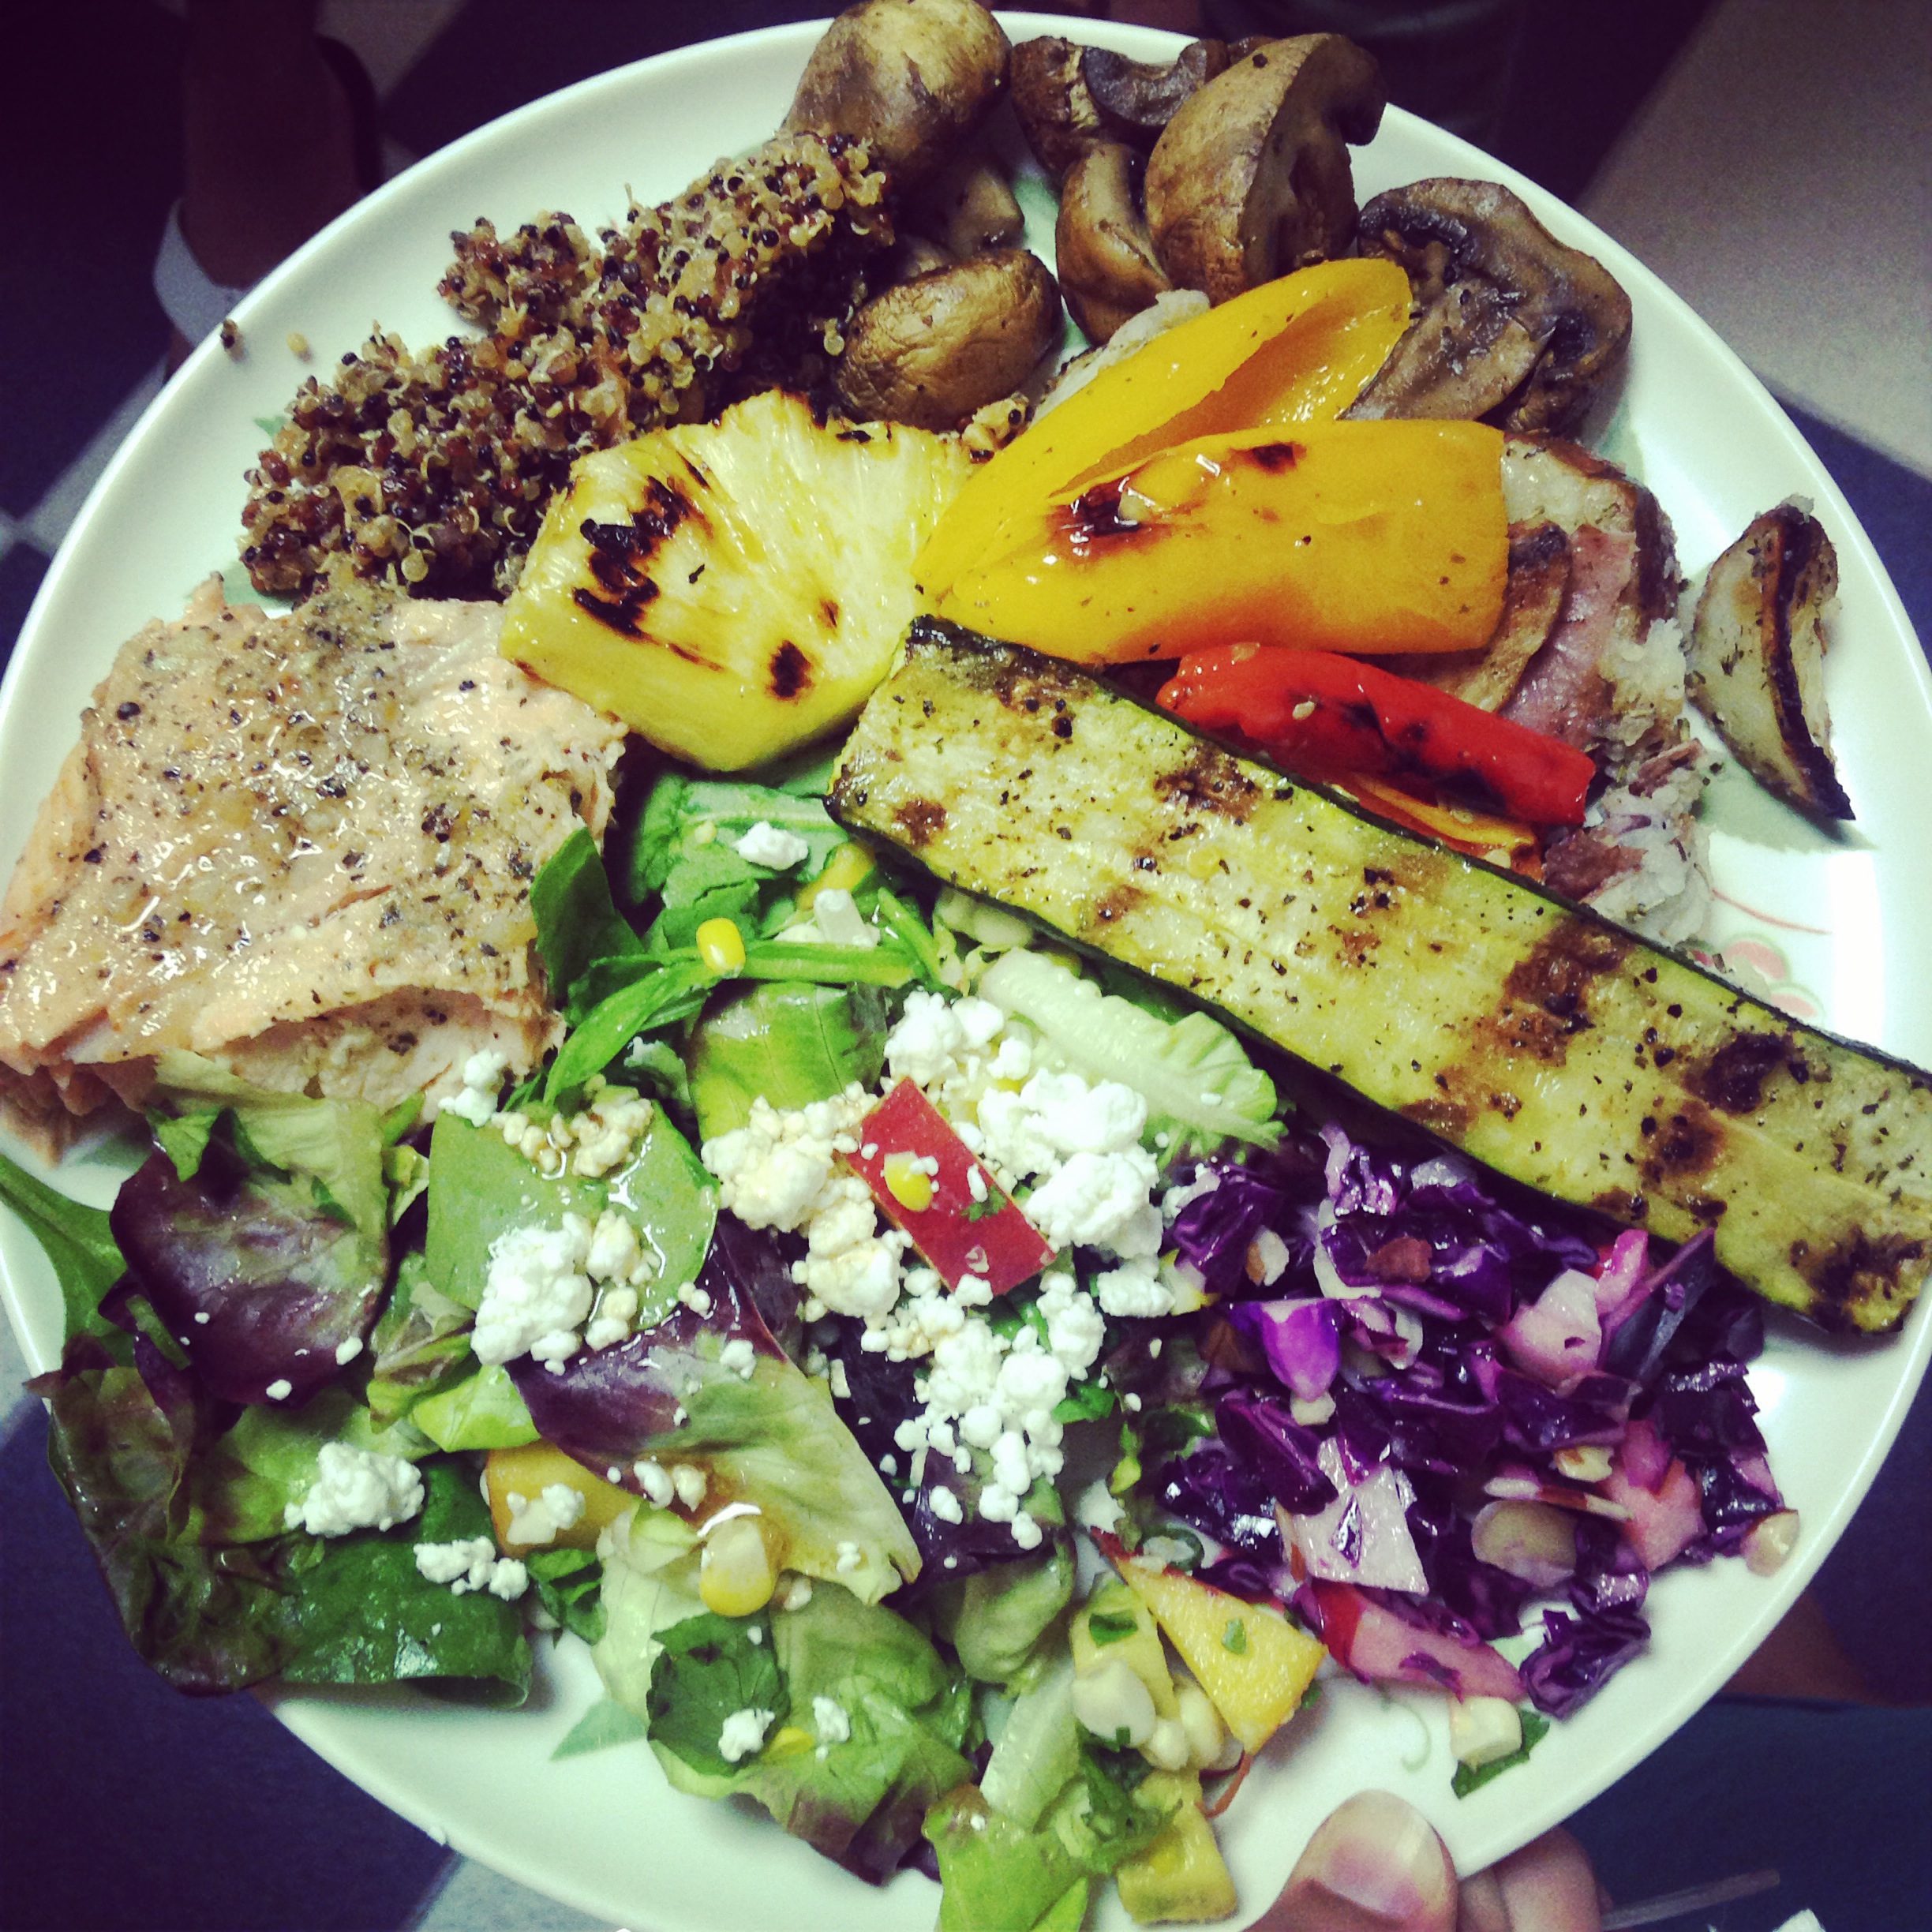
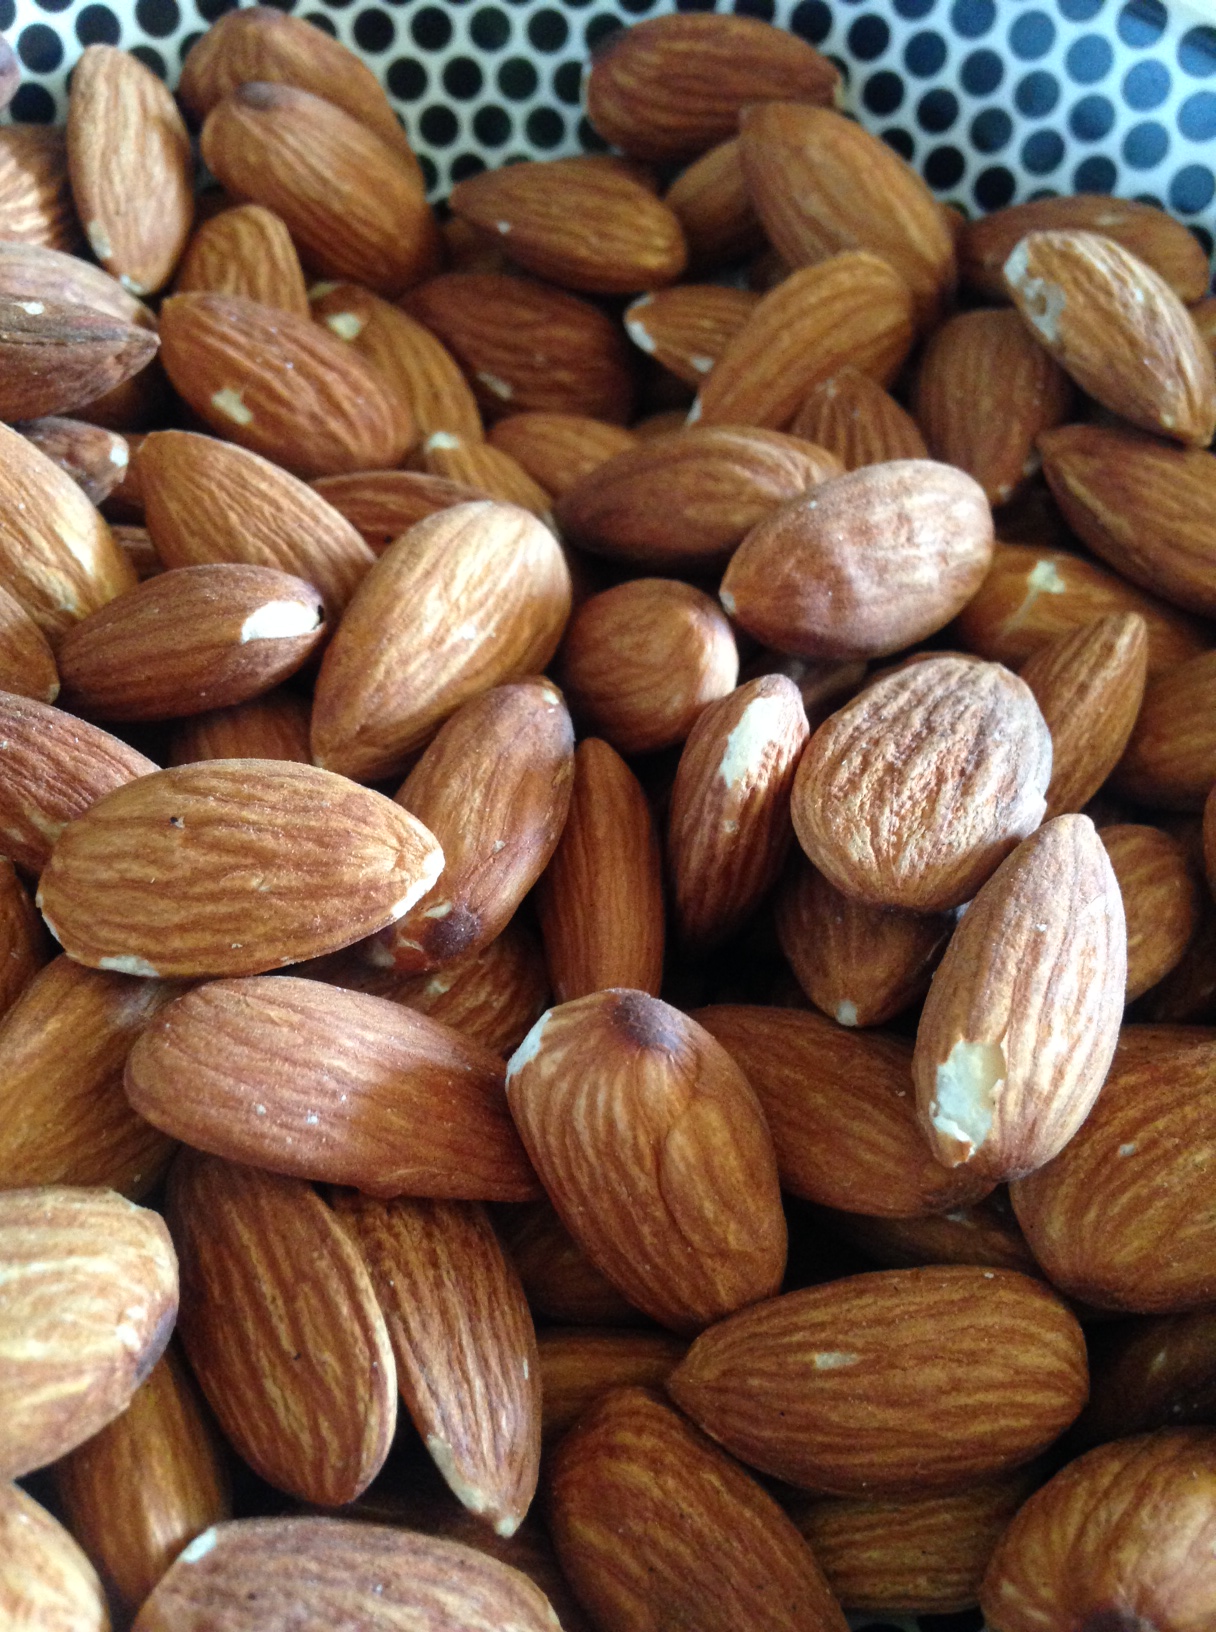
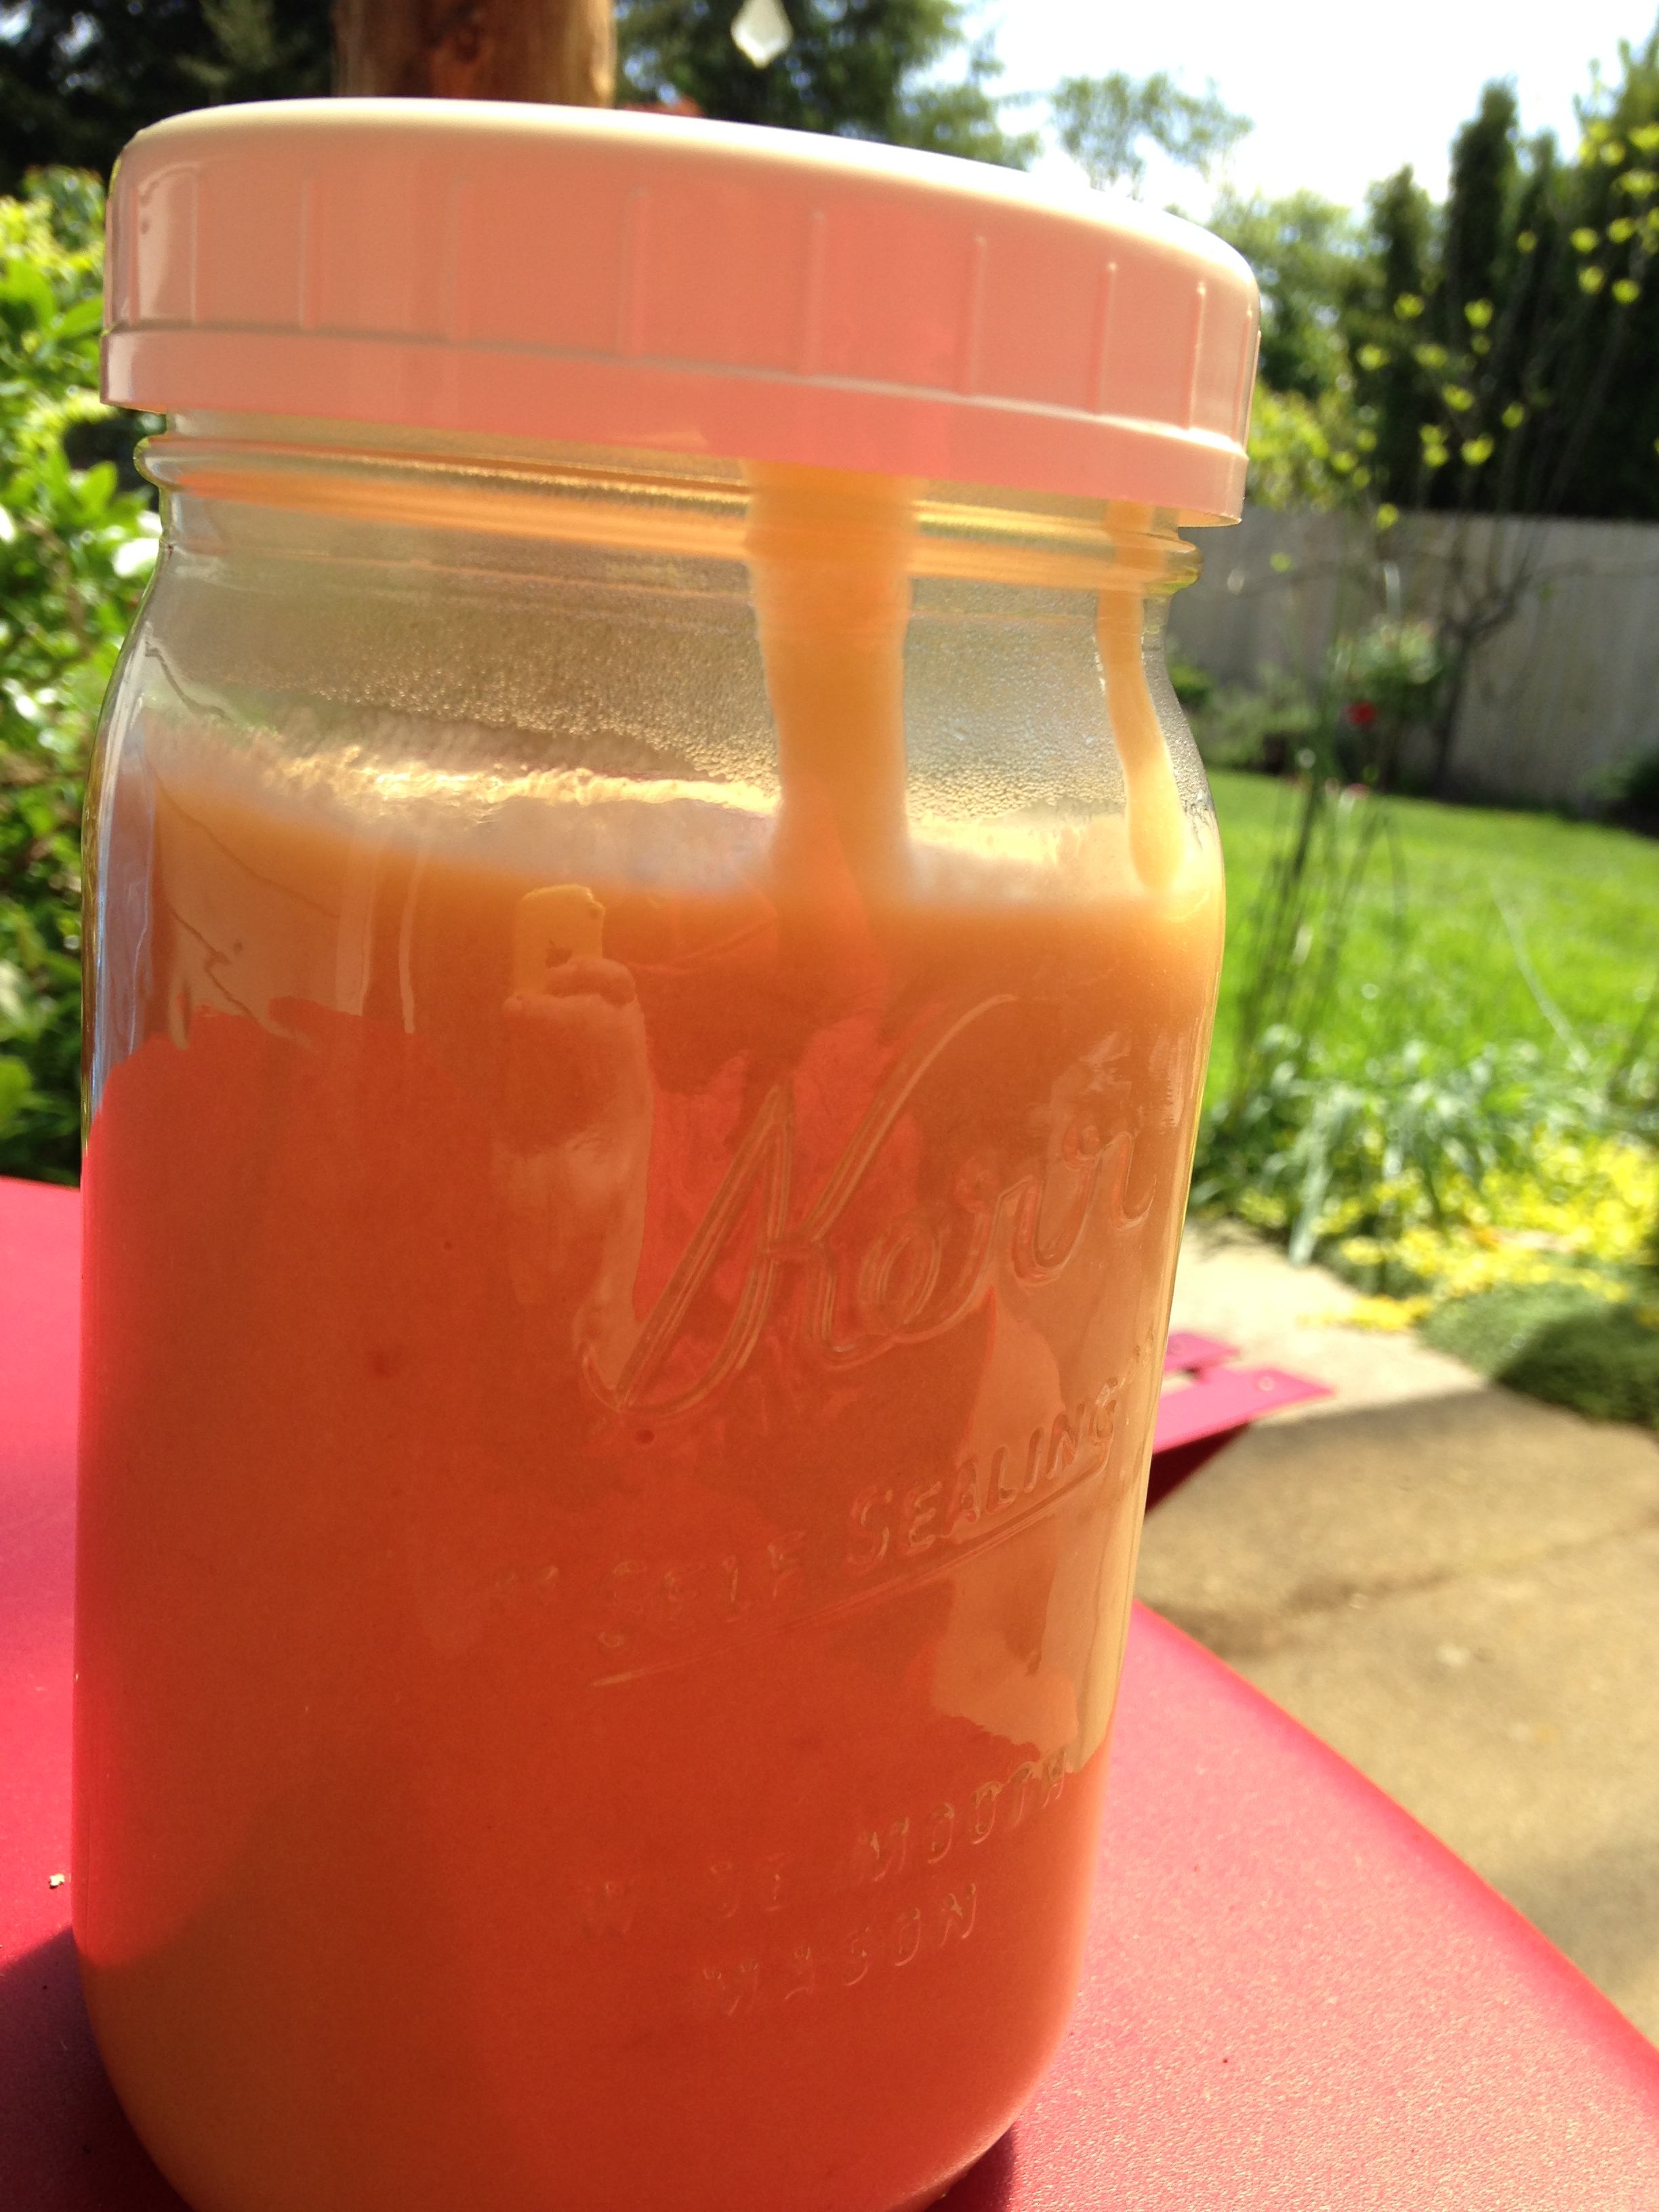
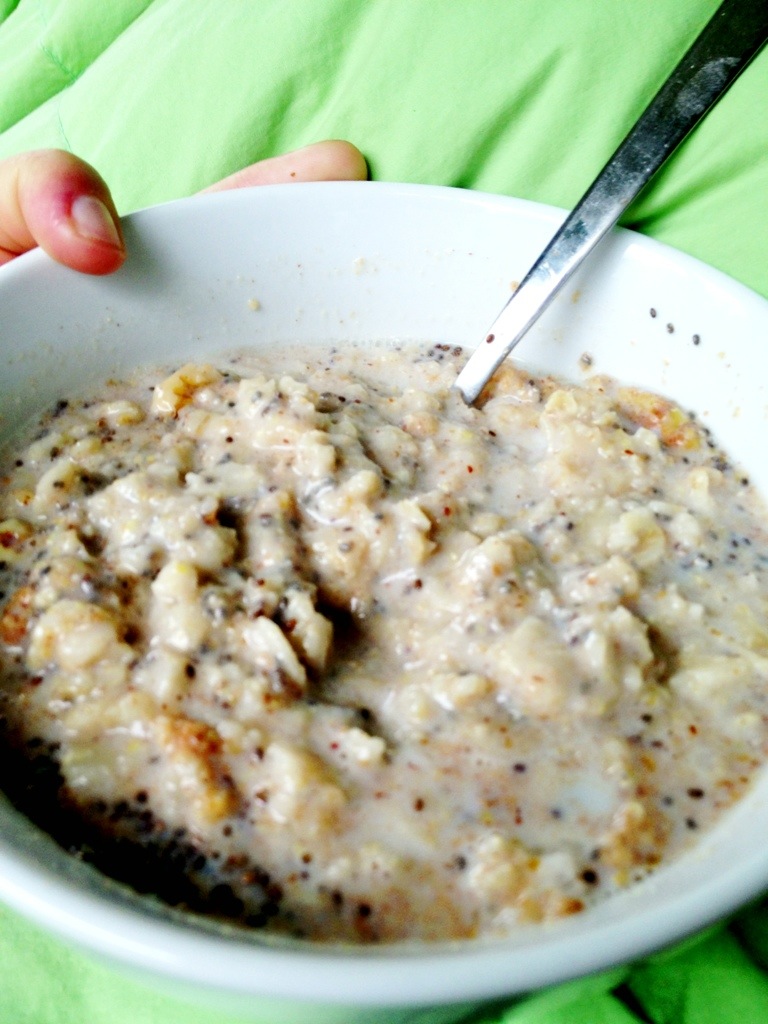
I want to give a shout-out to an instagram friend and real life acquaintance Hannah. Though I admittedly don’t know her well, a few weeks ago she posted a photo on social media about a sauce she had made and was eating on toast, and it was a sauce I was totally unfamiliar with. Zhoug. Have you ever heard of this? Maybe I’m late to the party… I am as a self- proclaimed saucy lady. (I mean this in every sense of the word, but anecdotally speaking I do make a lot of sauces.) My meal prep every week typically involves a large batch of hummus for snacking and lunches and at least one jar of sauce that I can use in a myriad of ways throughout the week. Some weeks it’s peanut sauce to be paired with salad rolls, or used to dress a Thai inspired slaw or a quinoa bowl with broccoli and cabbage. Lately I’ve been in a chimichuri phase, and the past several weeks I’ve been whipping up a large batch of the herby, tangy condiment and I put it on everything. It’s a great alternative to a salad dressing, is amazing on scrambled eggs, stirred into hummus, goes great with meat or roasted vegetables, and overall it is kind of the wonder sauce. I’m always curious as to what other people are cooking and eating so when Hannah posted a photo of this vibrant green sauce and a link to the recipe at Cookie + Kate I was really intrigued. Cilantro, cardamom and jalapenos? How do these things even work together? I decided to set aside my chimichuri for the week and give this Zhoug a try.

And it did not disappoint. First of all, its fun to say. Go ahead, let it roll off the tongue a bit. It almost has a “I am Groot” feel. Zhoug. Secondly, I found this to be just as versatile as the chimichuri, and have enjoyed the zhoug as a dressing alternative, smeared on some pita bread, with eggs, and thus far my favorite combo has been with cauliflower rice and lamb meatballs. Yum-o.

IMG_0409

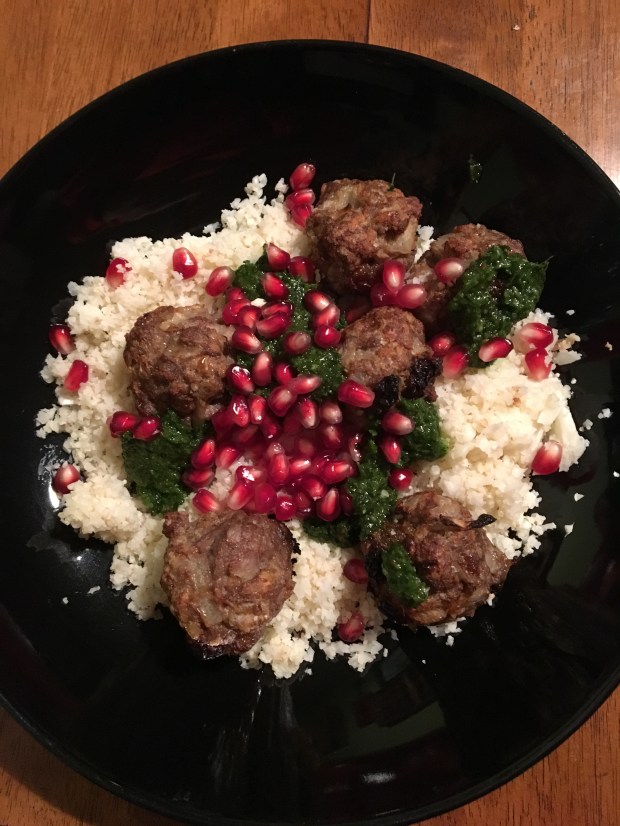
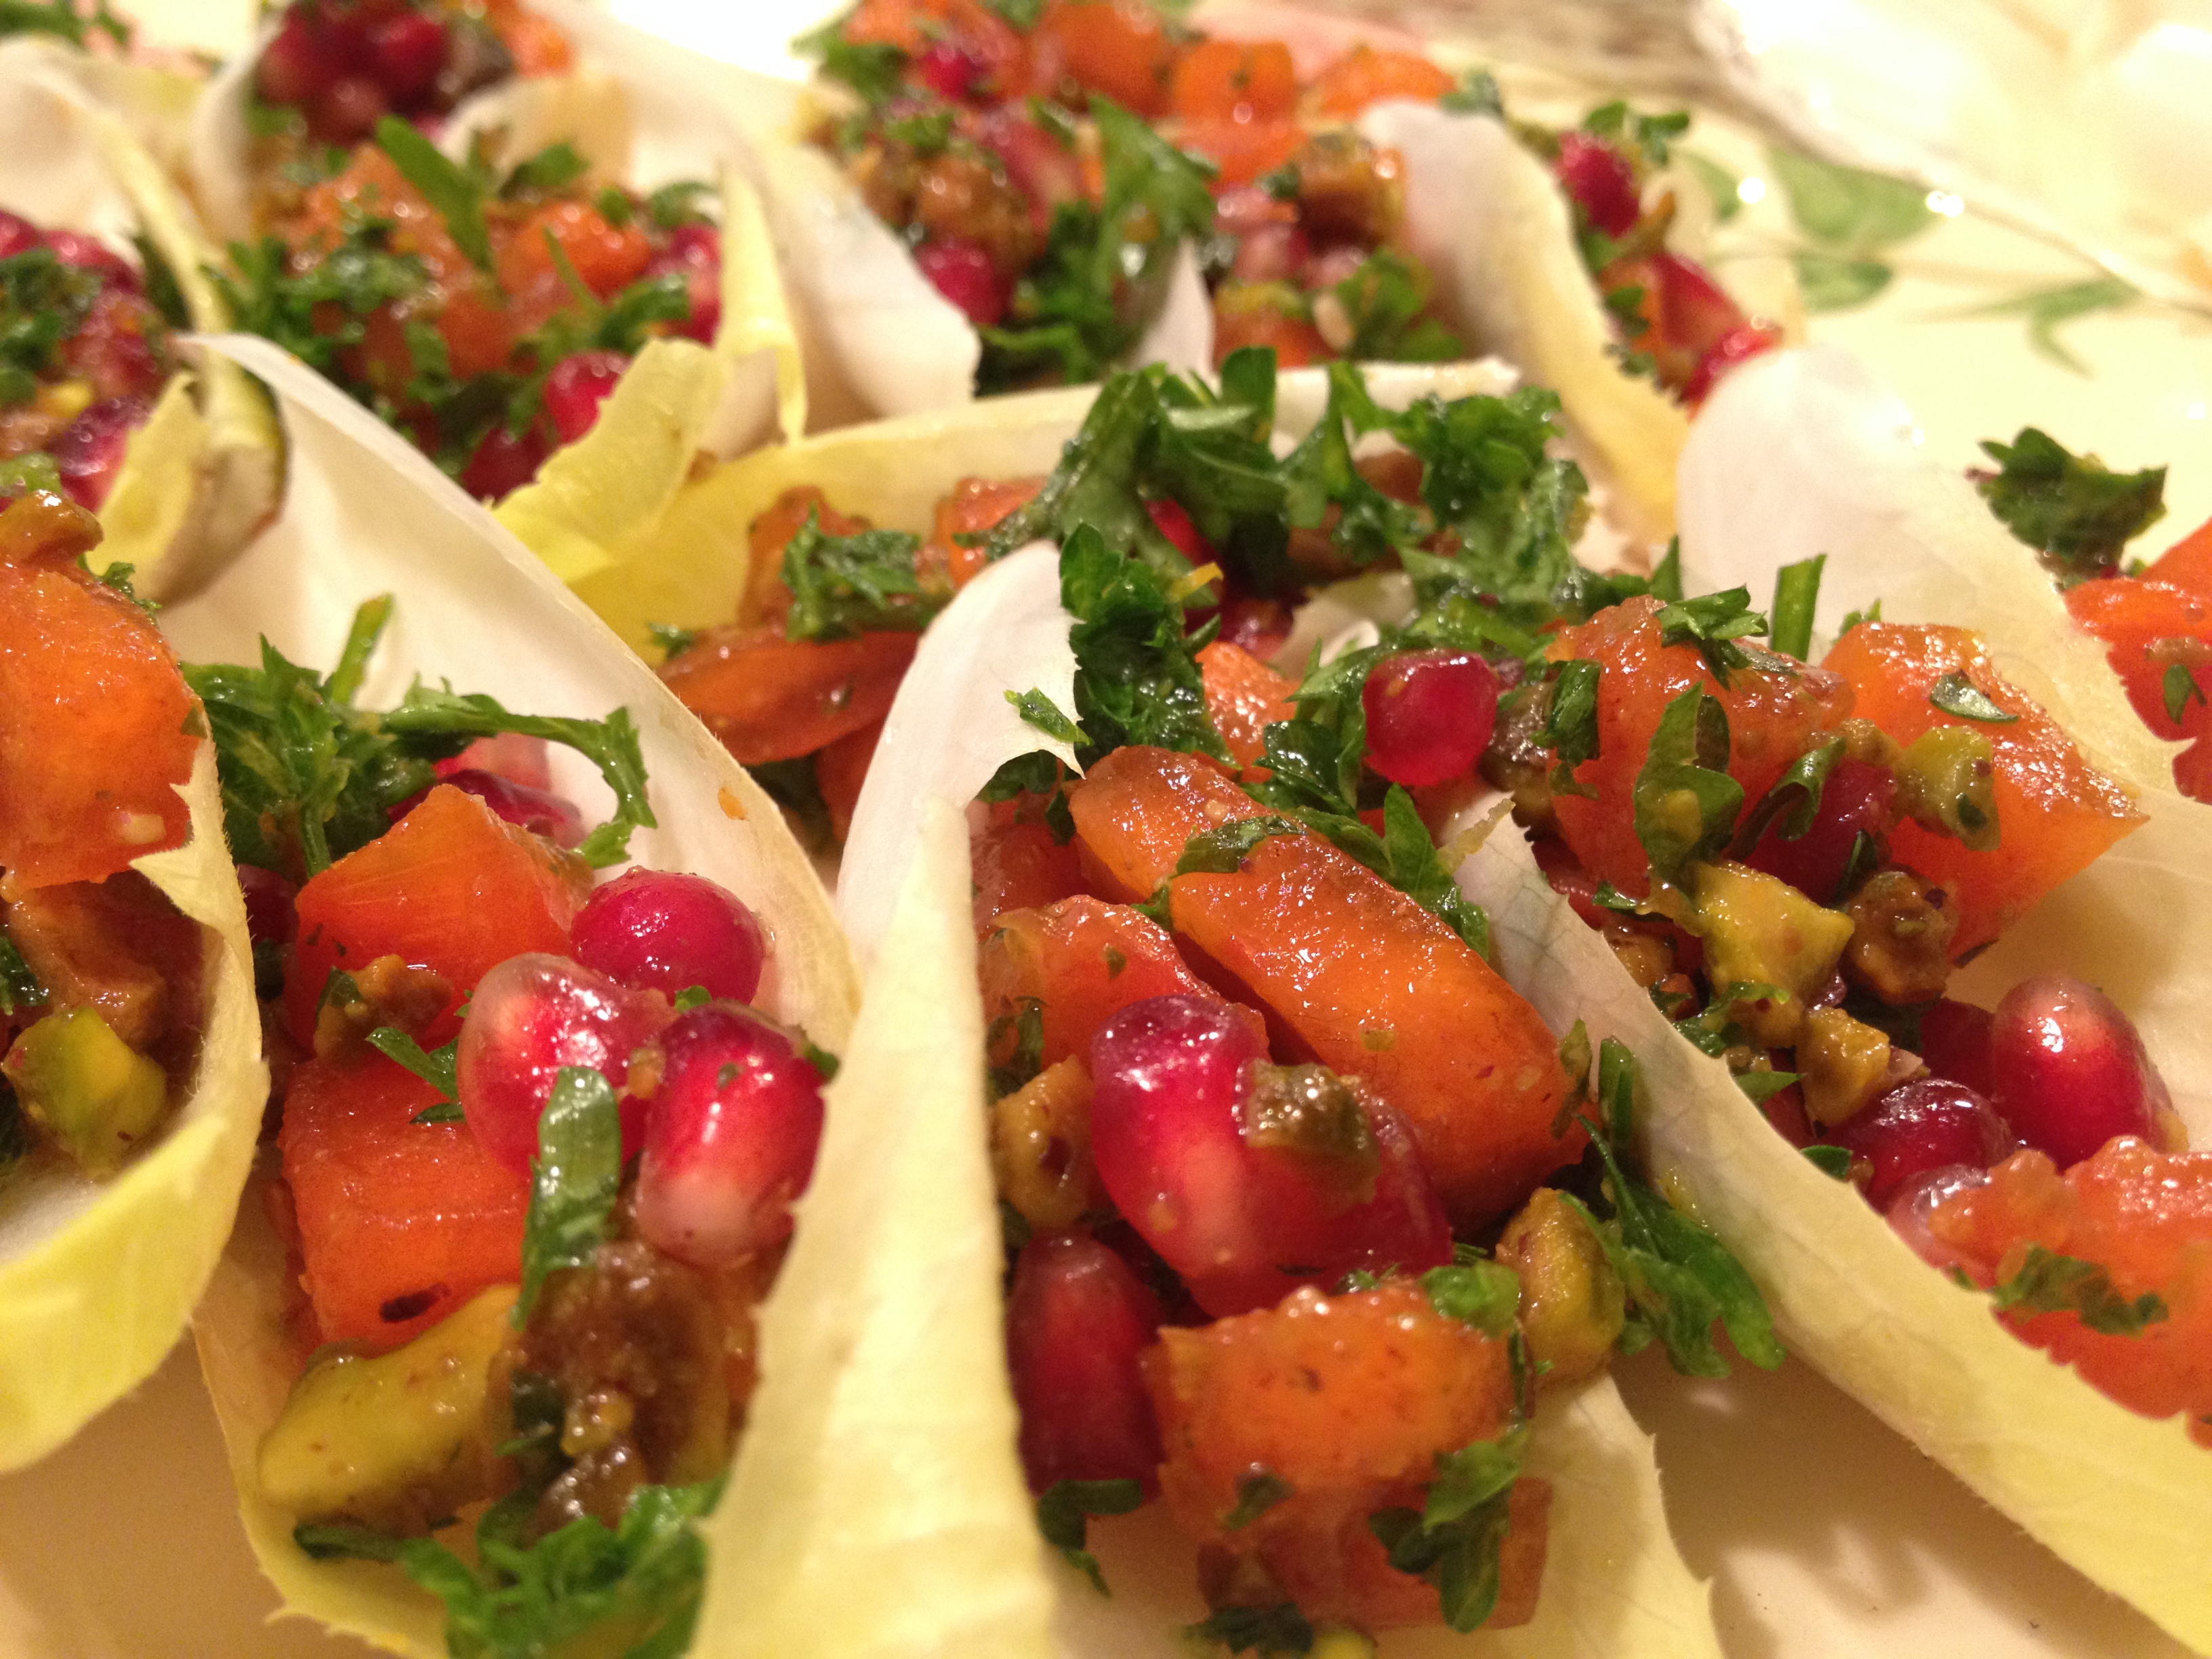
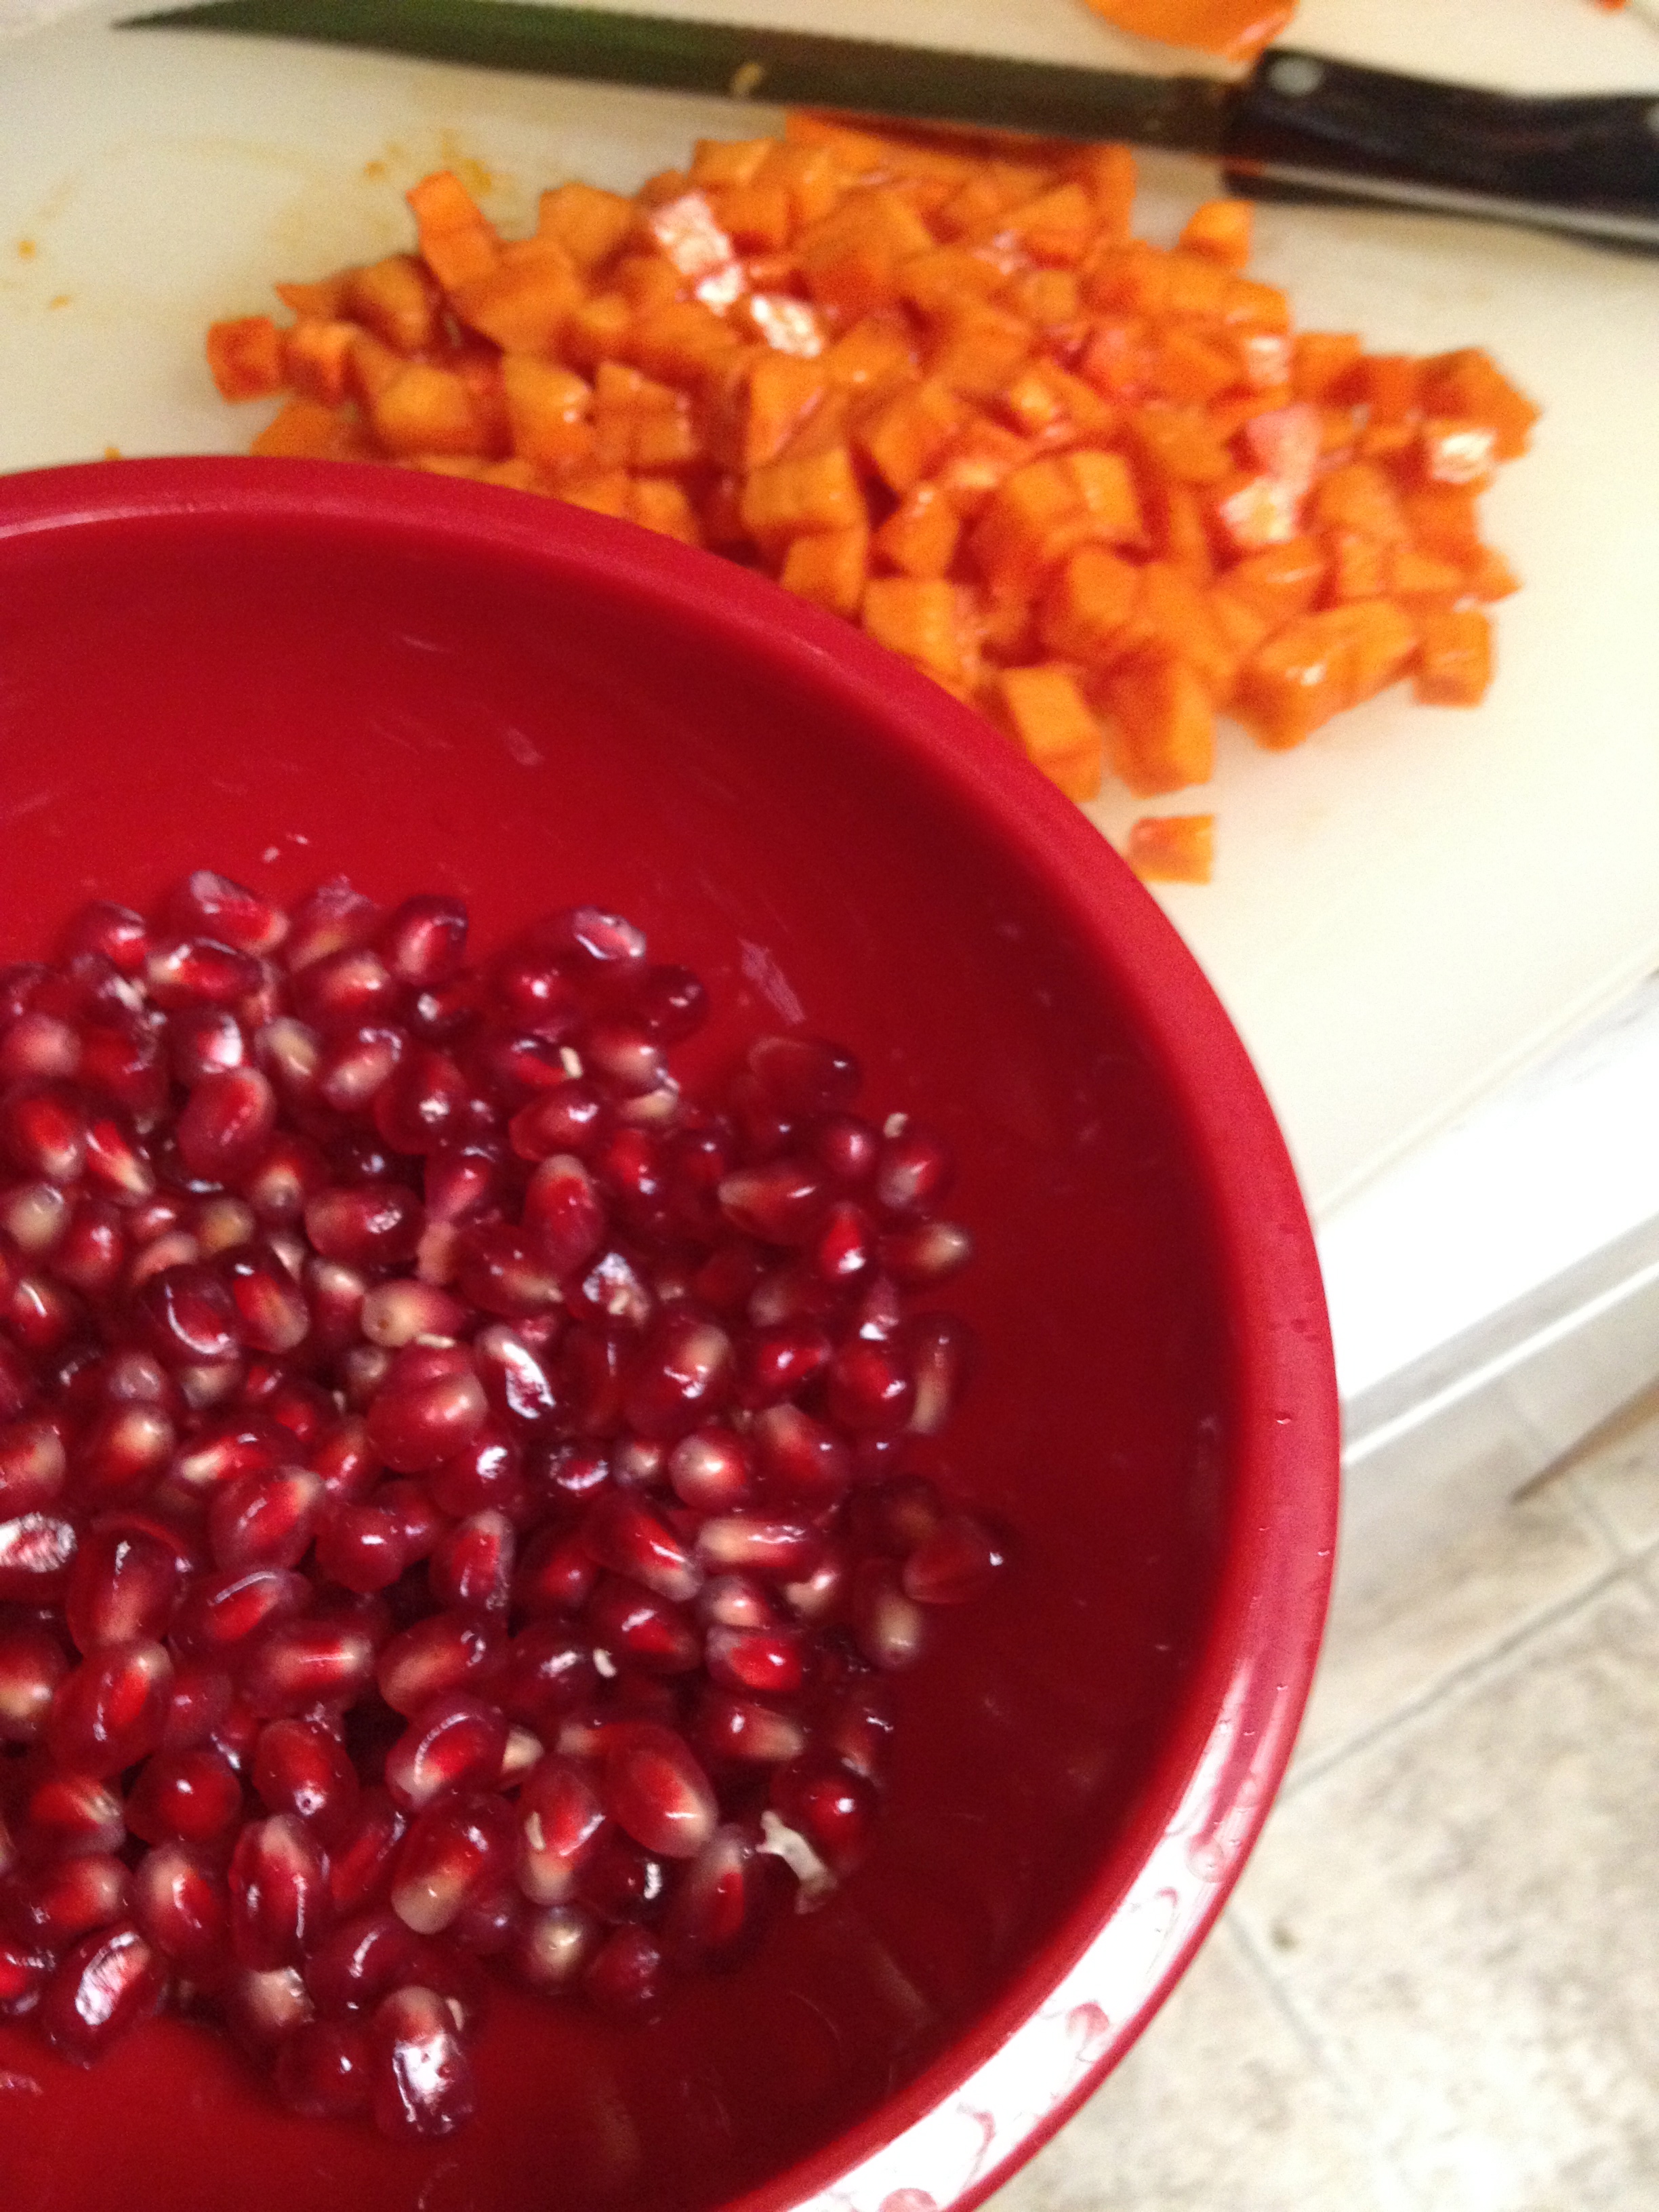
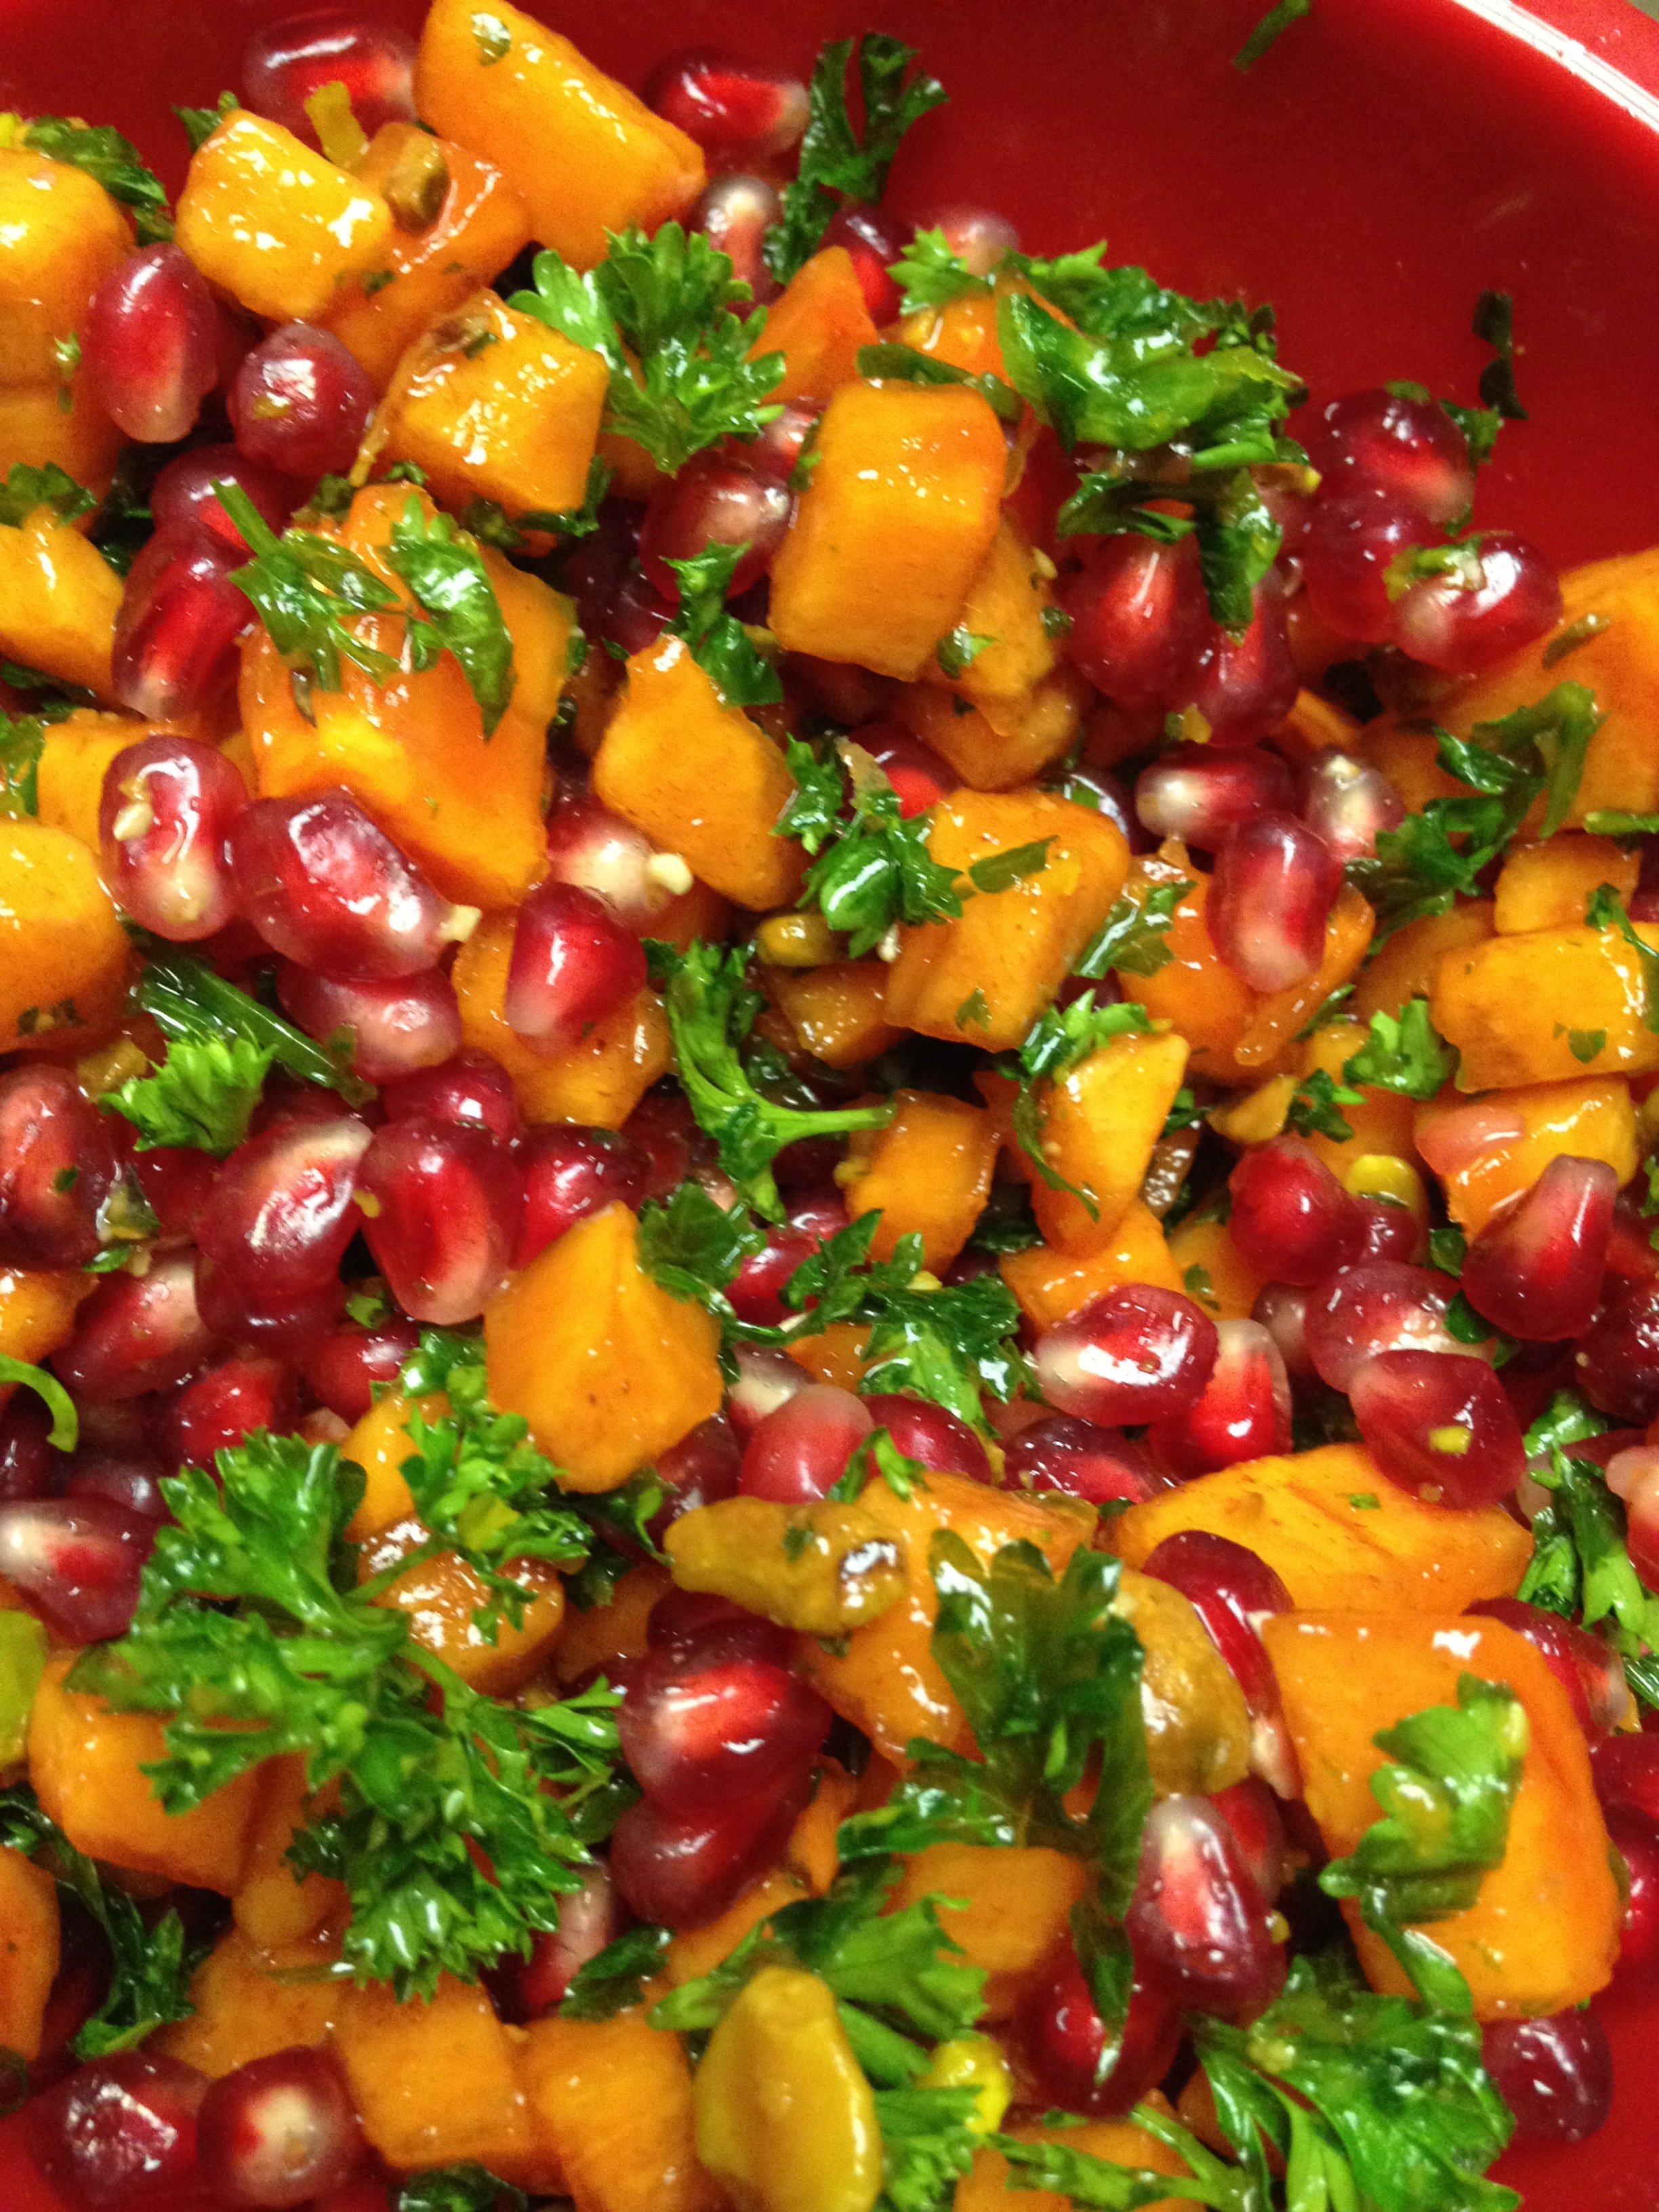
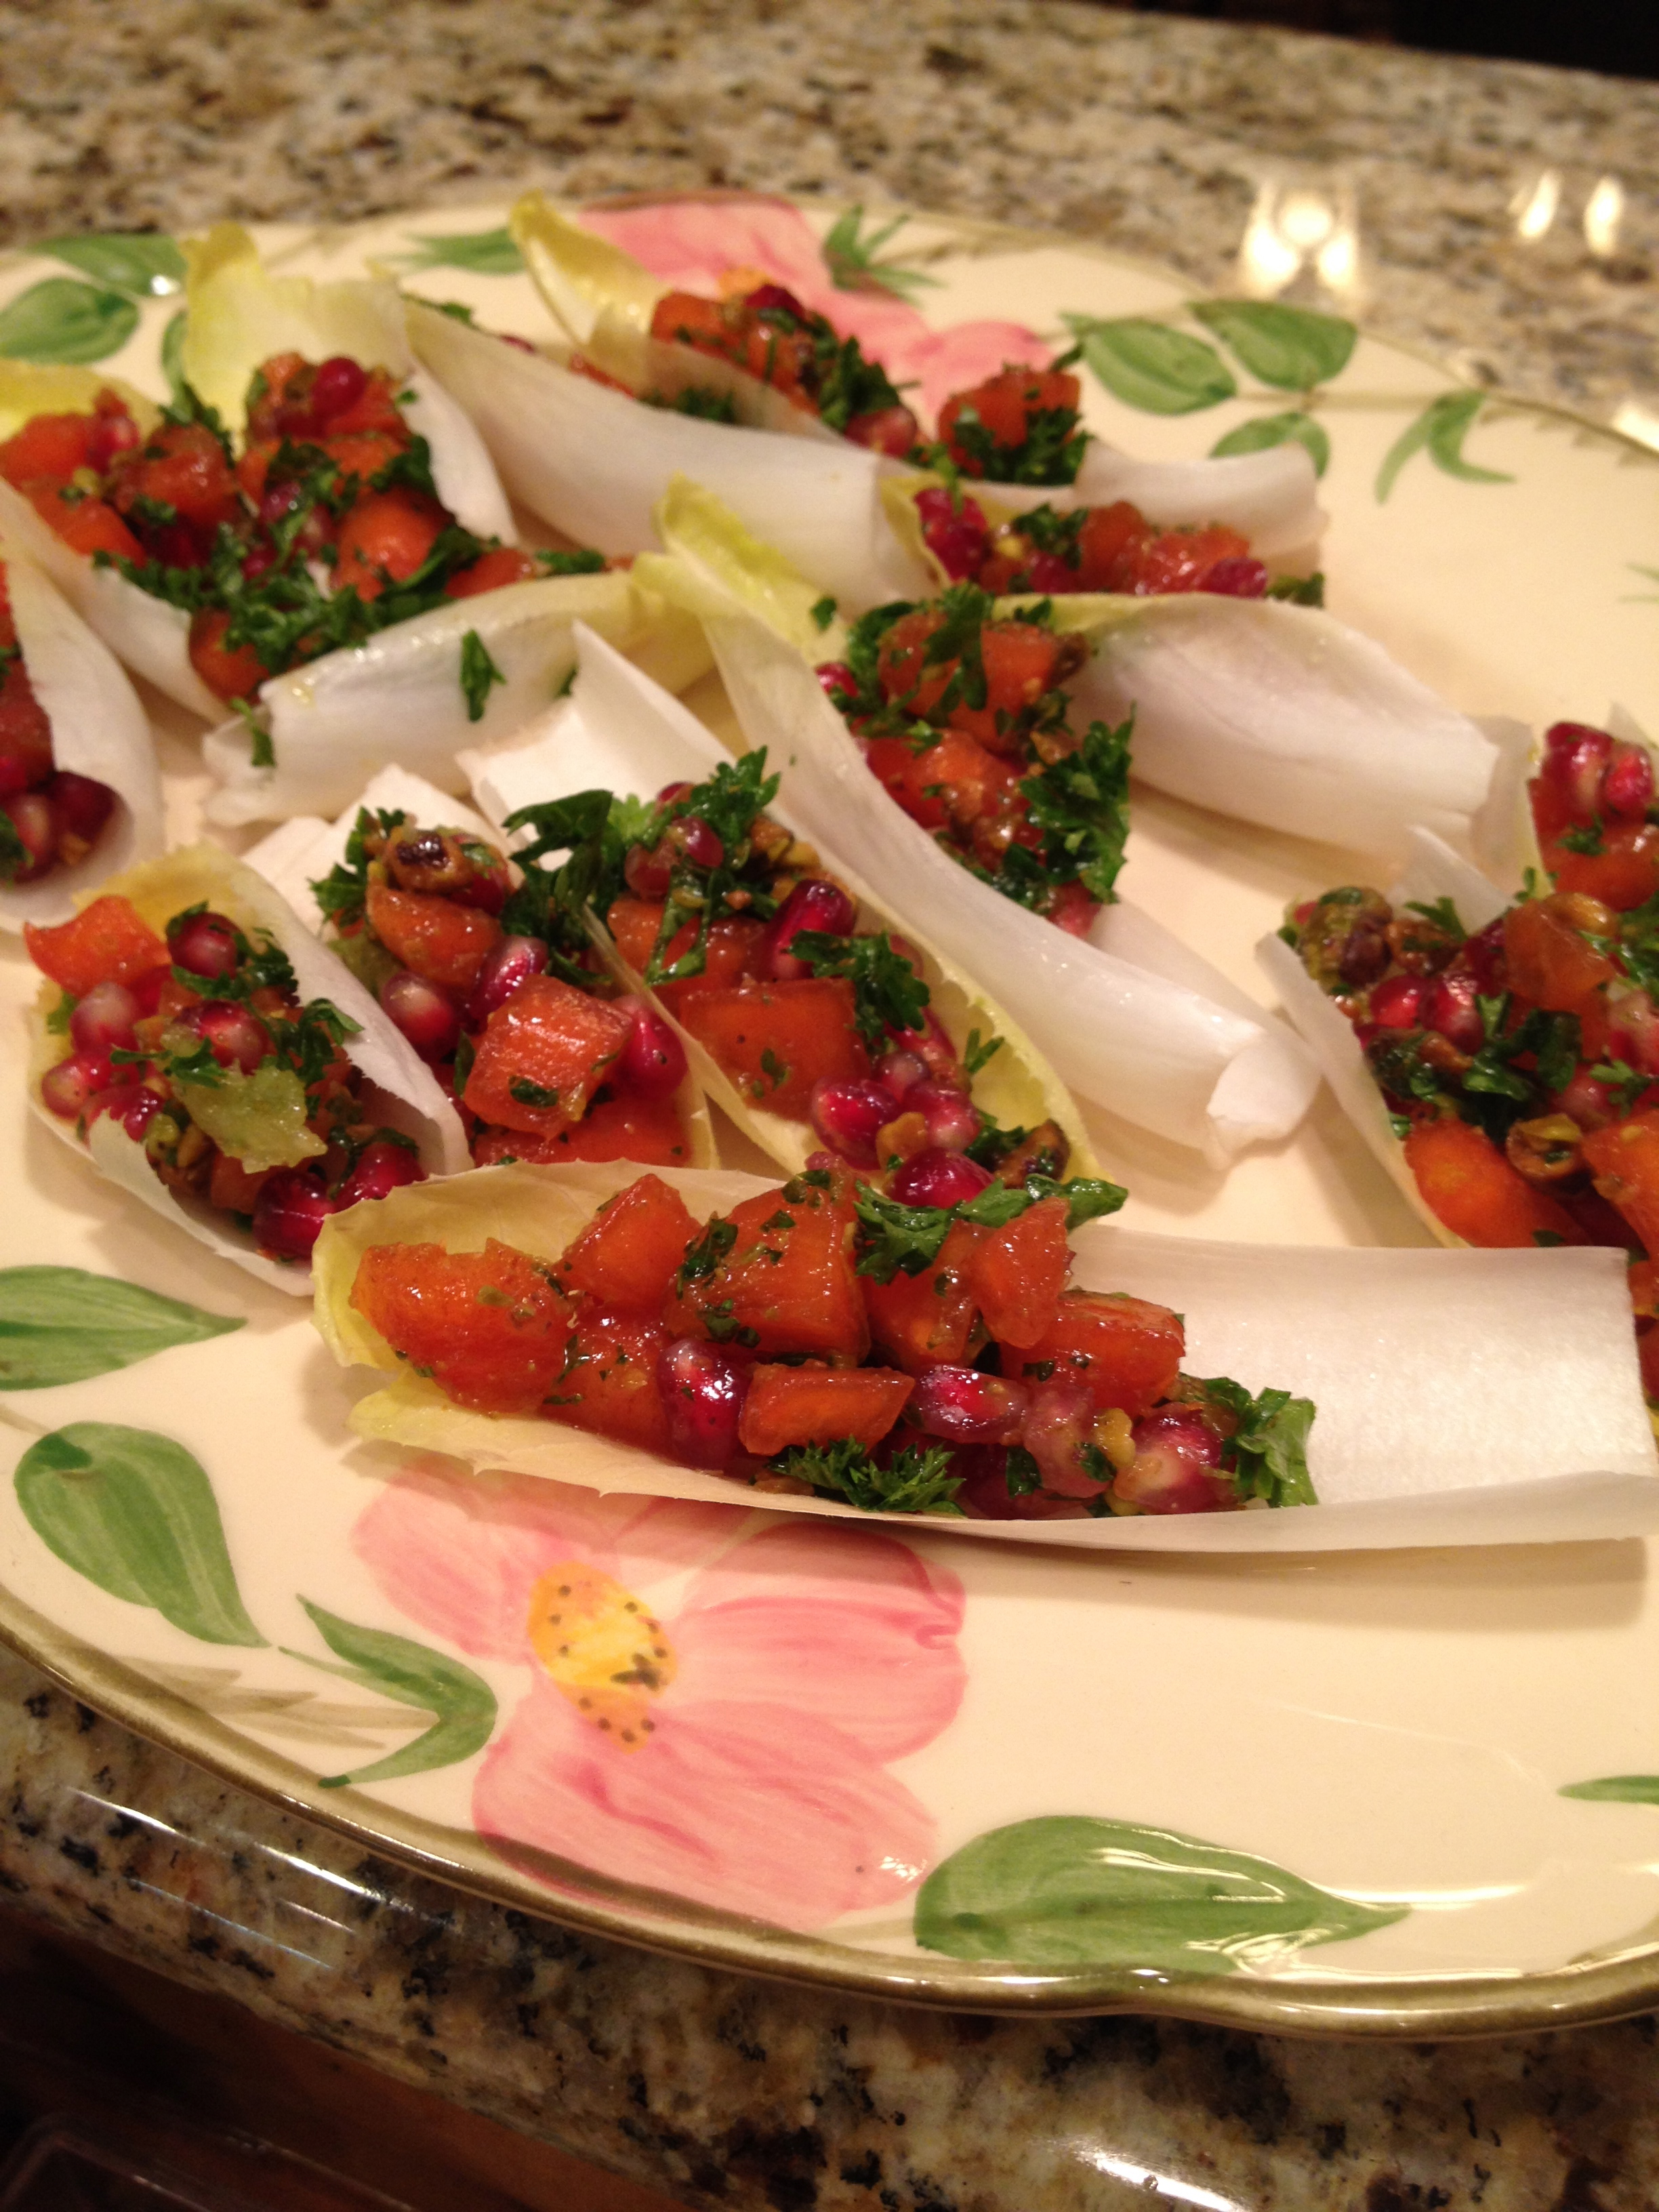
Cauliflower rice, lamb meatballs, Zhoug, a smattering of pomegranate seeds

I’m not a super spicy fan (I like spicy, just not super spicy) so I only used two jalapenos instead of four, and I did not include the vein or the seeds. I did add in the red chili flakes though. The sauce was a tad bitter right out of the food processor, but after an hour all the flavors melded together in a really great harmony. (Even better the next day) I’m really excited to add this to my sauce repertoire, and glad to have a new food-blog to explore.

Do you have any go-to sauces or weekly meal prep staples? I’d love to hear what they are.

The return of salad season: white beans and tuna over greens.

Radish and herbs

Hello salad season, so glad you are back with us. My garden is literally exploding with lettuce and kale at the moment, so I’m trying my best to find creative ways to incorporate more greens into every meal. I love salads in pretty much every shape, and form, but this time of year when its still a little cool in the evenings, I find myself craving dishes that are a little more hardy. Something warm and robust, while still being healthy and simple. Insert, the perfect dish: white beans and tuna over greens. It’s ridiculously simple, you probably have all the ingredients already hiding in your pantry, it takes roughly 10 minutes to prep and assemble, and it’s super healthy.

I’ve been challenging myself to eat healthier, and I’m also attempting to be a bit more economical by packing my lunch every day. I joined #the100dayproject with the intention of creating and packing beautiful and healthy lunches every day for 100 days. They aren’t always beautiful, and sometimes creativity succumbs to the likes of PB&J, but for the most part, I’m having a good time with it, and have made some really delicious packed lunches. One thing that I love about this white bean and tuna dish, is that if I make it as a “dinner for one” I always have left-overs to take for lunch during the week, and this is pretty much the perfect meal to power you through a work day. It has protein and fiber to keep you full, nutrient rich greens, and a little air of “it’s more than just a salad, it’s a meal.”

white beans and tuna over greens

white beans and tuna over greens

What you need:

  • A variety of herbs (preferably fresh, but dried will do just fine.)
  • 1 can of Tuna
  • 1 can of Cannellini Beans
  • Good olive oil
  • Kosher Salt
  • Red pepper flakes
  • Greens*
  • Fresh radishes for garnish *(optional)
herb garden

herb garden

I usually just head out to my herb garden and harvest a small handful of whatever looks and sounds good. In this particular dish I used Rosemary, Sage, Winter Savory, Thyme, and Chives. If you don’t have an herb garden, a medley of herbs from the store or the farmers market will do, or just dig around your spice cabinet. Though, I will say, that if you have any space at all to plant herbs, even if it is just in a few pots on the windowsill or back porch, they are the plants that get the most traffic in my garden. I love using them for garnishes, to flavor water, to season dishes, and when I’m in a pinch for a hostess gift, I usually will bring a bundle of fresh herbs wrapped in bakers twine. It’s useful, charming, and simple to put together. You will look like a domestic goddess, people will be impressed by the gesture, and all will be right with your dinner party world.

Processed with VSCOcam with c1 preset

bundled and ready to take as a hostess gift

bundled and ready to take as a hostess gift

herbs

herbs

Another great thing to add to the mix a little later in the season is edible flowers. Chives are the only edible blossoms I’ve got up right now, but I’m looking forward to utilizing more edible blooms this summer. Thus far, I have Nasturtiums, Borage, Bee Balm, and Calendula planted around my tomatoes, and I’m excited to be adding them to everything from salads to cocktails.

fresh radish

fresh radish

Processed with VSCOcam with f2 preset

Instructions:

  • Drain the white beans and the tuna and set aside. (  Note here… I’m a single girl on a budget, so I just pulled a can of tuna out of the pantry. If you wanted to class things up a bit, I would recommend using the tuna from Jacobsen Salt Co. ) Chop the herbs or add a blend of dried herbs to a bowl. Mix the beans and tuna with the herbs, a drizzle of olive oil, a sprinkling of kosher salt and red pepper flakes.   Heat the tuna mixture in a pan over the stove until warm (about 5 minutes on medium)
  • Meanwhile place greens on a plate. Thinly slice a few radishes and set aside.
  • Once the tuna mixture is warm, dish it over the prepared greens, top with radishes, and drizzle with some good olive oil. Serve warm.

drizzle

Best enjoyed alfresco style with a glass of crisp white wine, or maybe some iced tea.

 Processed with VSCOcam with c1 preset

*Since the tuna will be warm, kale, spinach and other robust greens are a wonderful base for this dish. I ended up using kale and red leafed lettuce.

*I have a plethora of radishes in my garden, and I loved the texture and color that they added to this dish. You might also add or substitute avocado, cucumbers, a poached egg? The possibilities are endless.

The Awkward Olive Does Lunch: Autumn coleslaw and how to make a dressing without a recipe

Last month, one of my best friends got married in Hood River. The day after the wedding a bunch of us gathered for a communal cooking/ pot-luck style dinner on the porch of one of the houses we had rented for the weekend. We chatted, the laughed, we ate, we reminisced, we ate some more.  It was amazing to be able to spend some quality time with some of my closest friends, and it was also really inspiring to see what everyone was cooking.  I know I tend to get stuck in a food rut, always going back to my go-to salads and quinoa dishes, so it was really fun to see what some of my friends had in their culinary repertoire. And the thing I took away with me was this amazing fall slaw.  It’s the perfect transitional salad for this time of year. Cabbage and apples are starting to come into their prime, cooler days (we are going to get those soon, right?) crunchy textures, bright colors… it seems to be the epitome of Autumn in a bowl. the

Feasting

Feasting

IMG_4436

The sum of our efforts

The sum of our efforts

I’m kind of a sucker for good coleslaw… that being said, I almost never ever made coleslaw because I was a little daunted by the dressing. I know, its a lame excuse, but I’m not a huge follower of recipes, I don’t really like to measure, and since I didn’t have a go-to coleslaw dressing stashed away in my culinary knowledge, making coleslaw at home just felt a little in-accessible. I’m kind of a no-muss no-fuss salad dressing type of gal… a little fresh olive oil, a splash of balsamic, a little salt, maybe some fresh herbs… on rare occasions I will actually put these things in a jar with a little bit of stone ground mustard and actually “prepare” a dressing… but for the most part, I just drizzle the ingredients directly on the salad and consume. I’ve always felt that when you use high quality ingrediants they speak for themselves, and while I love the idea of “fancy” dressings with names like green goddess and roasted corn husk vinaigrette, I typically stick with the clean and simple flavors of olive oil and vinegar.  So being faced with task of pre-making a coleslaw dressing felt somehow hard… boy was I wrong.

I did a little bit of research AKA looked on pinterest to see what other people where putting in coleslaw dressing… some of it sounded interesting, some of it sounded unnecessary, and after about five minutes, I had a new found feeling of coleslaw confidence. “Oh… I can totally make this.”  So I headed off to the kitchen.  Per my usual style, I eye-balled everything, guessed on proportions, and was pleasantly surprised by how it tasted. Dressing success! Until, of course, I remembered that its a little hard to blog a recipe that isn’t actually a recipe.  Though I’m sure some people out there appreciate the “a little of this, a little of that” method to making things in the kitchen, I know it drives other people nuts… But I’ll try to meet you somewhere in the middle.

How to make coleslaw dressing without a recipe.
  • apple cider vinegar ( about 2 TBS)
  • greek yogurt (1 heaping spoonful) 
  • poppyseeds (a sprinkling)
    olive oil (a small drizzle) 
  • honey ( best guess is 1 TBS?) 
Put in a jar, shake it all around until the honey is incorporated. Refrigerate.  Put over slaw & serve.   If you like, you can add in chia seeds instead of or along with the poppyseeds. If your dressing feels too thin, the chia seeds will help, because they become a little gelatinous as they expand… also they are super amazingly good for you, so why not add them?
Notice I didn’t give you  firm amounts for anything… because really you can make coleslaw for 1 or you can make coleslaw for the masses.  Use your best judgement.  This amount of dressing usually is enough for me to make 2 GIANT servings of coleslaw (imagine if coleslaw were a dinner salad instead of a side. )   I like to pair this dressing with a simple, 3 ingredient slaw. It’s perfect for an easy lunch, its quick, easy, and delicious.

Autumn Coleslaw

Autumn Coleslaw

Simple Autumn Slaw
Chop desired amount of cabbage, top with cut up apple & toasted almonds. Dress, and eat!

Purple Cabbage

Purple Cabbage

Honeycrisp Apples from the local Farmer's Market.

Honeycrisp Apples from the local Farmer’s Market.

oven roasted almonds

oven roasted almonds

Healthy Snacks: a quick guide to roasting almonds


oven roasted almonds

oven roasted almonds

Backstory. I’ve been on a healthy snack kick lately. Mostly because I seem to have completely blown my monthly budget on awesome things like trips to the dentist, and a sparkly bag, so I’ve been trying to be frugal (and healthy) in other areas of my life. I’m two days away from a five day vacation, so I’ve been pinching my pennies, skipping my morning lattes and being extra good about packing lunch. Almost every day my snack includes almonds… they are easy, nutritious, packed with fiber, protein, and good fats, they keep me full (especially when paired with a big old glass of water) and they are readily accessible. The ladies that I work with bring almonds quite a bit as well, and you will find us behind the counter at various points throughout the day munching on a handful of them.

A few days ago I shared some of my snacks with my boss and she turned to me and said “why do your almonds taste so much better than my almonds?!?!” the answer is all in the roast. I take an extra 15 minutes at the start of my week to toast my almonds to perfection. Its not really something I thought very much of, just something I always did. Raw almonds are fine, but roasted almonds are better, and growing up it seemed like there was always a bowl full of oven roasted almonds sitting on our kitchen counter. My boss then said “but wait! You can’t just talk about these things and then not explain how to do it!” she then went on a rant about how she didn’t know how to make mojitos, and didn’t know the proper way to roast almonds, and how I needed to start taking my basic kitchen intuition and writing it down. And at first all I could think was “ no one wants to read a blog post about how to roast almonds” and then about an hour later I got a text message from my other boss saying “ how long and what temperature do you roast your almonds? They are so delicious.” Ok, so maybe people do want to read about this.   So here I am, taking my little bit of kitchen intuition and sharing it with you… it might not be mind-blowing or life changing… but I promise you, your snacks are going to taste so much better!


Easy oven roasted almonds:

(note: I keep my bulk almonds in the freezer. If your almonds are room temperature you might need to adjust the roasting time)


Turn oven to 350 degrees and start to pre-heat.

Remove almonds from freezer and spread out the desired amount on a small roasting pan or cookie sheet. (I usually roast about 1.5-2 cups. )

Place pan of almonds in the oven (even if it isn’t quite pre-heated) and turn on a timer for 10 minutes.

You will need to check on/ stir your almonds about twice in that 10 minutes.

After the ten minutes is up, evaluate the almonds (Use your senses, appraise the color and how they smell… you can tell when they are done, trust me.) If they are still on the lighter side leave them in for 2-3 more minutes, and then shut off the oven. I usually let the almonds sit in the cooling oven for about 5 more minutes before removing the pan and letting them cool on top of the stove. Once they have cooled completely transfer them to a bowl, or mason jar and enjoy throughout the week!


Voila, roasted nuts.


photo 2-7

The Awkward Olive Does Lunch: The Game Changer Salad

garden lettuce

garden lettuce


My garden is an explosion of lettuce right now.  So so so so so much lettuce.  Speckled kind, and red kind, and green kind, and fluffier red kind (I’m really good with the technical names in case you couldn’t tell.)   I eat quite a bit of salad, but I can honestly say that I had this particular salad in mind when I planted my lettuce this spring. And I eat it at least 6 times a week, sometimes even twice a day.  I’m adding  it to my Lunch adventures, because I do take it to work with me quite a bit,  but since it is so simple, and mostly comprised of lettuce, I would recommend it as an accompaniment to a main dish rather than as a meal itself.  (or you could do like I did today and make a giant salad and then eat several handfuls of Bugles… you win some you lose some…)  I like to call this the Game Changer salad… because it will literally change how you do meals in the summer.

phonto-4


The great thing about this salad is that it is only 4 ingredients, and you probably have all of them already.  It will literally take you 5 minutes from garden to table, and its mind-numbingly simple and delicious.  When I tell you what the ingredients are, you might think I’m a little bit nutty, but trust me when I say that this is the absolute perfect salad to enjoy on a summer evening.

Note: This will not work/ not be delicious with grocery store bagged lettuce. It has to be fresh from the garden or the Farmer’s Market. You want the slightly bitter greens with texture and some of that earthy grittiness you can only get from freshly picked lettuce.

  • Garden Fresh Lettuce
  • Yellow or white onion
  • Half and half
  • Good flake salt.

Wash and dry the lettuce, tear it up and put it in a bowl. Thinly slice some of the onion (personal preference as to how much… but a little goes a long way.) drizzle with half and half, and sprinkle with salt, toss. Voila. 5 minutes from garden to table.


photo-26


I know it sounds a little bizarre, but if you think about what most salad dressings are made of, it’s some sort of fat, and salt, and seasoning. Nothing is worse than an over-dressed salad, and the great thing about this, is that the excess half and half won’t stick to the lettuce leaves, it will just run to the bottom of the bowl, leaving you with a salad that is perfectly dressed! The bitterness of the greens, the sweetness of the half and half, the slight pungentness of the onions, and the salt are a perfect marriage.    (spell check is telling me that pungentness isn’t a word… I don’t really care.)

This salad is seriously going to change the way you do week night dinners. Super simple, light, and fresh.  Also, since you don’t need very much of the onion or the half and half, you should be able to make this salad all week without having to make another trip to the store.


Super Easy Rhubarb Curd: The only thing you need to eat this spring.

Here’s what I’m smitten with these days: Rhubarb.

I know this tangy tart vegetable (I actually had to stop and think about what rhubarb is for a moment… Is it a vegetable? Lets maybe just call it a plant) This tangy, tart plant can be an acquired taste, and thankfully one that my adult taste buds have grown right into (however, at this point, I think mustard is a lost cause… if I haven’t liked it for almost 30 years, I’m going to guess I’m not growing into that one… I am still undecided about radishes…. I WANT to like them… and mostly I do when other people prepare them. And then I get so excited every spring, and a plant a billion of them because they grow really fast and I can’t wait to have something growing, and then each and every year I harvest the perfect looking radish and am filled with more emotion than one should really have towards any vegetable, and I take a giant bite, chew it around for a bit, and then head over to the sink to spit it out…. EVERY YEAR I DO THIS! Maybe eventually I will learn that I should just eat other people’s radishes and life will be good. And yes, I’m totally aware of how that sounds as I’m reading this aloud, but I’m choosing just to leave it… I mean, I’m not the kind of girl who just goes around eating other people’s radishes…)


Rhubarb

Rhubarb

Back to the rhubarb… thank you taste buds for getting this one figured out. And lets be honest… even if you are on the fence about rhubarb, aren’t you crushing on it a little bit this time of year? The contrast of the pale green and garnet hues alone have me swooning! For the last few weeks I’ve been observing my two rhubarb plants from a bit of a distance. Not because I am scared of them, though their very large poisonous leaves are always a little daunting, but mostly because I couldn’t think of anything overly creative to do with it. Last year I made rhubarb rosemary gin and tonics, (Amaze balls!) and I was already mentally planning out my rhubarb syrup, but other than that I was a little stumped. There it sat, out in the yard, challenging me from afar, taunting me even, to come up with some sort of amazing and worthwhile dish… I toyed with the idea of going savory (which I still may… I mean I’ve got a lot of rhubarb) But a few days ago I was searching on Pinterest for some bachelorette party ideas, and suddenly saw mention of Rhubarb Curd. Lights, bells, whistles, fireworks, bam, bang, hello! How had I not thought of this earlier? Lemon curd is only one of my most favorite things ever, and both lemon and rhubarb share that wonderful tanginess. I spent the rest of that day wistfully dreaming of rhubarb curd and magical it would be, and at the end of the work day I promptly came home and made up a recipe. It’s every bit as good as I hoped it would be. I’ve mostly been eating it with yogurt and strawberries, but it is also amazing on toast, mixed in with oatmeal, or just by the spoonful.


Rhubarb Curd- Author adapted from Dana Velden recipe.

Make about 2 Cups

Ingredients

  • 5 medium stalks of rhubarb
  • ¼ C Water
  • ¾ C sugar
  • zest and juice from 1 lemon
  • 1 stick of butter, cubed
  • 4 egg yolks
  • ¼ tsp salt

Method

  • Wash and trim the rhubarb stalks, and cut into ¾ inch pieces. Place in sauce pan with ¼ C of sugar, and ¼ C water, cover and turn on medium/ high heat. Cook for 10 minutes or until rhubarb is soft and begins to fall apart.
  • Remove rhubarb mixture from heat, and pour contents into a blender or food processor (or use an emulsion blender). And puree until smooth. Set aside.
  • In the bowl of a food processor combine ½ C sugar and the lemon zest. Pulse a few times to combine. Add in the egg yolks, butter, salt, and lemon juice. Pulse a few times until combined. Add in the rhubarb puree, and mix. about 15-20 seconds. (The mixture may look a little curdled, don’t worry!)
  • Transfer mixture into a sauce pan, and cook on a low heat, stirring almost constantly using a heat resistant spatula. It is quite easy to burn/ curdle the curd, so be attentive. Cook until the mixture noticeably begins to thicken (about 12-15 minutes) or until it reaches about 170 degrees.
  •  Pour the curd into a storage jar, and let it cool to room temperature before closing and storing in the refrigerator. Rhubarb curd should last for about a week in the refrigerator, though chances are it won’t last that long!


photo 5


photo-24

* a note about the color. The rhubarb I have growing in my yard is mostly green… therefore my rhubarb curd looks like muddy lemon curd. However, I’m quite certain that if you are purchasing the glorious garnet colored rhubarb, your rhubarb curd will be a really dreamy light pink color.

Roasted Beet Risotto, a shout out to chèvre, and some potentially awkward typos.

I’ve been really into beets lately. And by lately, I mean my entire adulthood… as a child, not so much… (for unknown reasons my mom tried to feed me canned beets as a kid… definitely not the first exposure any child should have of this amazing root nugget.  Thankfully that is one of the picky eating things that I did outgrow…anyway.. )  Wednesday evening I was killing some time before heading off to yoga, and stumbled across this absolutely gorgeous cake from Local Milk.  Um, beets? Red Velvet? Chevre thyme frosting. SIGN ME UP!  Even though I still had to teach a yoga class, and even though I was looking at a trip to the grocery, an hour to roast the beets, and then making a cake from scratch, I could not be deterred.  (I should probably note that I accidentally took a nap in the afternoon… so I was feeling a little extra motivated.)

The cake was just as amazing as I expected, and you should all go out of your way to make it, or find someone who likes making cake and have them make it for you! Overall it wasn’t complicated, though a few aspects of the recipe didn’t work entirely the way I thought it would, mostly the part about reducing the beet puree,. Somehow I ended up with about 3 cups of beet puree rather than ¼ of a cup… I could have just put more in the cake batter, but was un-sure…. I mean I can improvise on most any recipe, but baking is one of those tricky ratio things, and I wasn’t going through all the trouble of making a late night cake from scratch just to screw it up!  So this left me with about 2 cups of roasted pureed beets… what’s a girl to do?

Also, before I go on about what I did with the beets, can I just say that chevre thyme frosting is a game changer. For reals.  Move over cream cheese frosting, there is a new star in town.  When I followed the recipe it was a little too thick to drizzle, so I did add a little bit of Meyer lemon juice. Perfection.

Tonight after I got home from work, I was hanging with the dog and trying to come up with some inspiration for dinner, and then I remembered the container of beet puree in my fridge. It was just begging to be a risotto, and after a few moments of flopping around and motivating myself to head out to the store for Arborio rice, I decided on a game plan. (note to self. If you mis-spell Arborio spellcheck will ask if you meant to spell abortion. It’s probably best not to mix these two words up when you are talking about trying to  get motivated to head out and get some of said word. Especially when you are blogging about it. And since I’m not always awesome at proofreading, if I accidentally talk about abortions later, you should just assume that I’m actually talking about rice )

I will fully admit, this was one of those thrown together dinners that wasn’t exactly measured, and almost no photos were taken, but once I sat down and took a bite I sort of sighed and said “well I have to blog about this…” But let’s face it. Some of the best dinners are the ones that aren’t well photographed and well planned out…. And as I sit here and try to backtrack and write a recipe, I will just say this… go with your gut. It’s risotto… if it needs more broth, add more broth. If you want more beets, add more beets. Trust your culinary instincts… but I’m rather confident that this recipe will at least be an appropriate guideline to get you to a magically delicious dinner.  I would apologize for the lack of amazing photos, but lets be real, it was too good to stop eating and stylize things… at least I got this shot with minimal spillage and some garnish  (#sorrynotsorry)

beet risotto with chèvre and mascarpone

beet risotto with chèvre and mascarpone

Beet Risotto with Chèvre and Mascarpone     (could easily be made vegan by omitting the cheese.)

  • 1 cipolin onion, diced
  • 1 clove of garlic, minced
  • 1 stalk of celery, diced
  • olive oil
  • ½ cup of white wine
  • 1 cup Arborio rice
  • 1 ½ cups of vegetable broth
  • 1 cup beet puree* (can be made in advance)
  • 2 oz chevre
  • 2 large spoonfuls of mascarpone cheese.
  • parsley for garnish
  • salt to taste.

* Beet puree:

  • 2-3 medium beets.
  • ¼ cup of water.

Heat oven to 400 degrees.

Wash the beets, and pierce a few times with a fork.  Line a pan with foil, add the beets and about ¼ cup of water. Seal the beets with additional foil and roast in the oven for about an hour.   Use a paper towel to peel the skin off the beets (be careful not to burn yourself) and  chop into large pieces. Place beet chunks in food processor and add the liquid from the roasting foil, and perhaps another ¼ cup of water.  Process until smooth.    Set aside.  (or use some for the Red Velvet cake.)

Risotto:

Drizzle olive oil in medium pan, and begin to heat. Add the onion, garlic, and celery and begin to sauté ( about 3-5 minutes)

Add the Arborio rice to the pan and cover with the olive oil. Sauté rice a few minutes until it starts to toast. It will smell a little nutty.

Add the wine, and stir… it will be absorbed by the rice fairly quickly. Add the remaining liquid ½ cup at a time, allowing the rice to almost fully absorb the broth each time. (stir stir stir… even if you don’t know anything about risotto you probably know that it required a lot of stirring)  After the final liquid has been absorbed taste a grain of rice. If it is still pretty crunchy you might need a few more rounds of liquid.

Once the rice has gotten to the desired texture and consistency, add in the beet puree. Stir, and continue to cook for 5 minutes (continuing to stir frequently).

Before adding the cheese... it looks like pomegranates... or ground beef... I swear to god its delicious.

Before adding the cheese… it looks like pomegranates… or ground beef… I swear to god its delicious.

Add the chevre and the mascarpone cheese and a splash more of vegetable broth. Stir until the cheese is incorporated into the entire dish.

Serve immediately with a sprinkle of parsley, a drizzle of olive oil, and a little bit of finishing salt.   (you know me… Red Ridge Olio Nuovo, and Jacobsen finishing salt)

Voila, Dinner.  If your friends are a punny as mine you too will be getting text messages that read  “risotto? I’ll “beet” right over”   (no joke… this is a real like story).

Easy Appetizer: Winter Endive Bites with persimmon and pomegranate

Winter endive bites with persimmon and pomegranate

Winter endive bites with persimmon and pomegranate

Happy National Appetizer Day!  (What? Really? There is such a thing? I had no idea until Sunday night when I saw a sign announcing it at Trader Joes, but since I had already been mentally composing this blog post about my favorite go-to appetizer, I thought it was kismet.)

I’ve always thought that as an adult, one should have a go to, meal, dessert, and appetizer in his or her cooking repertoire. Ideally the dishes should be easy, tasty, and just a little bit unique…  ( Mine are: endive bites, coconut oven fried chicken, rosemary thyme sugar cookies. ) Even if you don’t cook for yourself on a regular basis, you still need to be able to have those meals you can pull together to impress a date, the in-laws, or survive a work potluck or bake-sale.  These items don’t necessarily need to be cohesive, and they most certainly don’t need to be complicated… but having these go to meal components up your sleeve will most definitely come in handy.

Tangent: You might also want to consider adding a vegan dish to your repertoire.  Because lets face it, we all have vegan friends, and they like to eat delicious things too, and though they are choosing to miss out on things like crème fraiche, you also don’t want to be the friend who serves them things that taste like cardboard because you can’t figure out something delicious and plant based to make. Fact: Cooking vegan is NOT THAT HARD… and yet I know so many people who down right panic at the idea of eliminating meat, and dairy.  Last year I had two Vegan and gluten free friends over for dinner… we had a delightful meal of black rice, raw zucchini noodles and tahini dressing with roasted vegetables…(ok, confession, I rarely cook meat a home, because it grosses me out, and since I rarely cook it it makes me nervous… so when I’m at home I’m mostly a vegetarian… so I’m allowed to go off about how vegan cooking isn’t that hard… because  if you take eggs and cheese out of my diet… I pretty much live in a land of quinoa and roasted veggies…) and as we sat there, they told me about all the dinner party horror stories they had from people who just couldn’t quite get a grip on vegan cooking. Here is a hint… just because you are limiting your ingredients does not mean you have to limit the flavor.  Plants are delicious, seasonal plants are even more delicious… you can still use things like salt, and spices, seeds and a myriad of other things to make your food taste awesome.

Also, to all my vegan friends out there. Don’t freak out when you cook for non-vegan people. You don’t need to defend how you eat or what you made for me… and don’t sit around fretting about if I’m going to be satisfied with the meal, or if I am judging you… I will be satisfied, and I’m not judging you (and most other people probably aren’t either). Fact: you eat this way, and it satisfies you, Cooking for someone is a wonderfully nice thing, and educating someone on new ways of thinking and eating is pretty neat too. Just because I choose to eat eggs and cheese doesn’t mean I think you are crazy for choosing not to eat those things.  So just relax, keep doing what you do…

But I digress, and this IS supposed to be about appetizers.. and is, in fact, not a lecture on life skills and eating habits….  So onto Winter Endive Bites.

Here is what I love about endive bites. Everything.   They are ridiculously simple, but  seem a little bit fancy, so you kind of get extra bang for your buck. You can make them in about 5 minutes, put just about anything in them, and they act as their own cup, so they are a completely self contained nibble that works great for passed apps, or stationary h’orderves.  The endive is crunchy, so you automatically have texture built in, and the bitterness of the green is remarkably versatile.

You could come up with hundreds of different fillings to put in endive bites, but one thing to consider is texture, color, taste and overall presentation. (another favorite is roasted beets with walnuts and blue cheese… or blood oranges with fennel, parley and chévre) What I love most about this particular recipe is the marriage of sweet and savory. The persimmon has a little sweet nuttiness to it, and the pomegranate is simultaneously sweet and tart. The pistachios add some texture, and then the gremolata brings in a little zing.  There are a lot of flavors at work, but they all meld together to present this really gorgeous bite.

persimmons, cubed.

persimmons, cubed.

IMG_0547

Winter Endive Bites with persimmon and pomegranate 

Serves 5-6

  • 2-3 heads of endive
  • seeds from ½ of a pomegranate
  • 2 persimmons
  • 1 handful of shelled pistachios (pulsed in a food processor a few times, or lightly smashed)
  • 2-3 spoonful’s of gremolata*
  • olive oil (I recommend using a slightly fruity olive oil in this recipe. I used the 2013 olio nuovo Koroneiki olive oil from The Oregon Olive Mill… which was very ripe, and has a lot of green banana flavor. )
  •  Finishing salt to taste (obviously I use Jacobsen Sea Salt Cause it’s amazing.)
  1. Cut the bottoms off the endive and separate the leaves. Wash and dry the endive leaves and set aside.
  2. Cut the persimmon into small chunks and place in mixing bowl with pomegranate seeds and pistachio. Lightly mix together and then add 2-3 spoonful’s of gremolata. Drizzle with olive oil. Taste, and add salt as needed.
  3. Scoop the mixture into endive cups, and serve immediately.

IMG_0548 IMG_0523

*Gremolata

  • Zest from 1 lemon
  • 2 cloves of garlic, minced.
  • 1 bunch of parsley, chopped.
  • Mix gremolata ingredients together in small bowl and set aside.

*Gremolata is one of my new favorite things. It is great in soups, on salads, mixed in with rice, on fish… the list goes on. For this recipe, I recommend making it separately and adding it to the rest of the filling, that way you can keep the excess gremolata to garnish other dishes throughout the week.

Note. The gremolata will last a few days in the refrigerator but due to the texture of the persimmons, the fruit mixture doesn’t keep as well.

Rhubarb Rosemary Gin and Tonics


20130522-133900.jpg

One of the most fun things about my house, is discovering the things that are coming up in the garden. This is my first spring here, so there are a number of surprises. One of my favorite things thus far, has been the two huge rhubarb plants in the back yard. I have no idea how old they are, and if they have a story (I’m sure they do, but it isn’t mine) and I’ve spent the last few weeks, harvesting, and prepping the rhubarb for some delicious thing. It isn’t the “best” rhubarb in the world, the stalks are a little gangly and woody, and they are mostly green-ish, but I still managed to get quite a harvest, and have put quite a bit in the freezer for future jams, bread, and pies.

20130522-133449.jpg

Yesterday I was feeling like I needed a domestic project though, and so I wandered out to the garden to see if there was anything interesting to harvest. I ended up picking a handful of rhubarb, and immediately came inside to start on a simple syrup. I wanted to create something fresh, and herbal, and decided that rosemary would pair wonderfully with the tartness of the rhubarb. I tend to lean away from using rosemary in conventional ways, because the flavor can be really overpowering, and generally speaking I think it gets overused… but give me a rosemary pairing that is a little outside of the box, and I’m all over it (rosemary thyme sugar cookies are my favorite things on the planet). Rhubarb rosemary gin and tonic anyone?

My  favorite part (or one of my favorite parts)  of my new job is playing bar tender, and coming up with new and unusual cocktails that have a fresh market flair to them. The lemon-basil vodka tonics have been a smashing success, and have a permanent home on the menu, and the Cucumber rosemary gin and tonics have had great reviews as well… Now if only the summer weather would stick around. Hello Oregon, we are ready for the refreshing cocktails!

As I simmered the rhubarb with sugar, water, rosemary and lemon I started to scheme all the tasty things I could do with the concoction. My immediate thought was of course the gin and tonic (because it sounds delicious, right?) but there was also a bottle of Prosecco in my fridge staring me down, and what better to pair with a bit of bubbles than a wonderfully pink and herbaceous syrup? (I’m actually drinking this right now, hello-wine Wednesday! its fabulous. I don’t usually drink in the middle of the day, but I had to take some photos for this post, and when in Rome/ when it is your weekend you drink the rhubarb rosemary bubbles for lunch).

20130522-133535.jpg

For those of you who have not cooked with rhubarb, it disintegrates into a stringy mush of swamp water fairly quickly. Don’t let this deter you… the end product is totally worth it. Once the syrup was fully infused with the rhubarb and rosemary flavor, I strained off solids, and the result was a beautiful pale pink liquid. No more swamp water, hello cocktail possibilities. (plus the rhubarb mush is totally delicious, and I would highly recommend eating it by the spoonful, spreading it on toast, or putting it in a crepe.)

20130522-133839.jpg

I’m totally obsessed with the blush color of the syrup, something about it just makes me feel very lady like… perfect for brunches, bridal showers, or just a Wednesday afternoon. The party-thrower/ hostess in me wanted to add a little more flair to the cocktails, so I froze some rosemary in my ice cubes. It is so simple, and presents amazingly, and can be done with any herb or edible flower. I love adding mint or lavender to ice cubes for lemonade, and borage blossoms and rose petals make a beautiful addition to any punch.

20130522-133851.jpg

Rhubarb Rosemary Simple Syrup:
Equal parts sugar and water (I used 2 cups of each)
roughly two cups of diced rhubarb
juice from 1/2 a lemon
4-5 small sprigs of rosemary.

Combine water, sugar, rosemary, rhubarb and lemon juice in a sauce pan. Slowly bring to a boil, and let simmer for 10-15 minutes. Strain out solids and save for some delicious snack.

I’d love to see what other delicious ideas people have for this syrup, and highly encourage you to share them here!

20130522-133912.jpg

Rhubarb Rosemary Gin and tonic:

2 oz gin (I used Ransom gin, my absolute favorite)
1 oz rhubarb rosemary simple syrup
tonic water to taste
garnish with lime wedge & sprig of rosemary.

Rhubarb Rosemary Prosecco Sparkler
1-2 oz of rhubarb rosemary simple syrup (or to taste)
top off with prosecco & a rosemary garnish.


Accessorizing my oatmeal: a little healthy breakfast pizazz

I wouldn’t say that I’ve been on a health kick necessarily ( yeah, I’m still eating bacon cookies and cheese pizzas at work with some frequency) but over the last few weeks I have been trying to make a conscious effort to cook and eat healthy while at home. The green smoothies are evidence of that, and as my work days get longer, I’m realizing that the best thing I can do is set myself up for a successful day with healthy food. There are an onset of 12 hour days in my future, and I’m also training for a half marathon… IE my body needs to be fueled appropriately… ( sometimes with pizza & bacon cookies ok! )

This morning I came home from a run and was racking my brain as to what I should eat for breakfast. I was laying on the floor next to the pantry and glanced up into the shelves to see if I could get some inspiration… Quinoa? Cheerios? Toast? And then my eyes fell upon a mason jar full of oatmeal. I couldn’t even remember the last time I had oatmeal, but on this overcast morning something warm and filling sounded perfect.

I decided immediately to add a little pizazz to my breakfast, and immediatly went to my freezer and pulled out almonds, walnuts, and flax seed, blended together with a dash of cinnamon, this created a nutrient dense and delicious topping. I then took it a step further by adding in some chia seeds and coconut oil, and just a splash of agave for some sweetness. Can you say power house breakfast? Loaded with fiber, protein, omega 3s, B vitamins etc. ( ok yes, also a fair amount of fat from the coconut oil & the nuts… But it’s the good kind! ) this was just what I needed to fuel my body post run/ pre-yoga.

I might not always eat as healthfully as I should, or as healthy as I would like, but you have to start somewhere, and today I started with supercharged oatmeal.

Recipe:
( I pretty much just eyeball everything, so use your best judgement/ make to taste)

1/2 cup oatmeal prepared normally

Topping:
Small handful of walnuts
1-2 TBS golden flax seed
2 TBS sliced almonds
Cinnamon to taste
1 TBS chia seed
Spoonful of coconut oil.

Blend flax seed, walnuts & almonds together ( I used the magic bullet, but a food processor or coffee grinder would work) add in cinnamon & pulse a few more times.

Add topping to oatmeal, along with chia seeds & coconut oil.

Mix & enjoy! ( add milk or soy milk if desired)

20130515-140609.jpg